Introduction
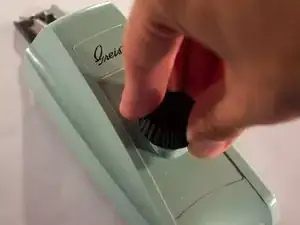
Depending on the size of the buttons that you will be using, you may need to replace the template already in The Buttonholer.
-
-
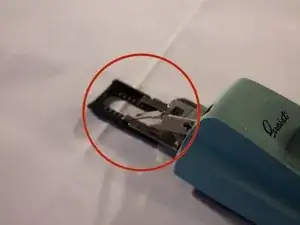
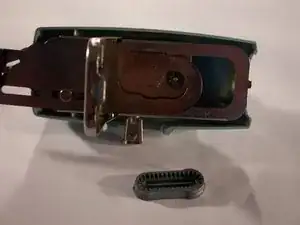
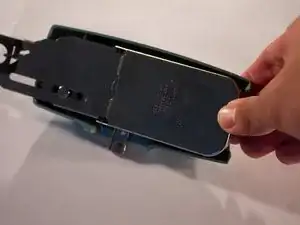
Located on the bottom, pull the lip of the retainer plate away from The Buttonholer, and then open the plate.
-
-
-
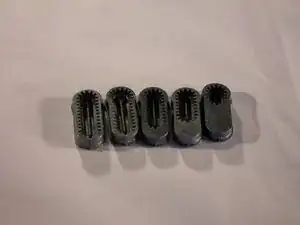
4 additional templates are included with The Buttonholer. Each template creates a different size button hole.
-
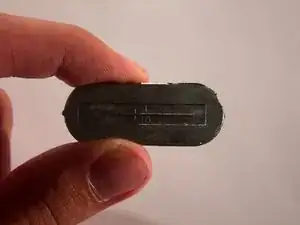
If you are unsure which template is right for your project, check the back of each template for the diameter of the holes that they make.
-


To reassemble your device, follow these instructions in reverse order.
One comment
I had to use the reduction knob so the fabric holder was not fully extended to open the plate. So play with it. Better lighting on the unit once it was upside down and dark would have been helpful. But I did manage with this and the booklet. thank you.
Marcy -