Introduction
This guide will provide the procedure required to replace the Gourmia GAF536 air-fryer screen circuit board.
This control board is the part that allows your screen and buttons to work, as well as connect the screen to the air-fryer’s motherboard. By replacing this part, the following issues can possibly be fixed:
- The device not powering on
- The fryer not reaching the desired temperature
- The fan not running
Because this part is connected to the power, it is best to ensure the device is unplugged before attempting the repair.
-
-
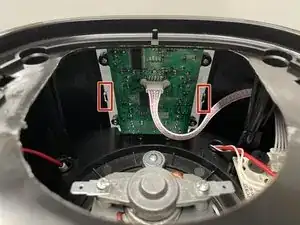
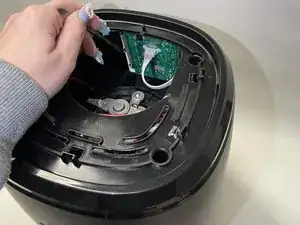
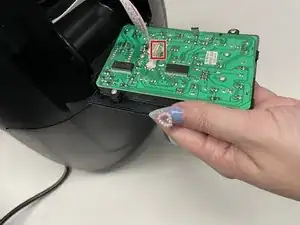
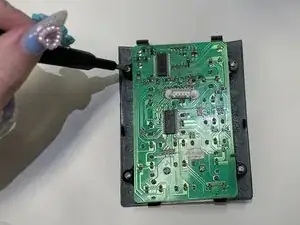
Locate the internal tabs that hold the screen in place. (There should be 2 tabs on top, 2 tabs on the bottom, and 1 on each side.)
-
-
-
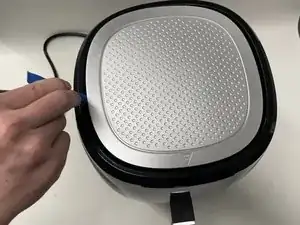
Using your finger or the metal sludger, release the tab on the side.
-
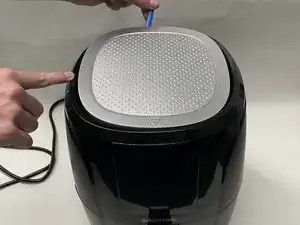
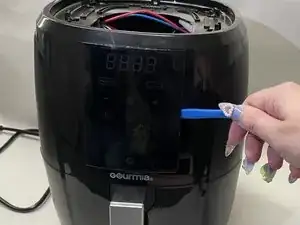
Gently push the open side forward and place the blue opener into the gap from the front.
-
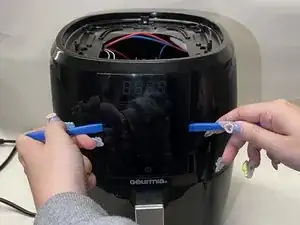
Repeat this on the other side.
-
-
-
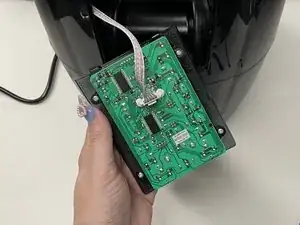
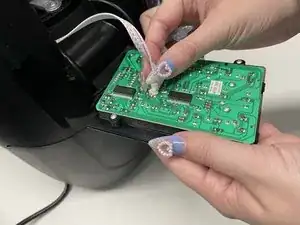
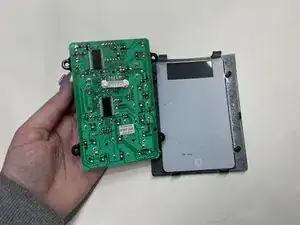
Remove the cable connecting the circuit board to the air-fryer’s motherboard by gently pinching the tab on the side connected to the screen.
-
-
-
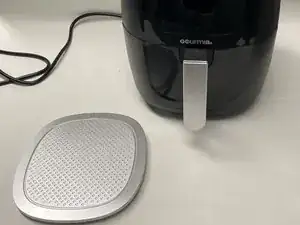
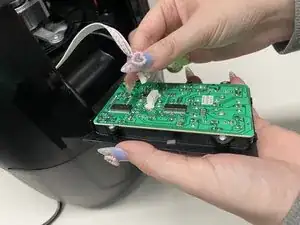
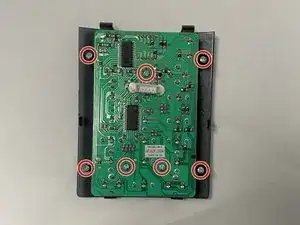
The circuit board can now be detached from the display screen, removed from the plastic casing, and replaced.
-

To reassemble your device, follow these instructions in reverse order.