Introduction

In this guide, you will learn how to replace the right charging port on your Google Pixelbook Go to fix charging issues.

  1. FgsAW2N2AaDXGRCf
    FgsAW2N2AaDXGRCf
    gbYrYveJbaxQa5sW
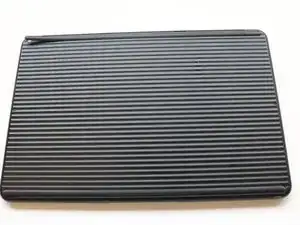
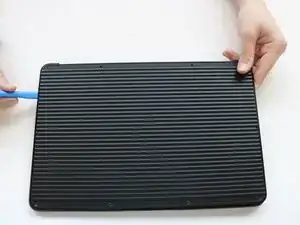
    • Flip the device so that the back is facing up.

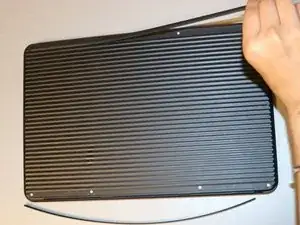
    • Peel the rubber stoppers off the top and bottom of the device.

  2. 4XZ6BjakMoAVZSmx
    4XZ6BjakMoAVZSmx
    qJD4qoGirK5OSWZA
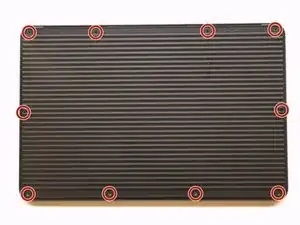
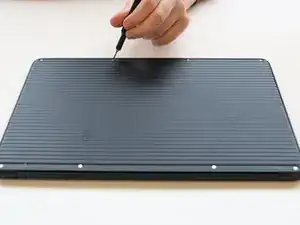
    • Remove ten 3 mm screws from around the edge of the back panel using a T5 Torx screwdriver.

    The front 2 middle screws have a slightly thinner thread, so keep them to one side and put them back in the same holes.

    Mark Morgan -

  3. hHhbfWNRhSO6SGtX
    hHhbfWNRhSO6SGtX
    vxEUACJdsYpeheUn
    V36lYZ4G3pDEGpRL
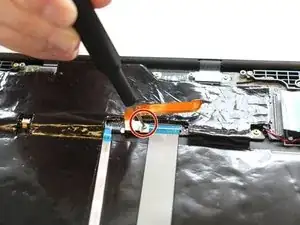
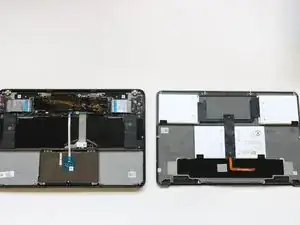
    • Use an iFixit opening tool to pry up the back panel cover.

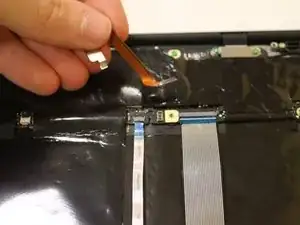
    • There is an orange ribbon cable that connects the cover to the base, so don't separate the two pieces completely.

    • Remove the single 2 mm screw using a Torx T3 screwdriver.

    • Disconnect the orange cable from the base of the device.

  4. mZdFPUjbCIEXpfYh
    • Insert wisdom here.

  5. nE5VGeIrBmDyMQXO
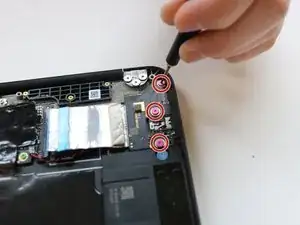
    • Remove the three pink screws from the right charging port using a T3 Torx screwdriver.

  6. FV6MOL2BfCIoqBsb
    FV6MOL2BfCIoqBsb
    LPrPAQjCtWDQ6l6H
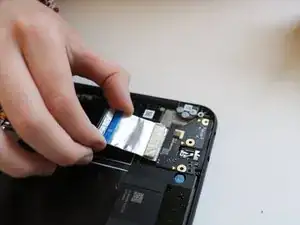
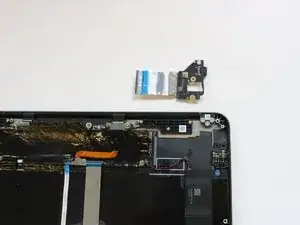
    • Remove the right charging port by picking it up and lifting it from the computer.

Conclusion

To reassemble your device, follow these instructions in reverse order.
Katie Brennan

Member since: 01/03/23

85 Reputation

0 comments