Introduction

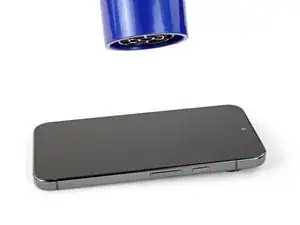
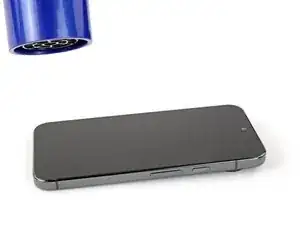
This guide shows how to separate the screen on a Google Pixel 9/9 Pro/9 Pro XL.

  1. iywHWnu1SHN2uQYh
    iywHWnu1SHN2uQYh
    DDba2IYvihnIWjP6
    • Let your Pixel's battery drain below 25% before starting this repair. A charged lithium‑ion battery may catch fire if damaged.

    • Unplug all cables and completely power down your phone.

  2. YtRSXlcWIbNGe4CQ
    YtRSXlcWIbNGe4CQ
    SPM32wmOUFMPOWVn
    • Glass shards can complicate disassembly—or worse, cause injury. If your phone has a cracked screen, follow these steps:

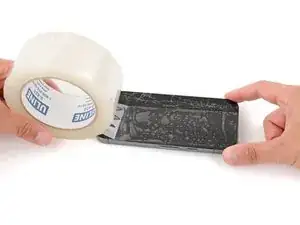
    • Apply overlapping strips of packing tape to the cracked glass until the whole screen is covered—this will allow the suction cup to stick to the screen.

    • Only cover the glass itself—don't stick any tape to the frame.

    • Consider wearing safety glasses to protect your eyes from any glass shaken free during the repair.

  3. Qo3nvIgWAPYWHRWs
    Qo3nvIgWAPYWHRWs
    w2sOUfB5JQCG2OQo
    HngAqA43gRSYmPGf
    • Adhesive secures the screen to the frame. Heating the screen softens the adhesive, making it easier to separate.

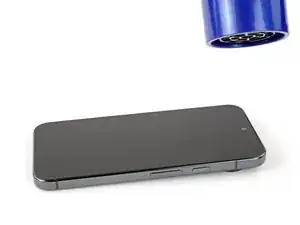
    • Use a hair dryer, heat gun, or hot plate to heat the entire screen until it's almost too hot to touch.

    • Be careful not to overheat the phone—the battery and plastic components are susceptible to heat damage. Stop heating if the frame becomes too hot to touch.

  4. OlAt5IV5prCjcENS
    OlAt5IV5prCjcENS
    auAsaTbDwLZlmRYD
    • Apply a suction handle to the center of the screen's top edge.

  5. Ne2OvmboNfrpknGN
    Ne2OvmboNfrpknGN
    OAVAn4WWl1c5TQTM
    anDAZANlBTCFM6Ol
    • There are delicate metal spring‑contacts around the perimeter of your device. To prevent damaging them when separating the screen, don't insert your pick more than 3 mm deep.

    • Measure 3 mm from the tip and mark the opening pick with a permanent marker.

    • Alternatively, tape a coin to a pick 3 mm from the tip.

  6. xJQR65njhQsHTB1N
    xJQR65njhQsHTB1N
    T6BDaPXdS4kBsVQM
    2yljU4qPuXGWjdXO
    • Inserting an opening pick is difficult. Be patient and reheat the screen at any point if it feels stuck.

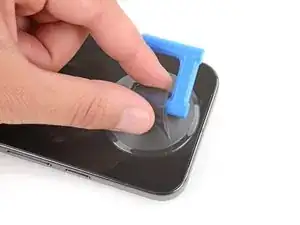
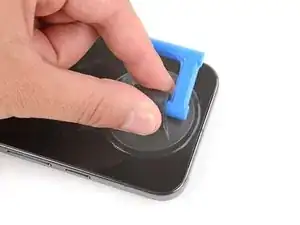
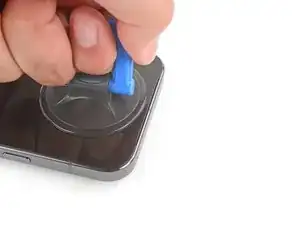
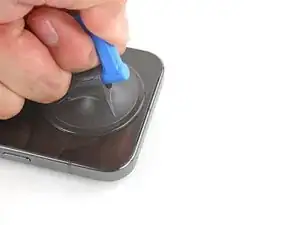
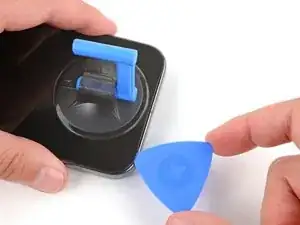
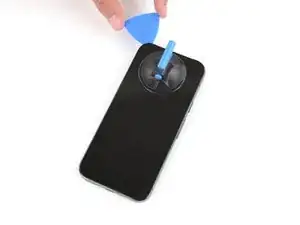
    • Pull up on the suction handle with strong, steady force to create a gap between the screen and frame.

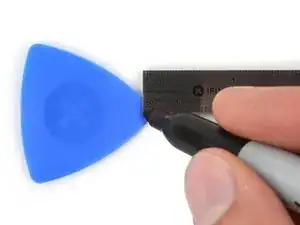
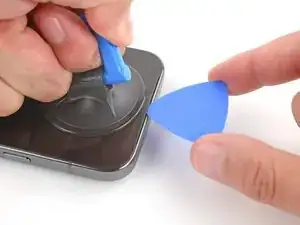
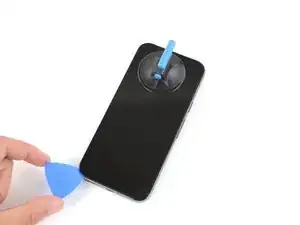
    • Insert the tip of an opening pick under the screen.

    • A plastic frame is attached to the backside of the display. When inserting your pick, make sure it's underneath this frame, and not between the frame and the display glass.

    This bit is tough, it's really hard to know if you are under the plastic bit, or just the glass, and I ended up removing about half the glass before realizing. If you see a lot of coppery foil, you haven't got the plastic bit (but don't worry, it does actually make it easier to see the plastic frame). I suggest studying the thin black plastic edging on the replacement part so you know what to look for.

    Nick Ford -

  7. TNRREk1RLDwR1bHM
    TNRREk1RLDwR1bHM
    kaYGdUEE1XWbsVJI
    hhsCMOjR3x3vdOPx
    • Slide the opening pick along the top edge to separate the adhesive securing it.

    You'll get a good workout doing this, and I kept accidentally turning my phone on. You can hold Power and Volume up to turn it off.

    Nick Ford -

  8. NfQm5HlglCDPpI6D
    NfQm5HlglCDPpI6D
    vEZKtcjPHG2XPkA6
    cvGnHIbnd26mYXmc
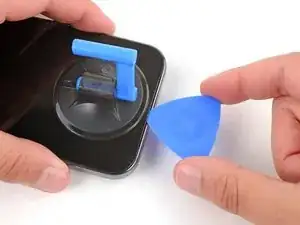
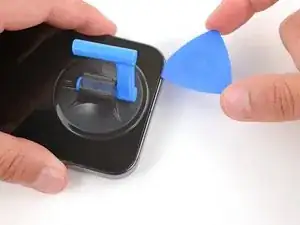
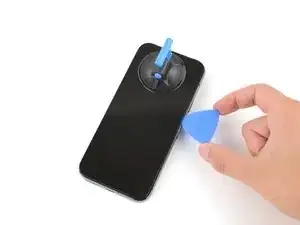
    • Continue sliding your opening pick around the perimeter of the screen to separate the remaining adhesive.

Spencer Day

Member since: 14/09/22

88286 Reputation

0 comments