Introduction

This guide shows how to separate the adhesive on your Google Pixel 9 Pro/Pro XL.

  1. iywHWnu1SHN2uQYh
    iywHWnu1SHN2uQYh
    DDba2IYvihnIWjP6
    • Let your Pixel's battery drain below 25% before starting this repair. A charged lithium‑ion battery may catch fire if damaged.

    • Unplug all cables and completely power down your phone.

  2. r4ALN1nNrl6VZPRt
    r4ALN1nNrl6VZPRt
    qQcMm3UWVCfl6HRf
    EjiIYYrMD66sFdQJ
    • Adhesive secures the perimeter of the rear cover to the frame.

    • When separating the adhesive, don't insert your tool more than 3 mm under the rear cover to avoid damaging the internal components.

    • Measure 3 mm from the tip and mark your opening pick with a permanent marker. Alternatively, you can tape a coin to a pick 3 mm from the tip.

  3. OaiCwDY1lk41A6Xf
    OaiCwDY1lk41A6Xf
    kptZ6ACd6oUwu3FY
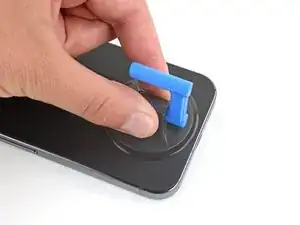
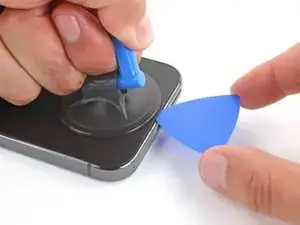
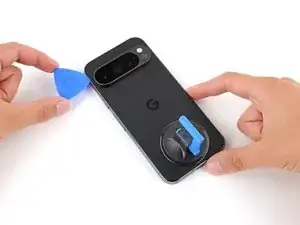
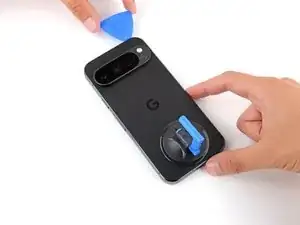
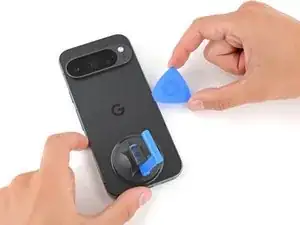
    • Attach a suction handle to the bottom edge of the rear cover, as close to the edge as possible.

  4. yw1EJlOiABskBdKL
    yw1EJlOiABskBdKL
    MxJdqYHajYtvTpSA
    RvEdZYgHwdnXfwaC
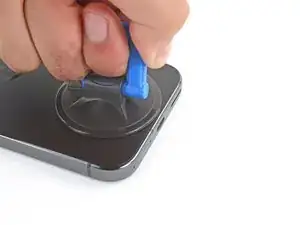
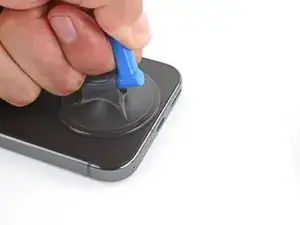
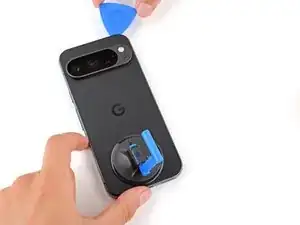
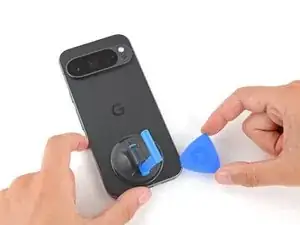
    • Pull up on the suction handle with strong, steady force to create a small gap under the rear cover.

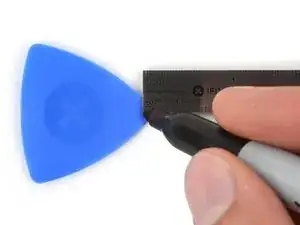
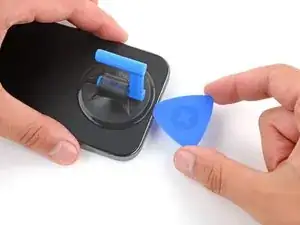
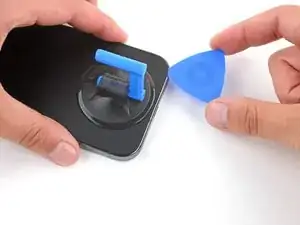
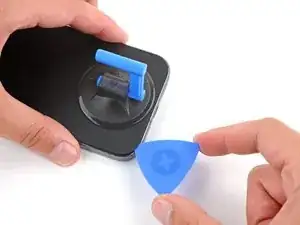
    • Insert the tip of an opening pick in the gap.

  5. HkyuyubdI1H2AhKb
    HkyuyubdI1H2AhKb
    HILCAWMvJaJoS2do
    DTIPQw3bSMMYWUqI
    • Slide your opening along the bottom edge to separate the adhesive securing it.

    • Remember: don't insert the opening pick deeper than 3 mm.

  6. 2oRhYpMIYHSnHhvr
    2oRhYpMIYHSnHhvr
    ByXnLwODUBeEsTgO
    y53cfD3QiL45NIBY
    • Slide your opening pick up the left edge and along the top edge to separate the adhesive.

  7. ePjwYS6ZGdYRDf4q
    ePjwYS6ZGdYRDf4q
    uKjPnqP535TdUNLG
    Mt6r5HGxaAyYrvKR
    • Slide your pick down the right edge to separate the remaining adhesive.

Spencer Day

Member since: 14/09/22

88286 Reputation

0 comments