
Introduction
This repair guide was authored by the iFixit staff and hasn’t been endorsed by Google. Learn more about our repair guides here.
Follow this guide to replace the screen on your Google Pixel 4a 5G.
-
-
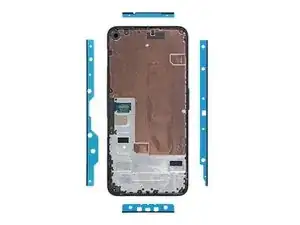
Take note of the two seams on the edge of your phone:
-
Screen seam: This seam separates the screen from the rest of the phone. This is where you have to pry.
-
Frame seam: This is where the plastic frame meets the back cover. It is held in place by screws. Do not pry at this seam.
-
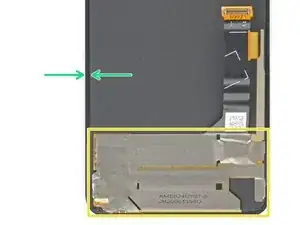
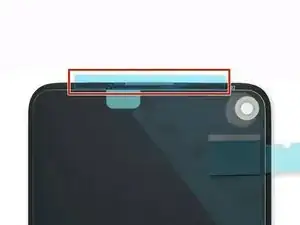
Before you begin, note the following areas on the screen:
-
Screen flex cable: Do not insert the opening pick deeper than instructed or you risk damaging this cable.
-
Adhesive perimeter: Prying beyond this narrow perimeter without angling the pick will damage the OLED panel.
-
-
-
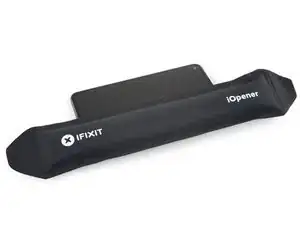
Apply a heated iOpener to the right edge of the display for one minute to soften the adhesive.
-
-
-
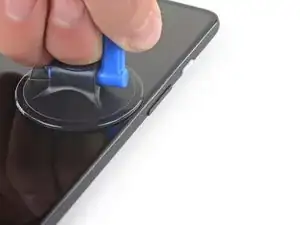
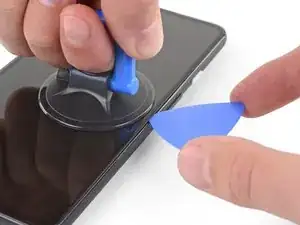
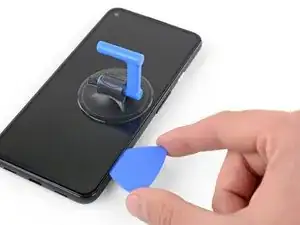
Place a suction cup as close to the right edge of the screen as possible.
-
Lift the suction cup with a strong steady force.
-
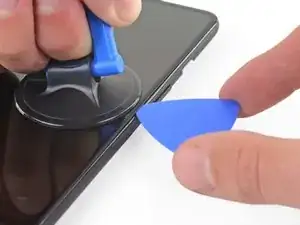
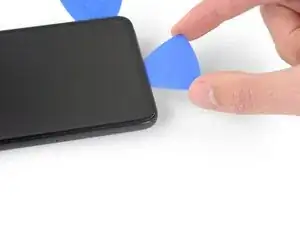
Insert the tip of an opening pick into the screen seam no more than 1 mm.
-
-
-
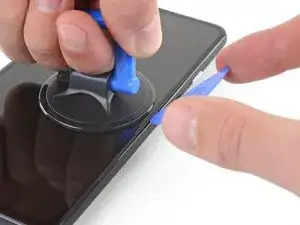
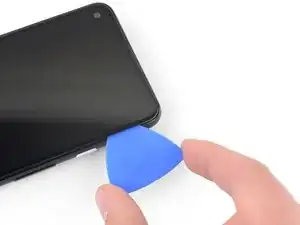
With the pick 1 mm into the gap, pivot the pick upwards to a steep angle.
-
At a steep angle, carefully push the pick into the gap about 1/4 inch (6 mm). The pick should slide in below the OLED panel.
-
-
-
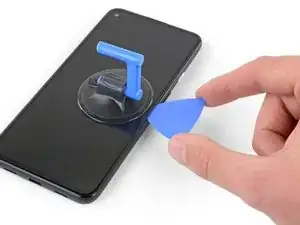
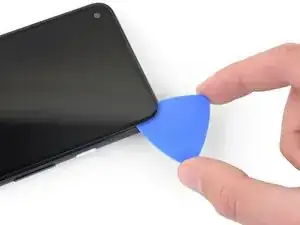
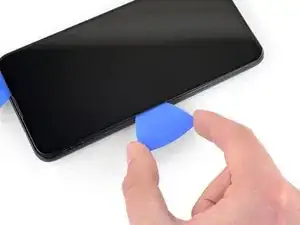
Slide the pick along the right edge of the screen to cut the adhesive.
-
Leave the pick in the bottom-right corner to prevent the adhesive from re-sealing.
-
-
-
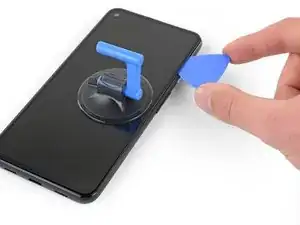
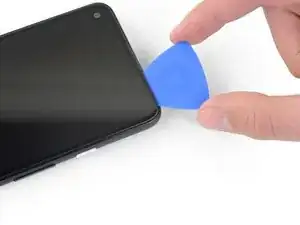
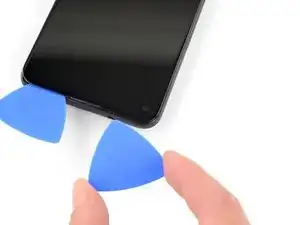
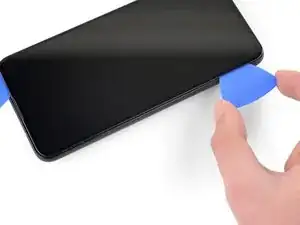
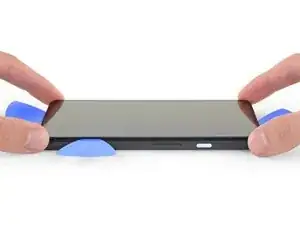
Insert another opening pick into the right edge of the phone at an angle where a gap has already formed to prevent damage to the OLED panel.
-
Slide the opening pick around the top of the phone to cut the adhesive.
-
Leave the pick inserted along the top edge to prevent the adhesive from resealing.
-
-
-
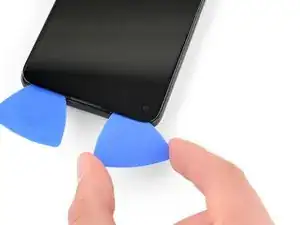
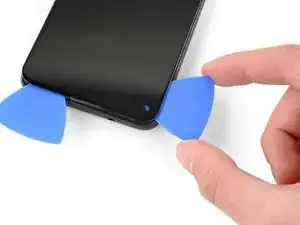
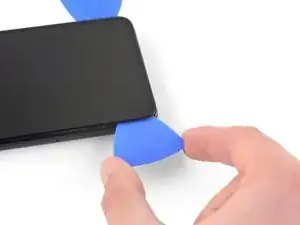
Insert another opening pick into the top edge of your phone at an angle where a gap has already formed to prevent damage to the OLED panel.
-
Use the pick to slice around the top-left corner where the camera window is.
-
Leave the pick inserted along the left edge of your phone to prevent the adhesive from re-sealing.
-
-
-
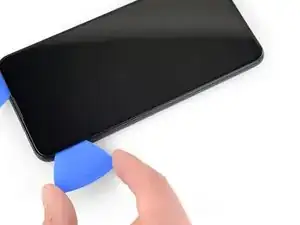
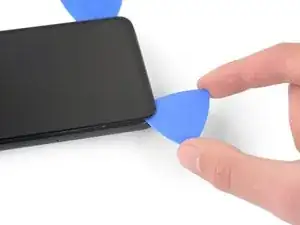
Slide the opening pick around the bottom-left corner and across the bottom of the display to cut the rest of the adhesive.
-
-
-
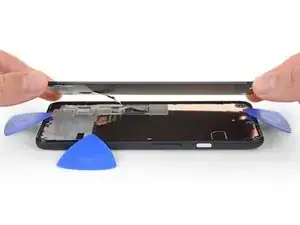
Once you have cut around the perimeter of the phone, carefully lift the right edge of the screen, partially opening the phone like a book.
-
Use an opening pick to carefully cut through any remaining adhesive.
-
-
-
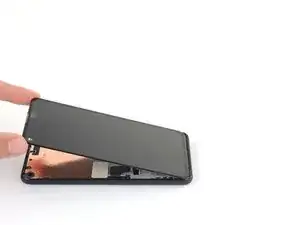
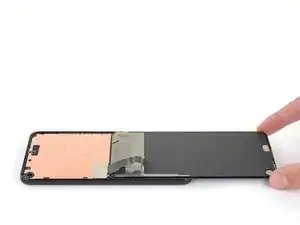
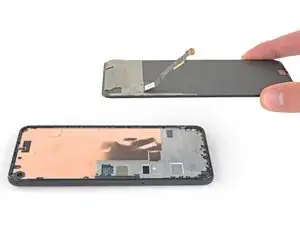
Lift from the top edge and swing the screen over the bottom edge until you can rest it glass-side down.
-
-
-
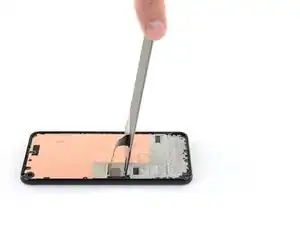
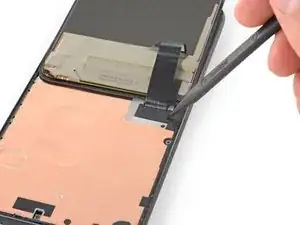
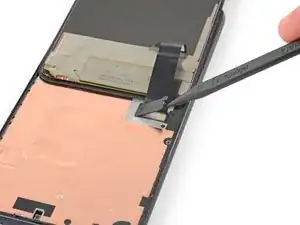
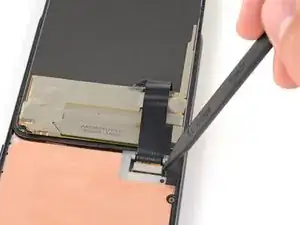
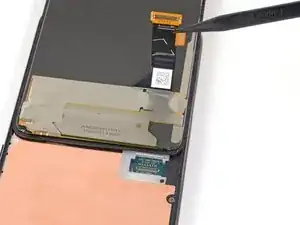
Insert the tip of a spudger into the opening of the plastic cover securing the screen flex cable.
-
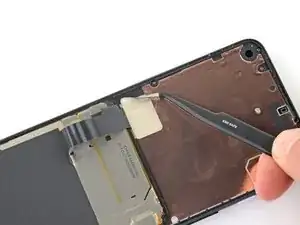
Pry the plastic cover straight up until it pops out of place.
-
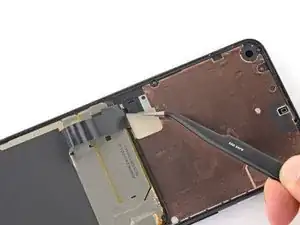
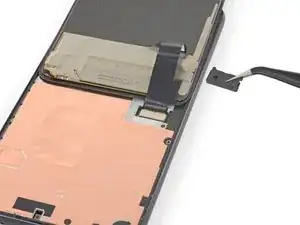
Remove the plastic cover.
-
-
-
Remove the screen.
-
Check if your replacement screen has speaker mesh and top edge adhesive pre-installed.
-
If it does, you won't need the top edge adhesive.
-
If it doesn't, remove the larger clear liner from the top edge adhesive and apply it to the screen (not the frame). Make sure the larger cutout lines up with the speaker mesh.
-
Follow this guide to apply the custom-cut adhesive.
-


Compare your new replacement part to the original part—you may need to transfer remaining components or remove adhesive backings from the new part before installing.
To reassemble your device, follow the above steps in reverse order.
Take your e-waste to an R2 or e-Stewards certified recycler.
Repair didn’t go as planned? Try some basic troubleshooting, or ask our Answers community for help.

29 comments
Where is the best place to purchase a replacement screen?
I was just wondering the same thing and it seems everywhere is sold out, only place I can find it is on eBay…
This was an excellent tutorial. One thing I would add here that caught me in reassembly: the proximity sensor is built into the inner lip on the top of the screen about 3mm to the right of the speaker grill (if you shine a bright light in that location, you will see a little blue dot where this is locate through the screen). If you are putting new adhesive on make sure not to block this proximity sensor with the adhesive.
BvZ -
Great tutorial. I just used the new original google pixel parts and this guide worked great! Only thing i wish was that there was a bit more clarity on how to apply the adhesives
Quan Dao -
Same! I needed to order another set of adhesive because at first time I ruined. Specifically that part where speaker goes. We need to attach it on screen. and all other on Phone case itself.
Also noticed that after some time, screen bends and we see gaps. I need to press time to time so it stick again. Not sure why this is so.
Took me some time to realize the adhesives should be applied to the screen, not the body -- the shape of the earphone side didn't line up on the body.
To Justas' comment, I also noticed that the adhesives tutorial says to hold firmly for 20-30 seconds. (Tip: turn phone over onto flat surface and press on the back for more even pressure than trying to do that from the front.)
I've seen other tutorials that require long holds and 24 hour set time for this type of adhesive. I have also used a silicone pipe sealer tape that adheres to itself, not the pipe, and after a month (when I did the real repair) I could not unwrap the adhesive, and it adhered well to the uneven pipe surface anyway. So I think these types of silicone based adhesives have a certain flow rate to them, and they require pressure and time for them to adhere properly. This is different from regular old tape and other more antiquated adhesives.
Kiki -
i don't understand the "screen flex cable" nor the "adhesive perimeter" instructions
Jonas Baumann -