Introduction
If your Google Home Hub 1st Generation (GA00515 or GA00516) isn't turning on and you've exhausted troubleshooting, it's probably time to replace the Hub's charging port, located on the IO daughter board. If the charging port seems wobbly, or if the charging pin is bent or missing, this is definitely the guide for you.
A quick note on device nomenclature:
The Google Home Hub 1st Generation was rebranded in 2019 as "Google Nest Hub," even though the product remained identical, which makes finding information about the proper device a bit confusing. Some retailers applied stickers to the original Google Home Hub 1st Generation's boxes to reflect the change, as seen in the photo at the top of this article, but many did not. Make sure you have the Google Home Hub 1st Generation, or the Google Nest Hub (not the Google Nest Hub 2nd Generation) before proceeding.
The first in Google's smart-speaker lineup to feature a display, the Google Home Hub 1st Generation is pretty much an unimpressive paperweight if it doesn't turn on. If a faulty charging port is keeping your Hub lifeless, then this guide will revive it.
-
-
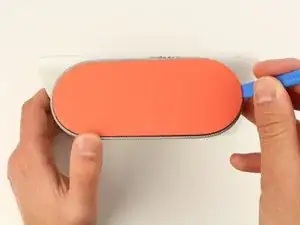
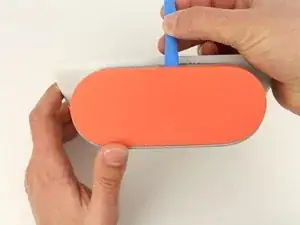
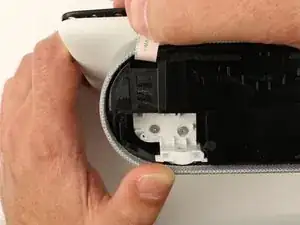
Using a blue opening tool, work your way around the perimeter of the rubber foot, prying along the way until the adhesive releases.
-
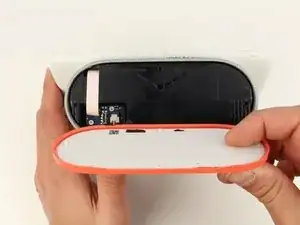
After the adhesive is broken, simply remove the rubber foot with your fingers.
-
-
-
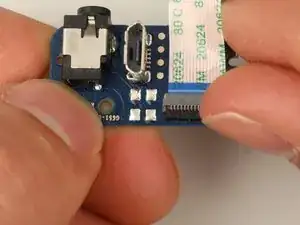
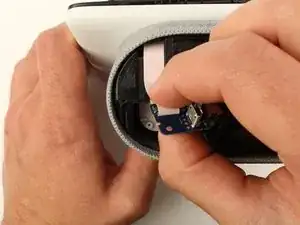
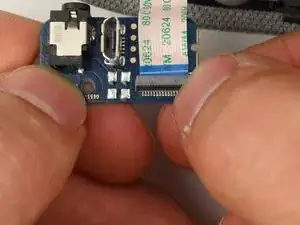
Grasp the IO daughter board ribbon between your thumb and pointer finger, then gently pull up and toward the display to unseat the ribbon cable.
-
-
-
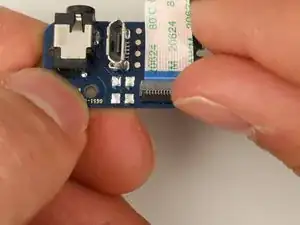
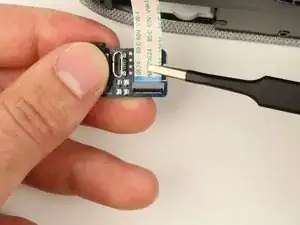
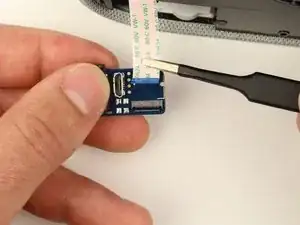
Grip the ribbon cable near the port with round-tip tweezers, and pull directly backwards, parallel to the board, to disconnect the ribbon cable. You can also use your fingers if you don't want to grab your tweezers.
-
To reassemble your device, follow these instructions in reverse order.