Introduction
Troubleshooting and replacing plastic gear in a Glade Automatic Spray Holder SJC-180. The gears for this device is 1 fan shape, 1 round one attached to the motor, and 2 round ones. They can slip off of connecting gear or be broken. This guide will help you determine the problem and fix it.
-
-
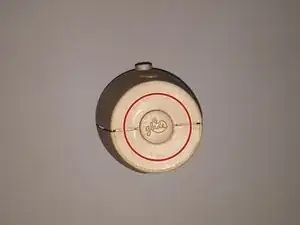
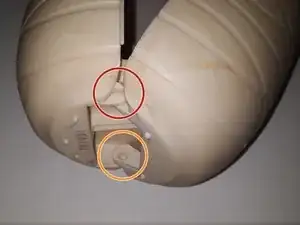
Press the button labelled glade to open the housing.
-
Locate the timer switch and slide it to off.
-
-
-
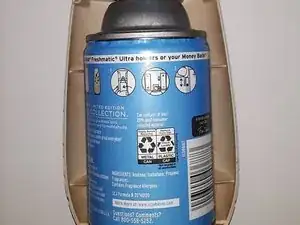
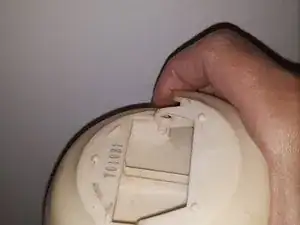
Remove the spray canister to expose the batteries.
-
Hold the device securely with one hand to prevent any movement.
-
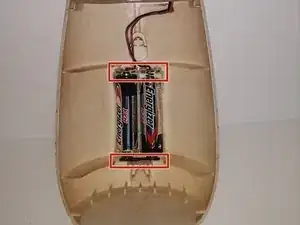
Once the spray canister is removed, you will see the battery compartment exposed, allowing for easy access to the batteries
-
-
-
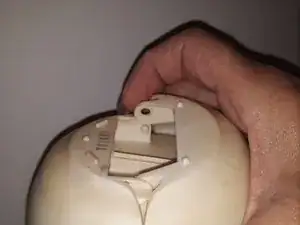
Pop one side of the hinge from its peg and slightly pull it away from the device.
-
Do the same with the opposite side of the device. Removing the cover will make it easier to work.
-
-
-
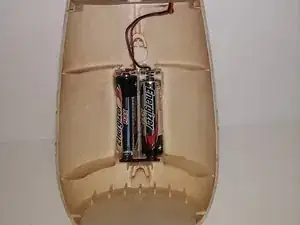
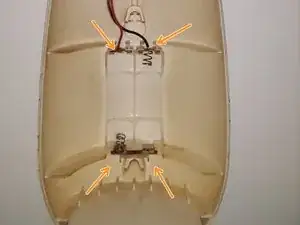
Remove the batteries to expose the terminals. The terminals are the thin metal pieces that hold the batteries in place.
-
Without the batteries, you can visually assess for problems like loose wires.
-
-
-
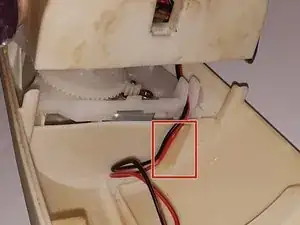
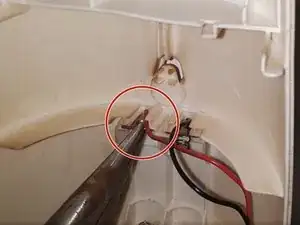
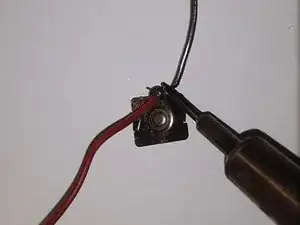
Use small needle nose pliers to gently remove each terminal. Check if any wires are disconnected or loose.
-
The terminals with negative connections (black wires) could have breaks or might have detached from the terminal base. Check for additional issues.
-
The bottom terminal is one piece instead of two pieces like the top ones.
-
-
-
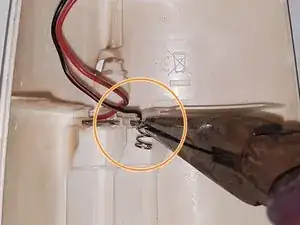
Use the soldering gun and soldering electrical wire to solder the bared wire to the terminal.
-
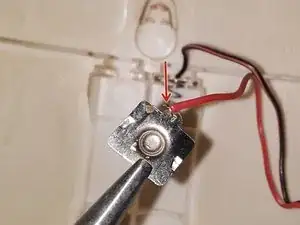
Align the bared wire with the terminal you intend to solder. Make sure the wire is properly seated against the terminal.
-
-
-
The solder does not need to be beautiful, just functional.
-
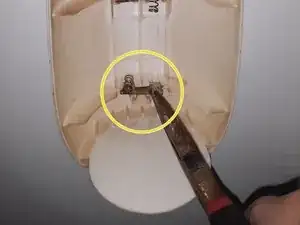
Put the fixed terminal back into the correct place to hold the batteries.
-
-
-
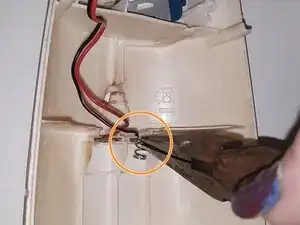
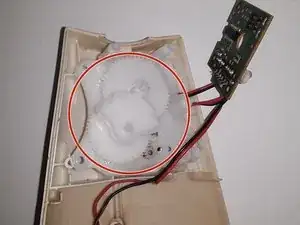
Pull off the plastic gear cover. Be careful of wires that may be stuck to the plastic cover.
-
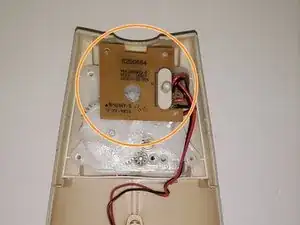
Pull upward on the circuit board. The circuit board is held in place by three pegs but is not attached to the gears.
-
-
-
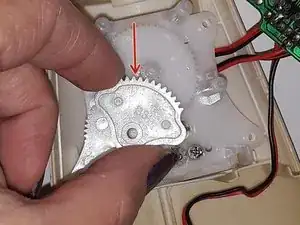
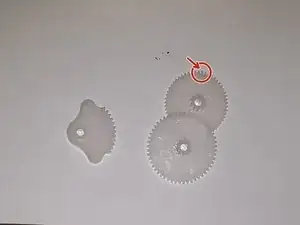
Using only your fingers, remove each gear. Start with the fan shaped gear.
-
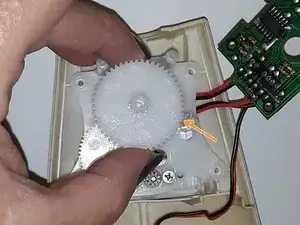
Remove the second and largest gear.
-
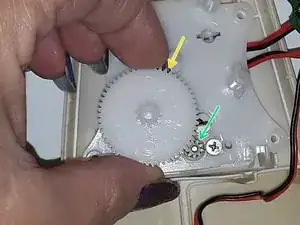
Remove the slightly smaller third gear. This will expose a small gear that is attached to the motor.
-
Do not remove the small gear that is attached to the motor. Inspect the small gear for any damage. Do not remove the motor.
-


To reassemble your device, follow these instructions in reverse order.