
Introduction
Replacing the fan will require removal of other parts such as the motherboard, keyboard and the shroud surrounding the keyboard in order to gain access to the fan.
-
-
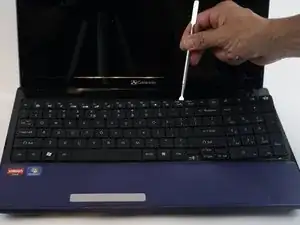
Locate the top of the keyboard, then insert a spudger into the top most edge of the keyboard where it meets the bezel surrounding it.
-
-
-
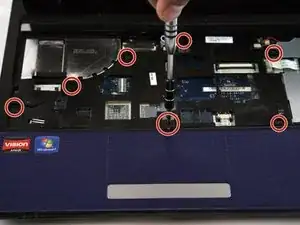
Using a #4 phillips screwdriver, remove all six 2.3mm screws from the plastic shroud.
-
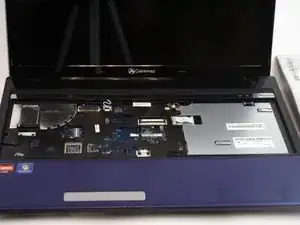
Then, lift off the shroud to reveal the motherboard beneath.
-
-
-
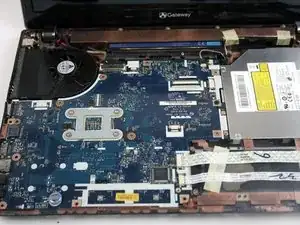
The motherboard is now readily accessible to be removed.
-
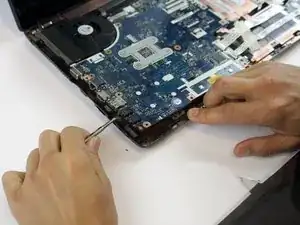
Using a spudger, gently pry the ports away from their side port containers to easily remove it.
-
-
-
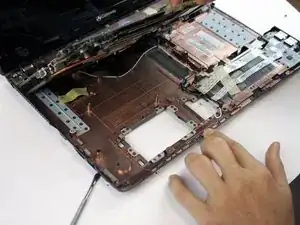
Lift the motherboard up and flip it on its back.
-
With the motherboard flipped, the fan is almost ready to be removed.
-
-
-
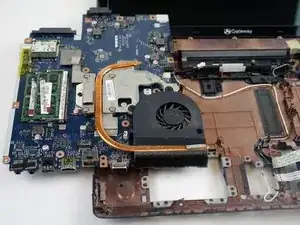
Locate the fan and its copper heat pipe running just behind it.
-
Remove the fan from the heat pipe using slight force as it is held to the pipe with an adhesive tape.
-


To reassemble your device, follow these instructions in reverse order.