Introduction
-
-
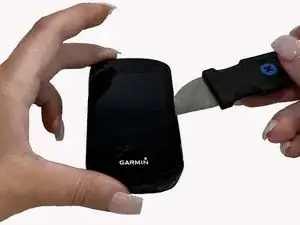
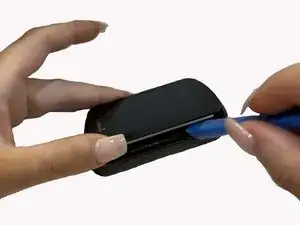
Microwave the iOpener for about 30 seconds. Then place it on top of the screen, and let it sit for about 2 minutes.
-
Repeat this process a second to ensure that the glue is becoming loose.
-
Alternative: Use a heat gun or hair dryer to heat up the glue
-
-
-
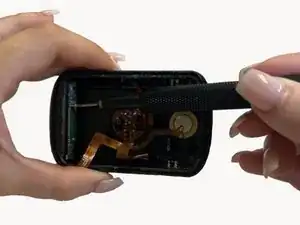
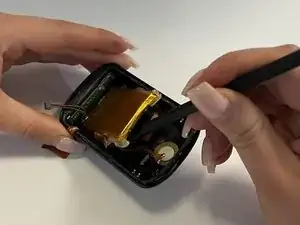
Remove brown copper tape with the FPC (not clipped). Removing of the copper tape is necessary, I didn't find a way to avoid it. Try to remove the copper tape as gentle as possible to reuse it.
-
Also remove green tape with angled tweezers and unclip in a 2nd step the FPC from the board
-
-
-
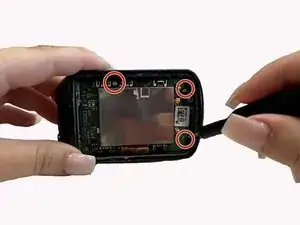
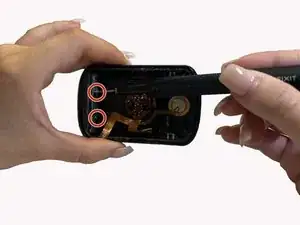
Unscrew the three 1 mm screws around the perimeter of the motherboard
-
with the 2nd screw also the light senor will come of the PCB
-
-
-
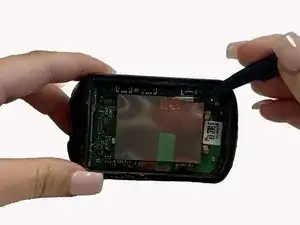
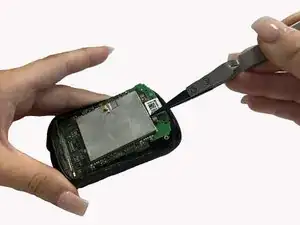
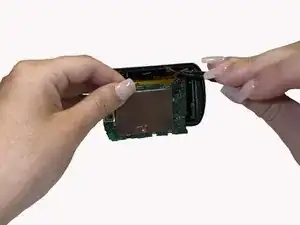
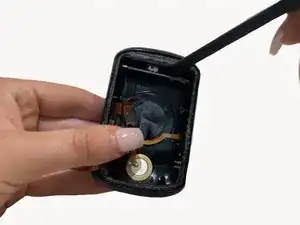
Use the reverse tweezers to gently pull on the silver box on top of the motherboard to remove it from the back cover.
-
Alternative: Use a plastic card in between PCB and cover.
-
-
-
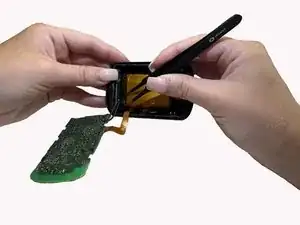
Locate the wire connector on the motherboard. Slowly release the wires by gently pulling with the blunt tweezers.
-
-
-
With the T4 screwdriver, unscrew the two 1 mm screws on the green piece located on the inside of the cable connector
-

To reassemble your device, follow these instructions in reverse order.
I have a 820 is the same process used?
Gary Roy Hogg -