Introduction
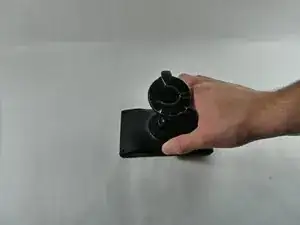
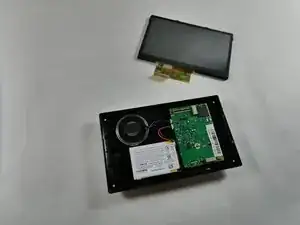
Over time, the battery in your Garmin Drive 52 and Traffic device may lose it's ability to retain charge, making it less reliable during use. This guide walks you through replacing the battery on your device to restore its performance and extend its overall life. No specialized skills like soldering or programming are required. Just basic tools and careful attention to the 3 steps provided. Whether you're experiencing rapid battery drain or complete power loss, this repair is an easy solution.
-
-
Use a T5 Torx screwdriver to remove the four screws in the corners of the backside of the device.
-
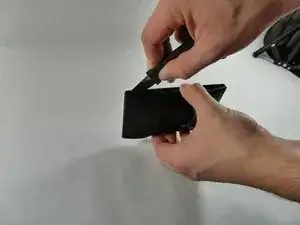
If necessary, use a Jimmy or other pry tool to open the backside of the device.
-
-
-
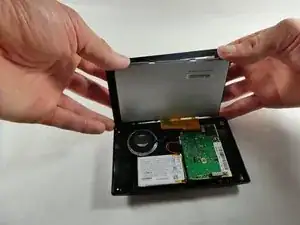
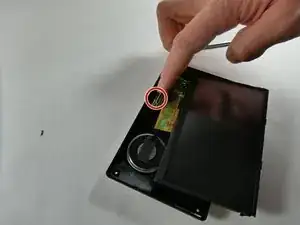
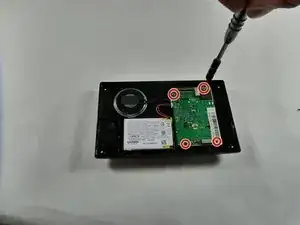
Use a T5 Torx screwdriver to unscrew the four screws securing the motherboard.
-
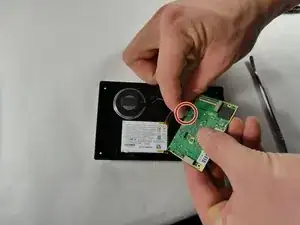
Gently detach the wiring from the motherboard and left the motherboard out.
-
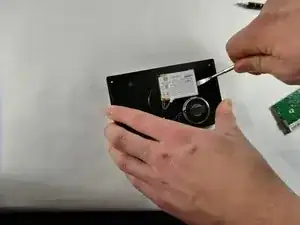
Use a nylon spudger to gently lift the battery out.
-

To reassemble your device, follow these instructions in reverse order.

One comment
Guide is great. Step by step.
At the end you could probably forgo taking out the motherboard, but better safe than sorry. Only hard part was re-attaching the screen to the zip connector again. Small space, used a flat spidger to flip the zip connector down once I had the connector strip in place.
Thank you for this guide saved me $140 on a GPS.