
Introduction
This guide goes over how to replace the motherboard on a GameSirT4 Pro controller. If your controller is having major problems with multiple components, replacing the motherboard may solve the problem.
-
-
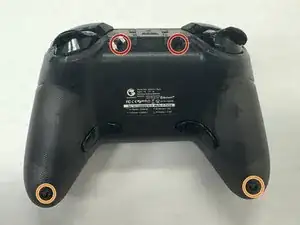
Remove the following screws on the back case using a Phillips screwdriver:
-
Two 9.2 mm
-
Two 11.3 mm
-
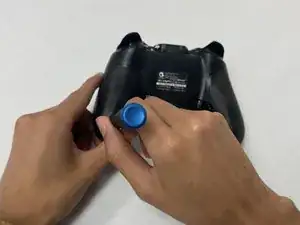
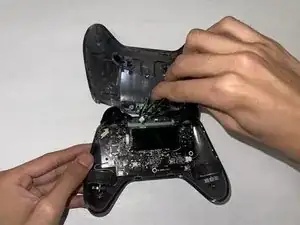
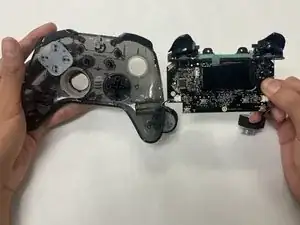
Insert an opening tool in the seam between the front and back case.
-
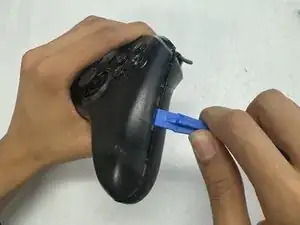
Pry around the perimeter until the back case releases.
-
-
-
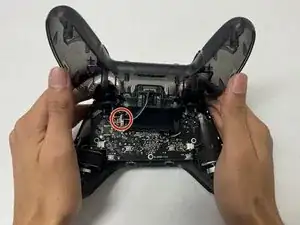
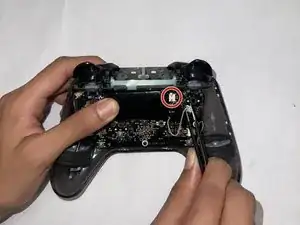
Gently pry the battery off of the motherboard, with care not to bend the cell.
-
Grip the white battery connector with tweezers and pull it directly out of its motherboard port.
-
-
-
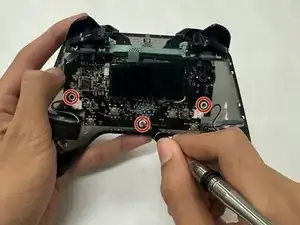
Remove the three 7.1 mm Phillips #0 screws from the motherboard.
-
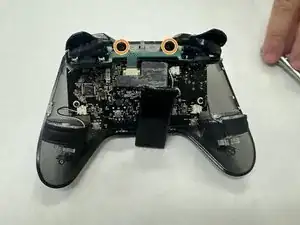
Remove the two 7.1 mm Phillips #0 screws that secure the trigger assemblies.
-
To reassemble your device, follow these instructions in reverse order.
