Introduction
If your Fujitsu Lifebook model a6110 laptop is overheating, or if the fan in the laptop is louder than it used to be and using compressed air didn't resolve the problem, then you will likely need to replace your fan. This guide will show you a step-by-step process on how to replace the fan in the computer.
-
-
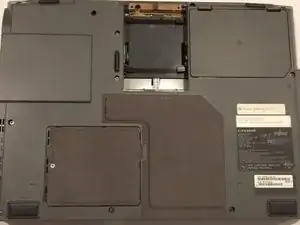
Flip your laptop so that the bottom of the laptop is facing up and the hinges of the screen are closest to you.
-
-
-
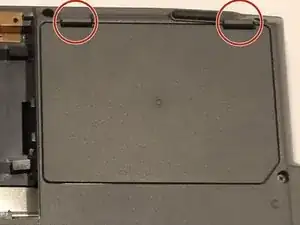
To remove the battery, place your fingers underneath the two clips and simultaneously lift them up while pulling the cover towards you.
-
-
-
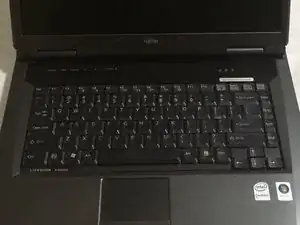
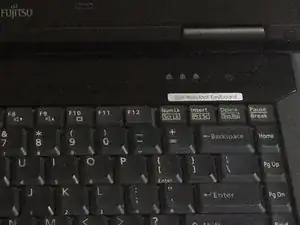
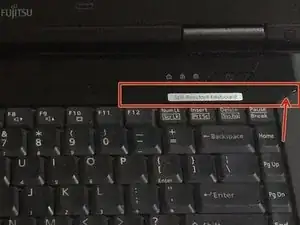
Position the laptop like you would if you were to use it. Open the screen to a 180 degrees angle. The screen and the keyboard needs to face up before proceeding.
-
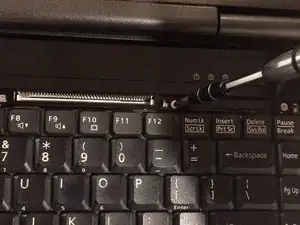
Using a flat edge of the plastic spudger, gently lift the piece of plastic located in the red square. Carefully insert the spudger between the inner edge marked by the arrow.
-
-
-
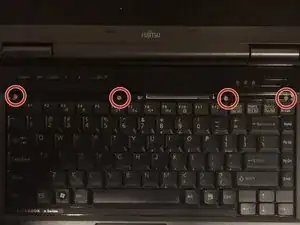
With a Phillips #1 screwdriver, unscrew the four-six mm screws that were hidden under the plastic piece you removed.
-
-
-
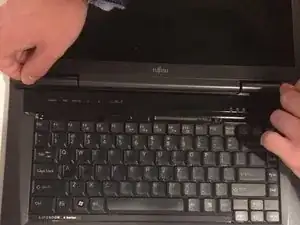
Lift up on the inner edges of the hinges for the screen. This will detach the face-plate from the computer. Use a spudger to make this process easier.
-
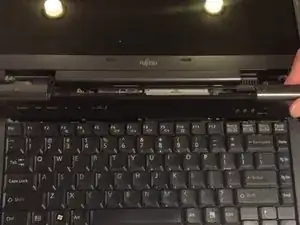
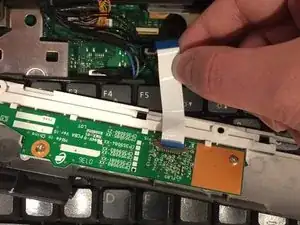
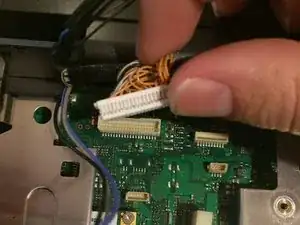
The ribbon is located in the top left-hand corner and needs to carefully disconnected from the motherboard, as shown in the next step.
-
-
-
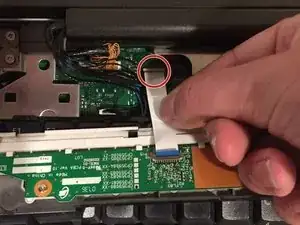
Detach the ribbon from the motherboard, which will allow you to finish removing the face-plate from the computer.
-
To detach the ribbon, grip the ribbon at the base that is attached to the motherboard, which is the large green circuit-board in the body of the computer.
-
-
-
Detatch the ribbon from the motherboard
-
To detach the ribbon, grip the ribbon at the base that is attached to the motherboard, which is the large green circuit-board in the body of the computer.
-
-
-
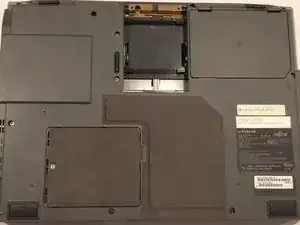
Close the screen of the laptop, then flip the computer over so that the bottom side is facing up.
-
-
-
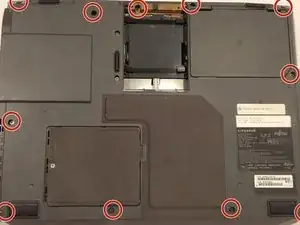
Using a Phillips #1 screwdriver, remove the eleven 1 cm screws located around the perimeter of the laptop's edge.
-
-
-
Flip the computer over again, like it was before removing the screws. The screen must be opened and pushed down so that it lies flat with the keyboard. Both the keyboard and screen must face up.
-
-
-
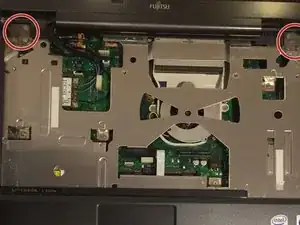
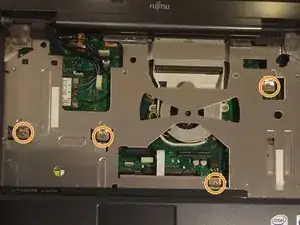
Using a Phillips #1 screwdriver, remove the six 6 mm screws located on the top right and top left corners of the laptop.
-
Using a Phillips #1 screwdriver, remove the four 6 mm screws located around the motherboard.
-
-
-
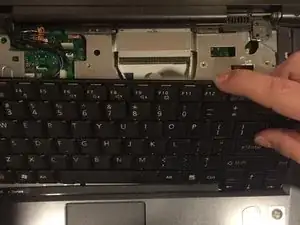
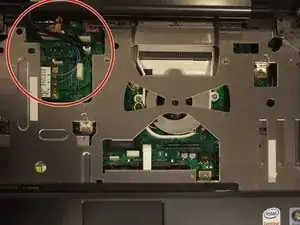
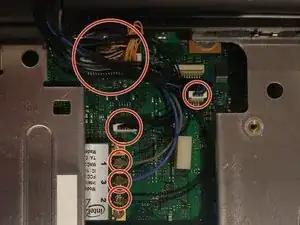
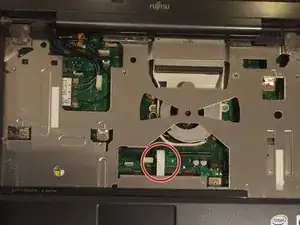
You will notice a cluster of wires at the top left-hand corner of where the keyboard used to be.
-
Carefully detach all wires that are grouped together from the motherboard using either your hands or a spudger.
-
-
-
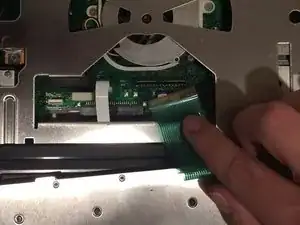
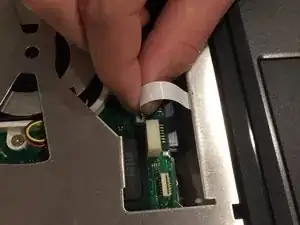
To remove the metal undercarriage of the keyboard, you must first detach the ribbon cable connected to the trackpad. Firmly grasp the base of the ribbon cable where it connects to the motherboard and gently pull it upward to disconnect it.
-
-
-
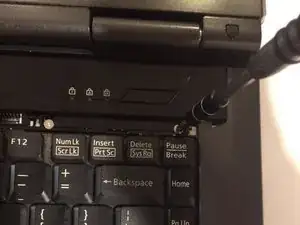
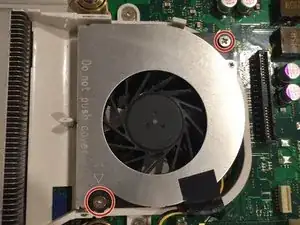
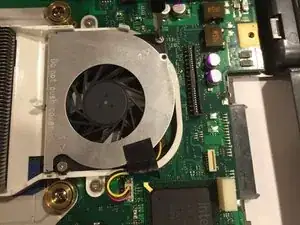
Located around the fan, there are two-three mm screws that need to be removed. Use a Phillips #1 screwdriver to turn these screws counter-clockwise and unscrew them.
-
-
-
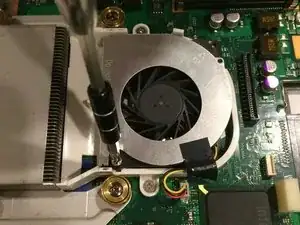
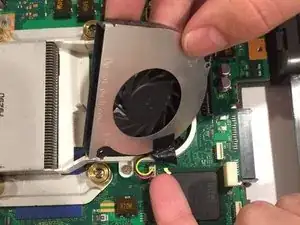
The fan is now held in place by a wire, and a piece of anti-static tape.
-
Remove the wire by pulling it from the motherboard, using either your hands or a spudger.
-
The tape can simply be peeled away.
-


To reassemble your device, follow these instructions in reverse order.