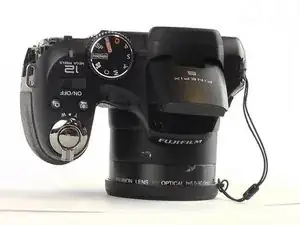
Introduction

Is the button to take a photo on your Fujifilm Finepix S1800 jammed or broken? This guide will show you step by step on how to replace the jammed or broken button.

  1. V11CkWYR3HUROEhG
    • Unscrew the four 4mm screws on the left-hand side of the camera with the JIS #1 screwdriver.

  2. TMsLQEvHtpTmFiYl
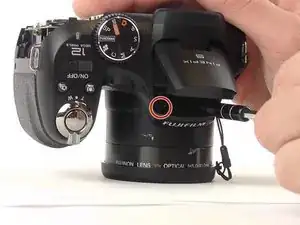
    • Unscrew the four 4mm screws on the right-hand side of the camera with the JIS #1 screwdriver.

  3. m2qRLxeKBsYSXVFe
    • Unscrew the three 4mm screws on the bottom of the camera with the JIS #1 screwdriver.

  4. TjkM3xTrySaQxV1S
    TjkM3xTrySaQxV1S
    cBlZUjiRreZnHfGL
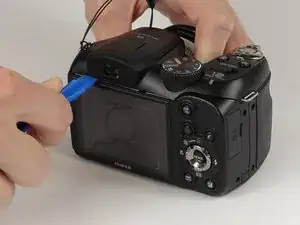
    • Take the plastic opening tool and place it in the space between the top of the screen and the top of the camera.

    • The cover will pop out.

    • You may have to work the back cover from different sides to get it to pop off.

  5. FvJFRBjZ26mRQg1O
    FvJFRBjZ26mRQg1O
    dhhO2lNcIpSrqa3T
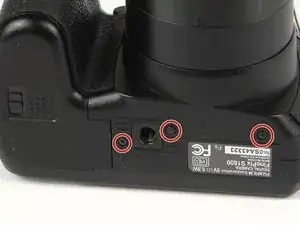
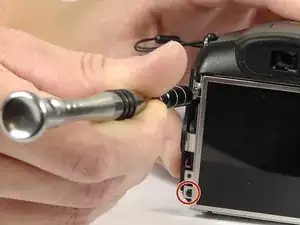
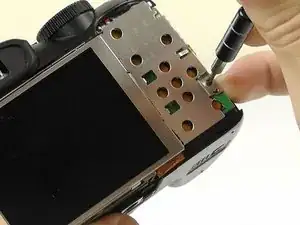
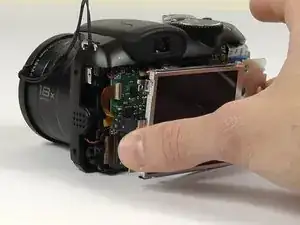
    • Remove the three 2 mm screws from the back cover plate with the Phillips #000 screwdriver.

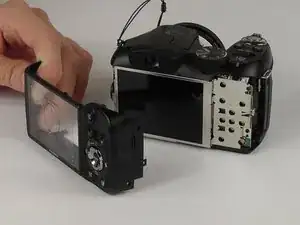
    • Gently lift the back cover away from the device.
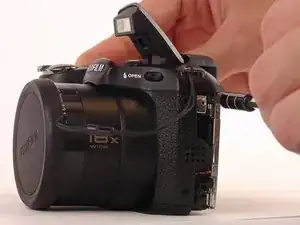
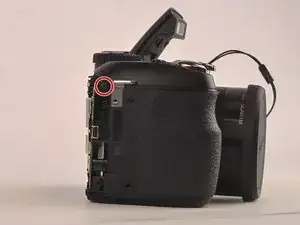
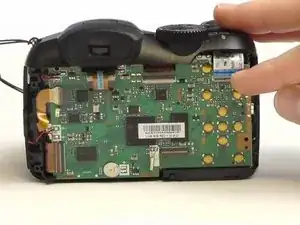
    • Do not pull or yank free. The LCD screen is connected to the motherboard via a small ribbon cable.

  6. NUDSiRJF6KX5dJuI
    • Move the lever to disconnect the ribbon cable from the circuit board.

    • Do not rip the fragile micro ribbon cable.

  7. 5QqNCCRsttHjsaKM
    • Gently remove the LCD screen.

    • Do not touch the screen directly.

  8. vOZZZ2fdM5SwMvWV
    • Lift the flash.

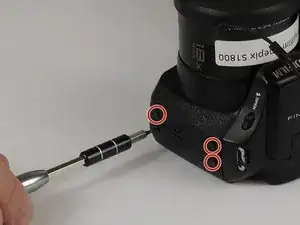
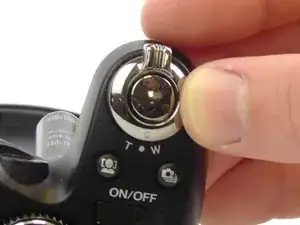
    • Remove the two 4 mm screws from the top of the camera with the JIS #1 screwdriver.

  9. xpaSaAFGXct2vGix
    xpaSaAFGXct2vGix
    i6duMxq5ZhNK4OGI
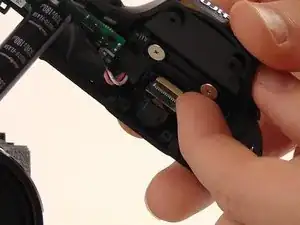
    • Remove the 4 mm screws from the left and right sides of the camera with the JIS #1 screwdriver.

  10. ZVDUkrLlDRUyRXJu
    ZVDUkrLlDRUyRXJu
    IEJo5kONpZuHHMNL
    • Switch the lever to disconnect the micro strip that connects the top plate.

    • Do not rip the micro strip.

    The second photo is after the top cover is removed. I’m repairing a s1600. The lens is stuck. But this guide and inside looks almost 100% the same as my s1600. Only thing is: i can’t remove the top cover. Removed all the same screws but the only difference is the lcd has no screws. Anyway the only screws I haven’t removed are the once inside the battery case (the 2 extra in the flash, not done here are also removed) Anyway the topcover looks stuck. And i’m going to try a plastic prying tool. The battery screws are very short. Maybe they are the problem but they look like they only hold the spring bumpers for battery. It must be difficult to put these bumpers back. But I must say I did 1. And the bumper is not falling out. So try those 3 screws first and then pry open the top.

    Rogier Keller -

  11. k1F3A2DeOa1nsJCX
    • Remove the top cover.

  12. cMBhoeQkYAxe5S3b
    • Remove the two 2 mm screws underneath the plate with the Phillips #000 screwdriver.

  13. V26m1Hv6s2JMIEph
    V26m1Hv6s2JMIEph
    1HhpnFSTiOB6KWuT
    • The button should fall right out.

Conclusion

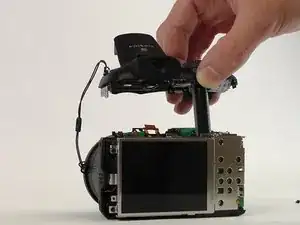
To reassemble your device, follow these instructions in reverse order.

Ryan Rockford

Member since: 15/02/17

618 Reputation

One comment

CAUTION! Different hardware versions! Following this guide might destroy your camera!

My S1800 had LCD not screwed to the body, but glued to the back cover. At the step 4 it came off together with the cover, destroying the ribbon cable, which is really short and fragile.

AntonG -