Introduction
This guide serves as a tear-down of the frame and is meant to be used with the intention of removing it. This action is needed to access the inside components.
Warning: The frame may be damaged in this process, as well as the ribbon cable that connects the motherboard with the LCD Screen. Be very careful with the removal of the frame to avoid any damage.
Tools
-
-
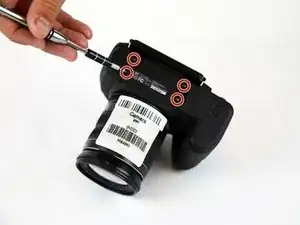
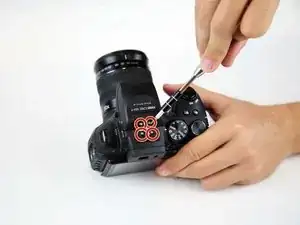
Flip the camera so that the bottom is facing upwards.
-
With the Phillips #00 screwdriver, remove all four screws.
-
-
-
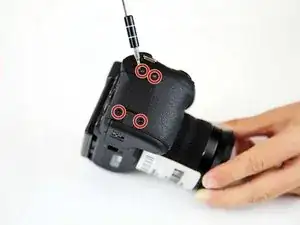
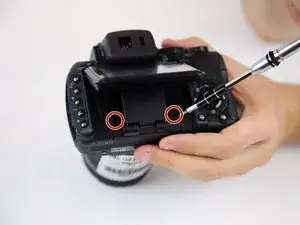
Flip the camera so that it is now on the right side.
-
With the Phillips #00 screwdriver, remove all four screws.
-
-
-
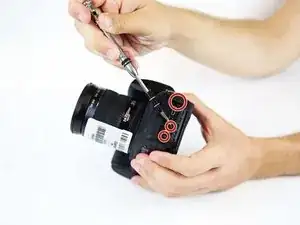
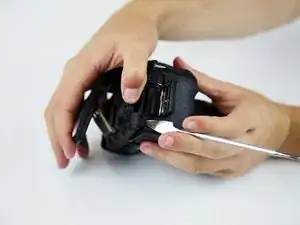
Flip the camera so that it is now on the left side.
-
Move or remove the flap hiding the camera ports.
-
With the Phillips #00 screwdriver, remove all screws.
-
-
-
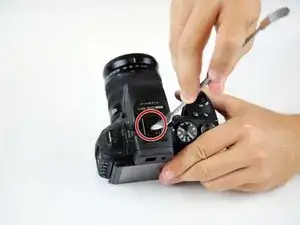
Flip the camera so that it is now on the top side.
-
With a spudger, pry off the highlighted metal piece of the camera.
-
-
-
Pull the LCD screen up and out of the way.
-
With the Phillips #00 screwdriver, remove the screws.
-
To reassemble your device, follow these instructions in reverse order.
