Introduction

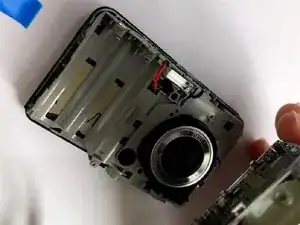
The sensor of the camera detects and conveys information used to make an image. If the sensor is damaged, the camera can not take a picture properly. If your pictures are coming out dark or faded, etc., you may need to replace the sensor. Follow the steps in this guide to safely replace the sensor.

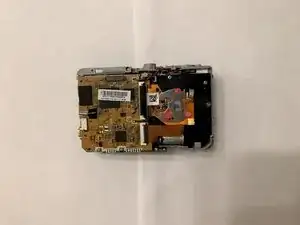
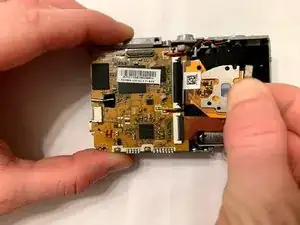
The camera will be completely open in this replacement. Make you carefully look at the pictures to see which parts you are working with, so you are not removing the wrong thing.

  1. cCEOFT2JKLBJWa2H
    cCEOFT2JKLBJWa2H
    QIYA4ahFAJZrxmsj
    GSUSNlgUTFBsrMvw
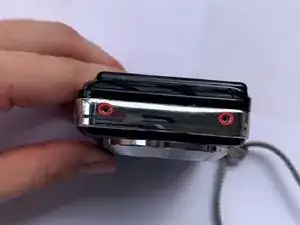
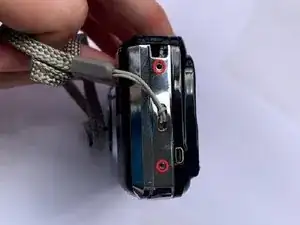
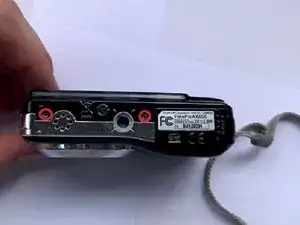
    • Use a #00 Phillips screwdriver to remove all six screws around the camera that is holding the case.

  2. yDHEbwDmaYfBS4Dd
    yDHEbwDmaYfBS4Dd
    gBrtAlmRr4uxNvmU
    KFKIBc1Up4rBR3OK
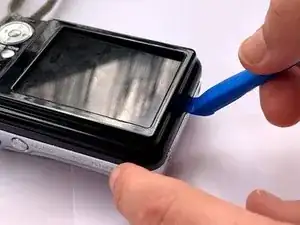
    • Use a plastic pick to separate each side of the camera case apart.

  3. ZFHSYMnXFpSWyRFI
    ZFHSYMnXFpSWyRFI
    sa2xFMGPxkliRbOB
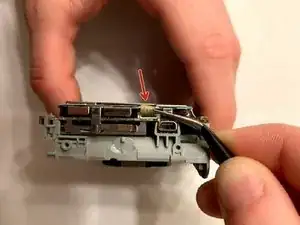
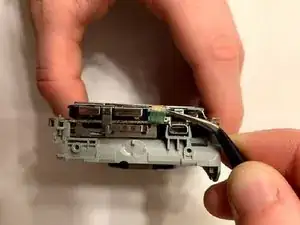
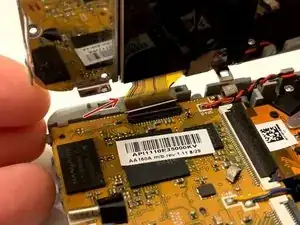
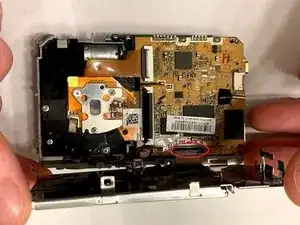
    • Remove the ribbon cable from the side of logic board.

  4. ITZWLeb2bSMhubJM
    ITZWLeb2bSMhubJM
    Zo5YjhxLPvkTFQ1I
    • Remove the four metal clips around the camera until you can feel the metal bracket that holds the screen pop off.

  5. hHNToHiBaW5YHoch
    hHNToHiBaW5YHoch
    slSp6OMRYPoWDXiG
    • Carefully flip the screen and remove the ribbon cable attaching it to the logic board.

  6. xqrAGqVdAP2BLGlk
    • Remove the three screws holding the sensor.

  7. S2mnqxtqjgq4eUFu
    S2mnqxtqjgq4eUFu
    S1tMGGlXJxHjQ1XN
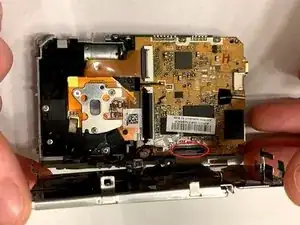
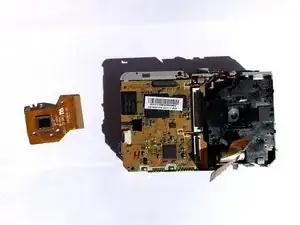
    • Remove the sensor ribbon cable from the logic board.

Conclusion

To reassemble your device, follow these instructions in reverse order.
Zheng Xu

Member since: 18/09/19

771 Reputation

0 comments