Introduction
The camera can not take a proper picture if the gears in the lens are broken or worn out. The replacement of the gears will ensure the proper movement of the lens and the quality of the pictures. If the lens of your camera sticks or will not move when you try zooming in or out, follow this guide to safely replace the lens assembly and gears.
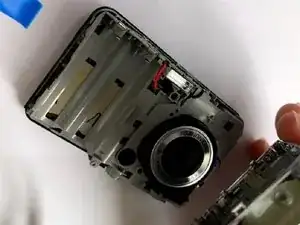
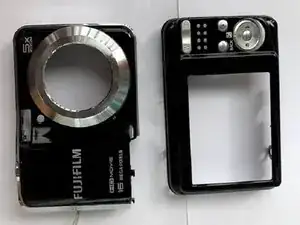
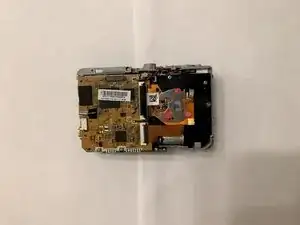
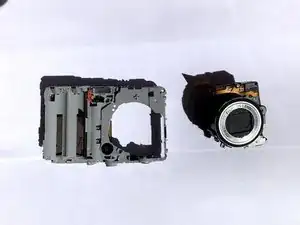
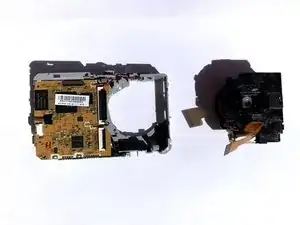
The camera will be completely open during this repair. Follow the pictures carefully to make sure you are working with the correct parts
Tools
-
-
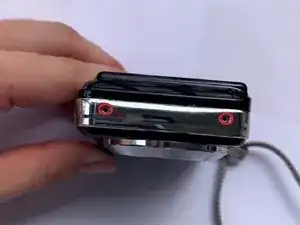
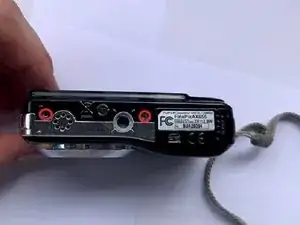
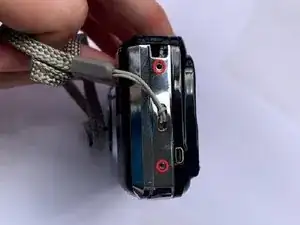
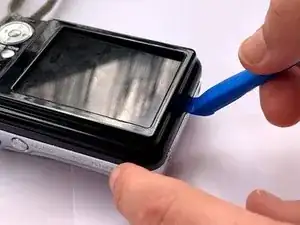
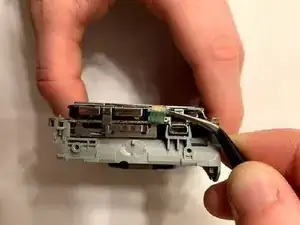
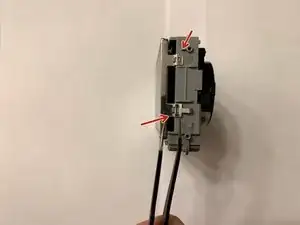
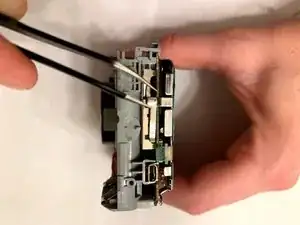
Remove the four metal clips around the camera until you can feel the metal bracket that holds the screen pop off.
-
-
-
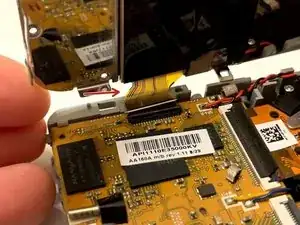
Carefully flip the screen, lift the narrow black latch that retains the ribbon cable and remove the ribbon cable attaching it to the logic board.
-
-
-
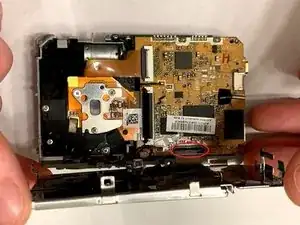
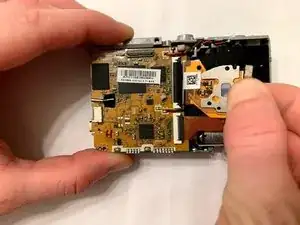
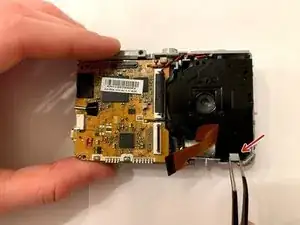
Carefully peel off the black rubber tape covering the sensor ribbon cable connector on the logic board, lift the narrow black latch that retains the ribbon cable and remove the sensor ribbon cable from the logic board.
-
-
-
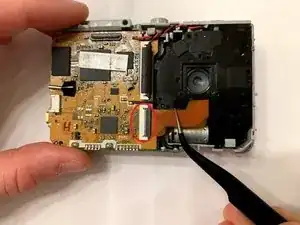
Lift the narrow black latch that retains the lens housing ribbon cable and remove the lens housing ribbon cable.
-
-
-
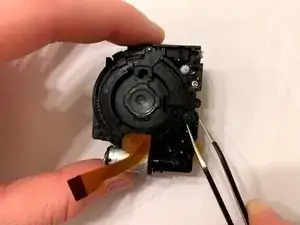
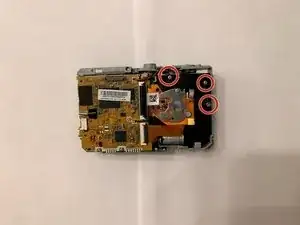
Remove the three screws holding the cover of the lens housing.
-
Carefully remove the lens housing top cover.
-
-
-
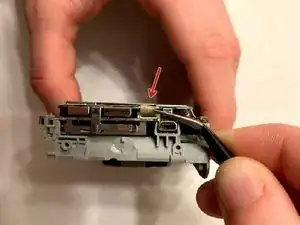
Inspect all the gears and make sure they are functioning correctly.
-
Replace the gears as needed.
-
To reassemble your device, follow these instructions in reverse order.
2 comments
I used this guide to access the lens motor on a Fuji FinePix AX350 since it was the closest guide to my camera (lens was stuck in the open position and removing/replacing batteries to not solve the issue). There are a few small differences between the two cameras: the AX350's LCD bracket has a retaining screw in addition to the clips; also, the AX350's lens housing cover has two additional retaining screws.
The lens's main gear train was OK, so I drove the motor forward & backward using a 3V DC supply to free up the lens retraction/extension mechanism.
The only issue I had with this guide is that it was not clear the the LCD, Sensor & Lens Ribbon Cable connectors have flip-up latches and the flip-up latch on the Sensor Ribbon Cable is under an adhesive strip.
can you help me on finepixe jv 500?
Q_pl -
