Introduction
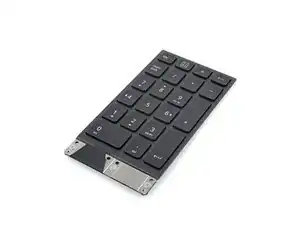
Use this guide to replace the numpad, aka "numpad module," in your Framework 16" laptop.
Note: the laptop used in this guide is a generic setup of one US keyboard, one numpad module, and two touchpad spacers. Your setup might vary, but the procedure should remain the same.
-
-
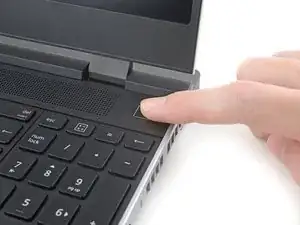
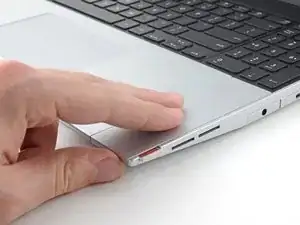
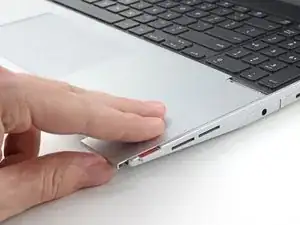
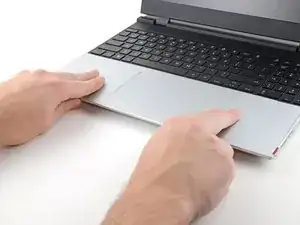
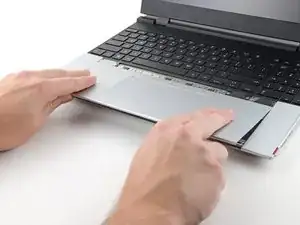
Use your fingers to slide the touchpad spacer toward the bottom edge of the laptop and unclip it.
-
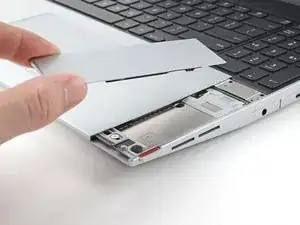
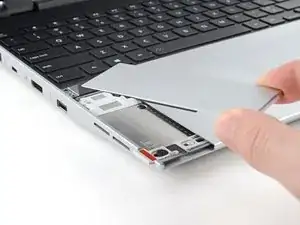
Lift the touchpad spacer off the laptop and remove it.
-
-
-
Use your fingers to slide the touchpad toward the bottom edge of the laptop and disconnect it.
-
Lift the touchpad and remove it.
-
Place the touchpad flat on its cutout so its clips are properly aligned.
-
Press the touchpad down and slide it into place so it lines up evenly with the bottom edge of the laptop.
-
-
-
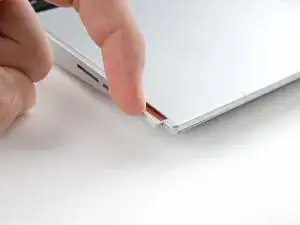
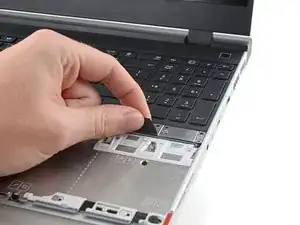
Grip the pull tab at the bottom of the numpad.
-
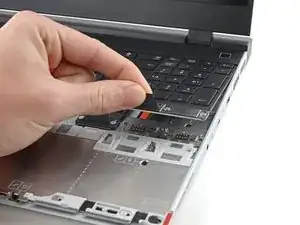
Lift the pull tab until the numpad magnets release.
-
Remove the numpad.
-
To reassemble your device, follow these instructions in reverse order.
Take your e-waste to an R2 or e-Stewards certified recycler.
Repair didn’t go as planned? Try some basic troubleshooting, or ask our Answers Community for help.





Step 1 is not really necessary, it is up to you. The keyboard, trackpad, etc, can be hot-swapped, meaning you can remove them at any time when the laptop is off OR on. The keyboard and the macropad/numpad/spacers/LED matrixes all lose power anyways when the trackpad is slid out of its resting spot. Turning off the power or doing a restart may help if some software of yours isn't happy with you swapping your keyboard on the fly.
ChazIsBuns -