Introduction

Use this guide to replace the display in your Framework 16" laptop.
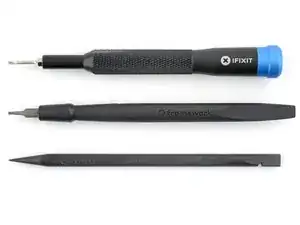
  1. FyZqYQXlGGSUVdfO
    FyZqYQXlGGSUVdfO
    ddbQkHnXk5QEvLfj
    • Unplug all cables and fully shut down your laptop.

    • If your repair requires a spudger, a T5 Torx, or a Phillips screwdriver, you can use the included Framework screwdriver. Whichever works best for you!

    Step 1 is not really necessary, it is up to you. The keyboard, trackpad, etc, can be hot-swapped, meaning you can remove them at any time when the laptop is off OR on. The keyboard and the macropad/numpad/spacers/LED matrixes all lose power anyways when the trackpad is slid out of its resting spot. Turning off the power or doing a restart may help if some software of yours isn't happy with you swapping your keyboard on the fly.

    ChazIsBuns -

  2. qLKFBdwHbQ1G3kBv
    qLKFBdwHbQ1G3kBv
    rFsMgVMOBROMqVDf
    RKrCCc6N1jyoKSRn
    • The bezel is secured with magnets!

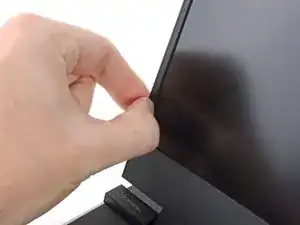
    • Slide your fingernail under the inside edge of either bottom corner of the bezel.

    • Pull the bezel away from the screen to release the first few magnets.

  3. LXKfs1vvVxx2TyYV
    LXKfs1vvVxx2TyYV
    jFv66UlfoSIpvCYb
    YSNyOLKkaaGhVwke
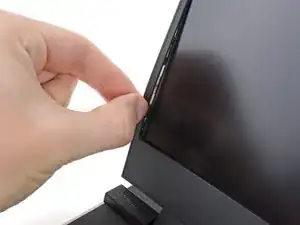
    • Lift the bezel around the perimeter of the screen until all of its magnets are released.

    • Remove the bezel.

  4. OZqOaHhJNdGem5aA
    OZqOaHhJNdGem5aA
    CaxZ6WNtKfppNcVq
    VT1nbCkENXktVWpk
    • Use a T5 Torx screwdriver to remove the four 2.4 mm‑long screws securing the display.

    • During reassembly, support the screen frame with your other hand as you reinsert screws to prevent the laptop from accidentally tipping over.

  5. 1EnSJVuuVB3yQMeA
    1EnSJVuuVB3yQMeA
    3Fi2D3HAjcqOkLFF
    EnjbhYaK4hgkGeCA
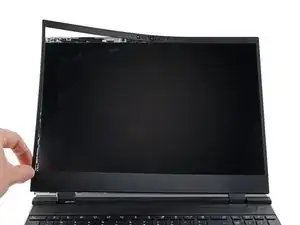
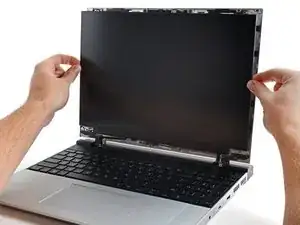
    • Grab the display and pull it straight off the screen frame to free it from its alignment pegs.

    • Don't pull the display too far from the frame, as it's still attached by a cable.

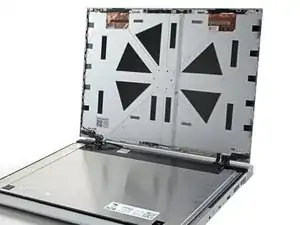
    • Flip the front of the display down and rest it on the keyboard.

  6. BfMDEnBwdbEJ6j2U
    BfMDEnBwdbEJ6j2U
    25X1UYc6ABQ566cl
    • Use your fingers to flip up the plastic tab and access the connector underneath.

  7. CPlEOksHhsXDpsJ2
    CPlEOksHhsXDpsJ2
    A3Uido2gUqK4ghgG
    • Use the flat end of a spudger to lift up the metal locking tab over the display connector.

  8. Ks1dyWdoBihukqJC
    Ks1dyWdoBihukqJC
    uoLGwoyGWwSURi3j
    3RqphZpW3S6LAvDS
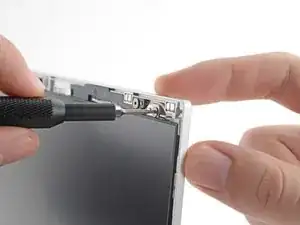
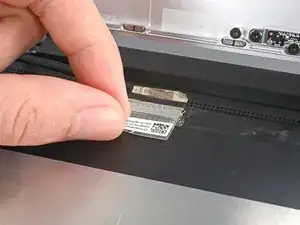
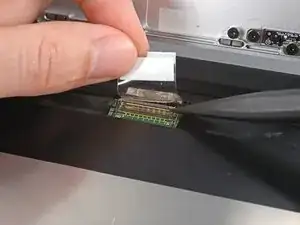
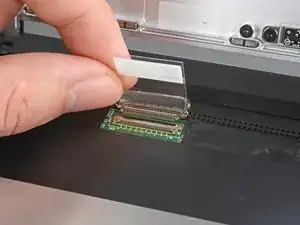
    • Grip the display cable where it meets the connector head.

    • Slide the connector straight out of its socket to disconnect it.
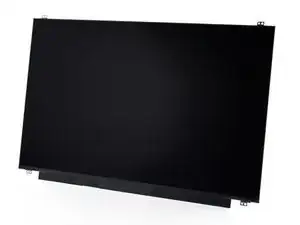
    • Remove the display.

Conclusion

To reassemble your device, follow these instructions in reverse order.

Take your e-waste to an R2 or e-Stewards certified recycler.

Repair didn’t go as planned? Try some basic troubleshooting, or ask our Answers Community for help.
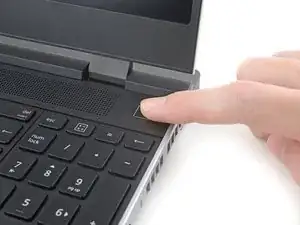
Alex Diaz-Kokaisl

Member since: 16/01/22

151892 Reputation

0 comments