Introduction
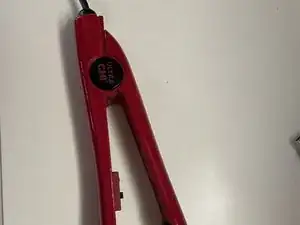
Replacement power cords for the Chi Flat iron are not readily available. This repair uses a common component to replace the original swivel power connector and make the iron usable again.
-
-
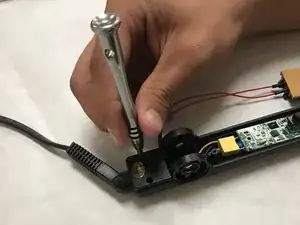
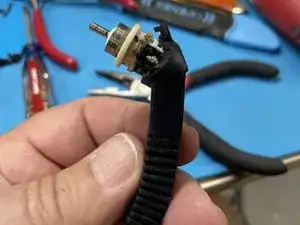
Follow the disassembly procedure for Chi in other postings. My swivel cord developed a broken wire and could not be fixed. A new replacement cord was not readily available.
-
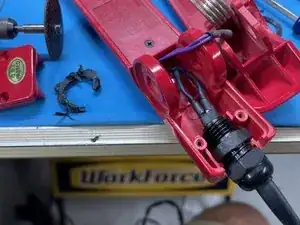
The end result will be a working flat iron with a cord that is fixed in place securely.
-
-
-
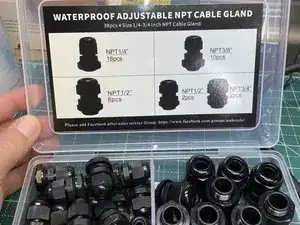
These Cord Glands can be found at a hardware store or online. Cord will not swivel anymore, but will be secure and safe to use.
-
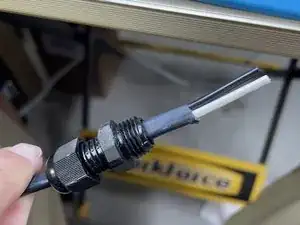
This solution will use a 1/4 inch NPT Cable Gland to secure the cord in the flat iron so that it can be safely used.
-
-
-
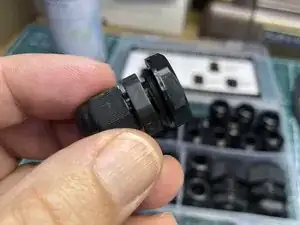
The replacement gland fits very securely, but I had to sand down the top and bottom of the nut (compare the two images closely) to get the cover to fit down. It's nice and snug.
-
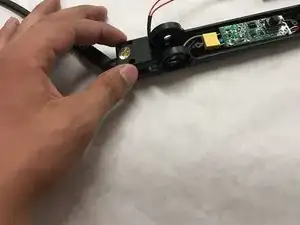
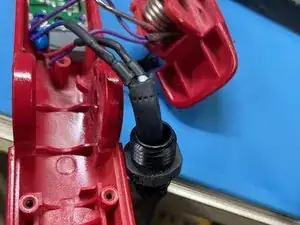
The Cable Gland is a friction fit in the device and the chassis nut is not needed.
-
-
-
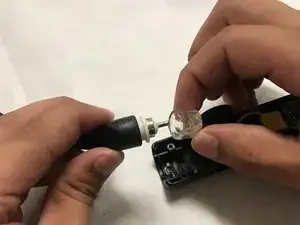
Be sure to not forget to thread the end cap on the wire before threading the power wires through the gland.
-
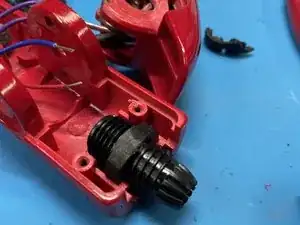
Test the fit in the device. You may have to sand the plastic gland a bit to get that perfect fit.
-
I had to sand down the end cap (shorten it a bit) to get the end cap to tuck into the iron and really tighten on the wiring. The photo shows the end cap before being shortened.
-
I used a dremel tool to grind down the cap.
-
-
-
Be sure you have test fit the connector, including the end cap that you have cut down to be sure that the cover will fit down securely. Do this before you solder everything.
-
Use some heat shrink tubing to cover the solder joints.
-
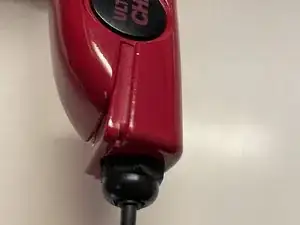
You can see how I trimmed down my end cap in the final image. Everything now fits, the end cap of the gland is tight and the cover fits perfectly.
-
-
-
Before you reassemble, test the iron.
-
Be sure you have sealed up all expose wires with heat shrink tubing to prevent any shock hazard.
-
Reassembly is the reverse of assembly.
-

This solution will restore your flat iron to working condition when you cannot find an original replacement cord. Otherwise, you have to throw this into the landfill.
