Introduction
A faucet aerator is a small yet significant fixture in your kitchen or bathroom sink that helps to control the water flow, reduce splashing, and conserve water. Over time, these aerators can become clogged or damaged, leading to issues like low water pressure or inconsistent water flow. If you're experiencing such problems, it may be time to replace your faucet aerator.
In this guide, we'll walk you through the step-by-step process of replacing a faucet aerator. Our guide will help you tackle this simple and satisfying task with confidence.
So let's get started!
Tools
Parts
-
-
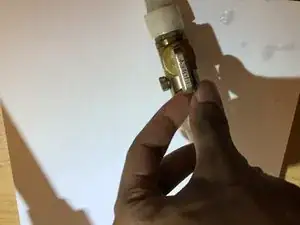
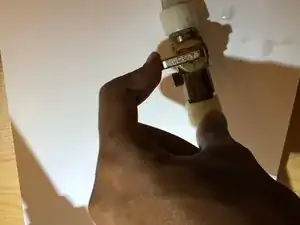
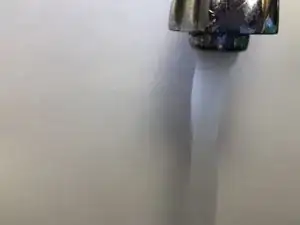
To shut off the water supply to the sink, rotate the valve in a clockwise direction until it stops.
-
-
-
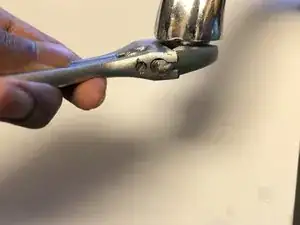
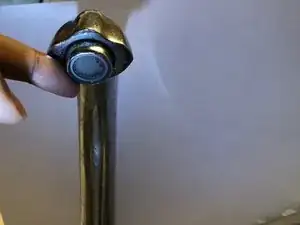
To remove the aerator, use an adjustable wrench to rotate it in a clockwise direction until it is loosened.
-
-
-
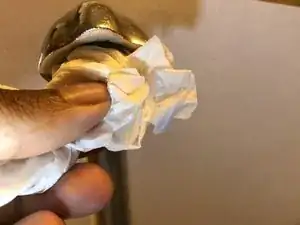
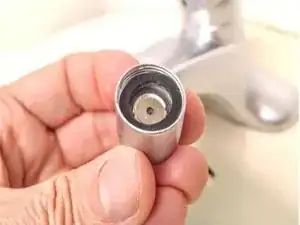
To ensure a smooth installation, clean the threads on the faucet to eliminate any dirt or debris.
-
-
-
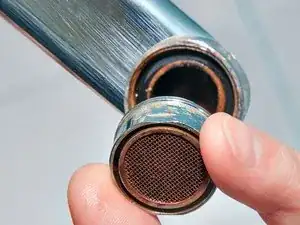
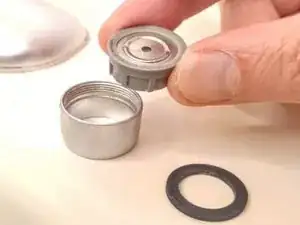
Carefully insert the new aerator into the collar, making sure that the mesh end is facing downward. Push the aerator firmly into the collar to ensure a tight fit.
-
Place the aerator gasket on top of the aerator within the faucet collar. This will create a seal between the aerator and the faucet, preventing any water from leaking out.
-
Use your fingers to tighten the faucet collar and aerator onto the end of the faucet.
-


To summarise, changing the faucet aerator is an easy and affordable solution to increase water flow and save water in your kitchen or bathroom sink. You can quickly determine the type of aerator you have, choose the proper replacement component, and install it correctly by following the step-by-step procedure described in this article.
We really hope that this guild has been useful in assisting you as you replace a faucet aerator. Feel free to contact a plumbing expert for advice if you have any questions or concerns.
Good luck! Thank you for reading!