Introduction

To replace many of the components on the Epson PowerLite Home Cinema 1040, you must first start by removing the projector housing. This guide contains the step by step instructions to remove this housing and access the inner components of the projector.

  1. 3UohAecxWCXNLvws
    • Turn off the projector and unplug the power cord.

    • Allow the projector lamp to cool down for an hour or more to prevent injury.

  2. XE5WXtsfqGUhRiTO
    XE5WXtsfqGUhRiTO
    rRmKhd5H5eQycBBH
    RZh3iQPNCyLNpFXZ
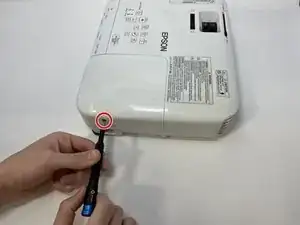
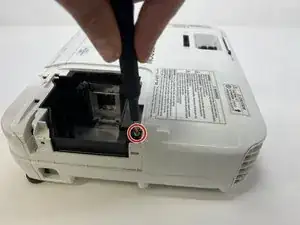
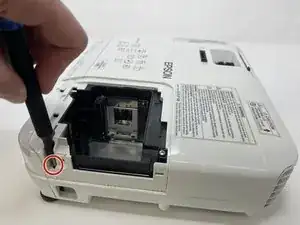
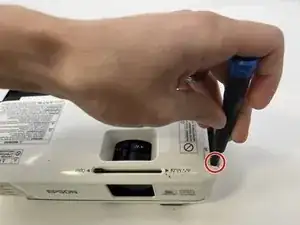
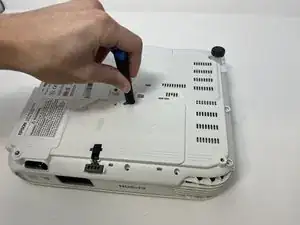
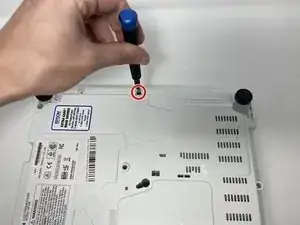
    • Use the Phillips #2 screwdriver to remove the 9 mm screw that secures the lamp cover.

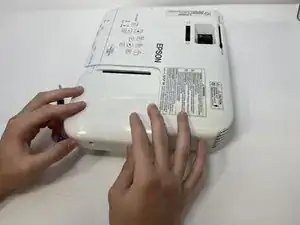
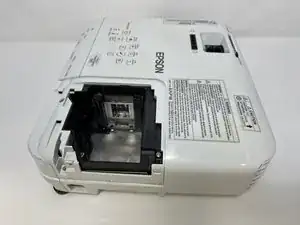
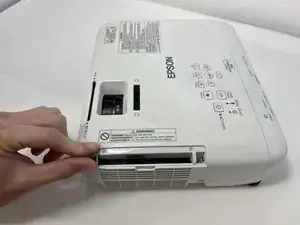
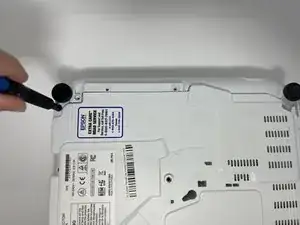
    • Slide off the lamp cover and remove it from the projector.

    • If the lamp is broken, glass fragments may be found when removing the lamp cover. Be careful when removing the lamp cover and when removing the glass.

  3. 6tksQMDn2XOL5Uqv
    6tksQMDn2XOL5Uqv
    3sRvHWDtjZA5QeZS
    F2ZcSwRUcXFNkjLu
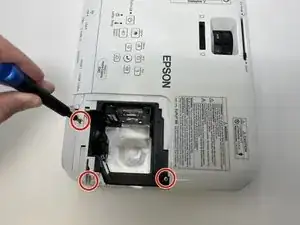
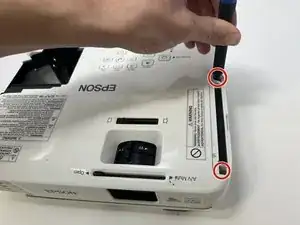
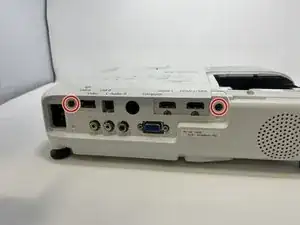
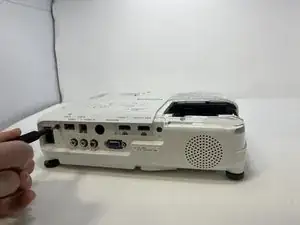
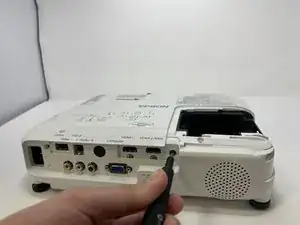
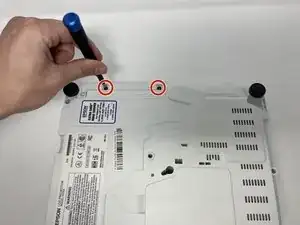
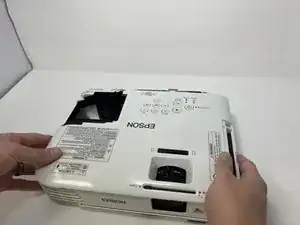
    • Use the Phillips #1 (PH1) screwdriver to remove the three 7 mm screws around the perimeter of the lens cover.

  4. LALGJmSKvKKBM3qP
    LALGJmSKvKKBM3qP
    ABiFvLoNYAOABLCb
    JVswvekk3BP21dGx
    • Remove the air filter cover.

    • Remove the two PH1 7mm screws from under the air filter cover.

  5. fJse6sdgT2C2oBRC
    fJse6sdgT2C2oBRC
    sWtcY2J62EF52ZqZ
    WGG6Mh1ln1FJZIXL
    • Remove the two black, PH1, 6mm screws.

  6. AB6JoJXvwcdlPGJM
    AB6JoJXvwcdlPGJM
    USxSNRUhChKZoXyM
    TELencolIJYIv2Lw
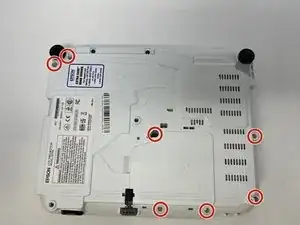
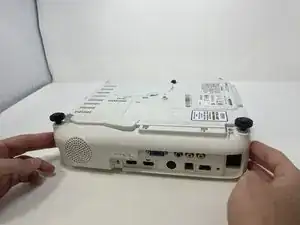
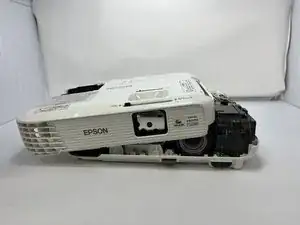
    • Flip the projector so the bottom is exposed.

    • Remove seven PH1 7mm screws on the outer rim of the projector.

    • Some screws are located deeper in the housing and a bit extension or longer screwdriver may be required.

  7. YhOsXeF1mJOpbSqk
    YhOsXeF1mJOpbSqk
    syEjsrXK1QExQNog
    • Continuing on the bottom, remove the two black, PH1, 6mm screws.

  8. 4ZnkBnEeZUP3EPMJ
    4ZnkBnEeZUP3EPMJ
    TVJCNAMdDeTJbtU4
    • Remove the cover on the backside of the projector where the inputs are located.

  9. qlWIRqa2Kc6E2wTj
    qlWIRqa2Kc6E2wTj
    6Bdknd6oDjrKmPhy
    416OUYXjybMFfuux
    • Pull the top half of the housing upwards and rest it on the side.

    • Be careful to not pull upwards too hard. The top is still connected by a thin electric strip.

  10. xvlDQPDtCiKluScF
    xvlDQPDtCiKluScF
    GZDxFPlFdqfw3HGm
    TNUIGZJfoRspLlXF
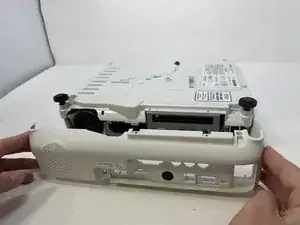
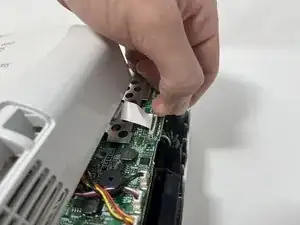
    • Using your fingernail or another thin wedging tool, disconnect the electronic strip from the motherboard.

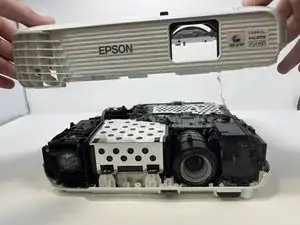
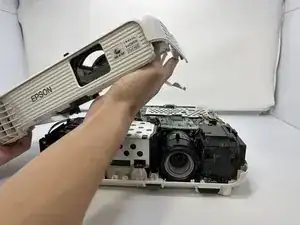
    • Remove the top half of the projector housing completely and set it to the side.

Conclusion

To reassemble your device, follow these instructions in reverse order.

Connor Didericksen

Member since: 09/02/23

727 Reputation

0 comments