Introduction
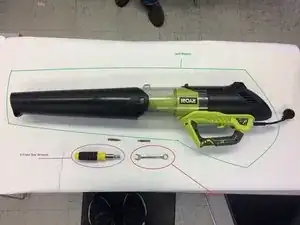
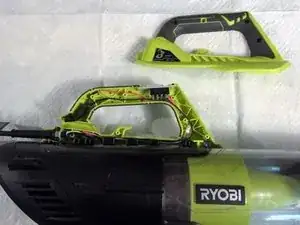
This guide will show you how to dissemble your jet fan and replace a broken fan blade.
Tools
-
-
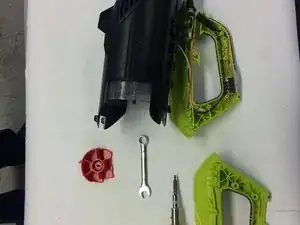
Tools needed to fix your Ryobi Electronic Jet Fan Blower: ½” wrench or socket and a #16 5 point star screwdriver
-
-
-
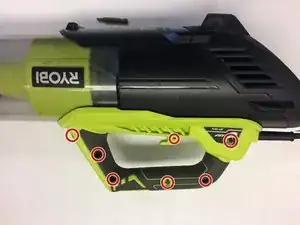
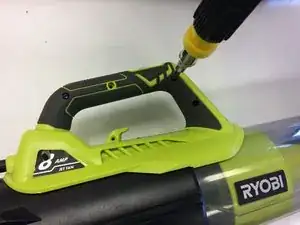
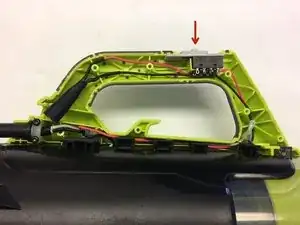
Locate the 7 screws along the handle and remove them with the #16 5 point star screwdriver
-
Locate the 2 additional screws on the under-body and remove them
-
-
-
Gently wedge apart the handle being careful not to damage the wiring inside.
-
Carefully separate the two parts of the handle
-
-
-
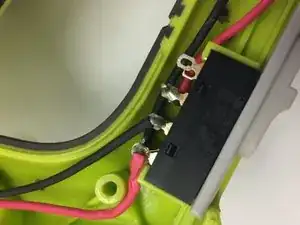
Remove the grey switch plate. Note how the wiring is laid out on your particular model as it may vary.
-
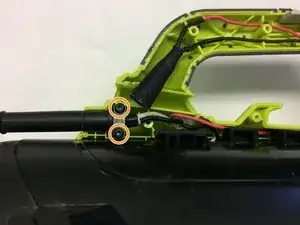
Remove the 2 screws and spacer holding the plug in.
-
-
-
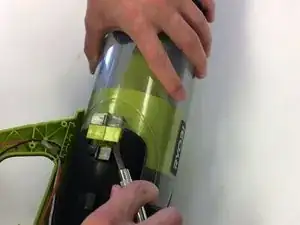
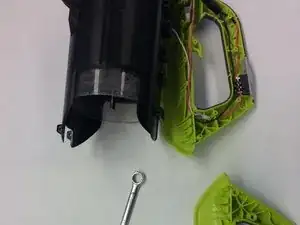
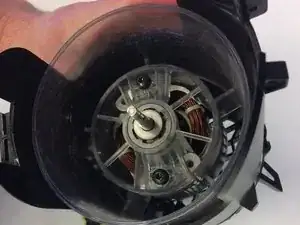
Gently wedge the chute away from the main carriage. It may be on tight but should come apart with light pressure.
-
-
-
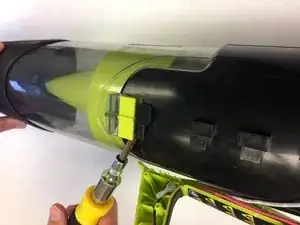
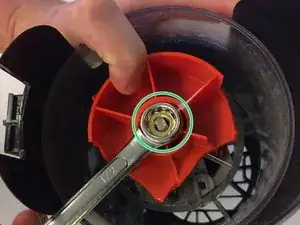
Remove nut with a ½” wrench (or socket) clockwise while holding the fan blade still.
-
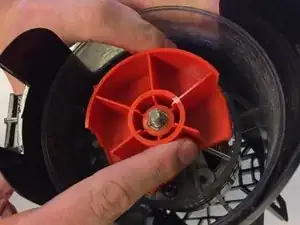
The fan blade should easily slide off once the nut is removed. If you are looking to replace your fan blade, you are now able to slide one on.
-


To reassemble your device, follow these instructions in reverse order.