
Introduction
-
-
Before starting the disassembly, make sure the speaker is powered off and disconnected from any charging source to prevent any potential electrical shock.
-
I've also did this on a completely deplected battery just to be extra sure.
-
-
-
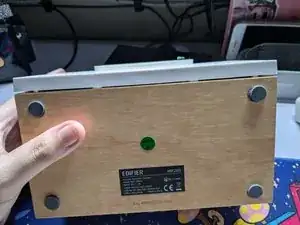
At the bottom of the speaker, carefully insert a plastic opening tool into the seam between the front panel and the main body. Gently pry the front panel open, working your way from the bottom to the top.
-
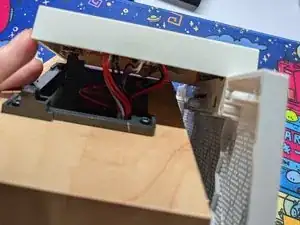
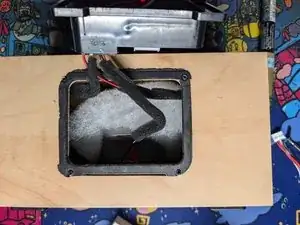
Be cautious, as the top part of the speaker contains the battery cage, which houses delicate wires. Take care not to damage them while prying the front cover. Additionally, be mindful to avoid accidentally poking the speaker itself.
-
-
-
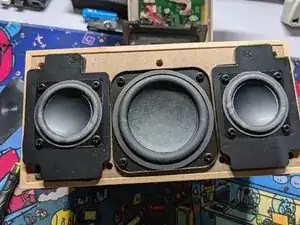
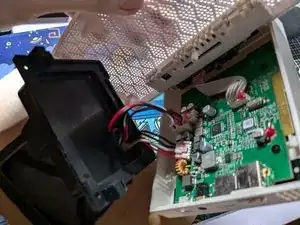
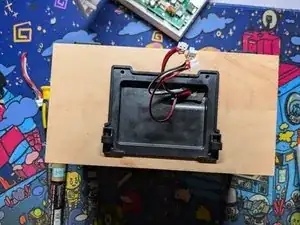
There are four screws securing the battery cage, which includes the battery, its wires, the left and right channel wires, and the main audio wire. Use a Phillips screwdriver (PH2 or larger) to remove them, and keep the screws safe for reassembly
-
-
-
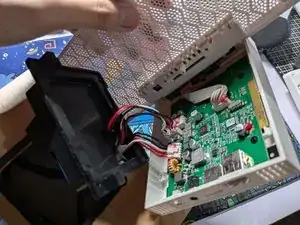
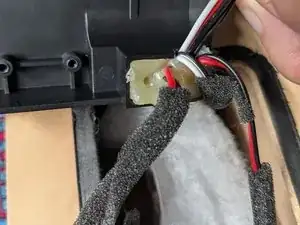
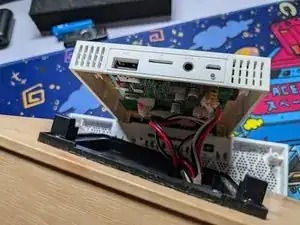
Now, carefully disconnect the battery cable and the speaker wires from the motherboard. For each connector, gently lift the latch to disconnect it. You can use your fingers for this, but tweezers may help if you need more precision.
-
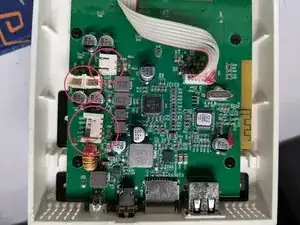
Refer to the second image, which has three marked circles: the bottom indicates the battery connector, while the middle and top circles correspond to the speaker wires.
-
Be gentle to avoid touching any delicate components, including capacitors and other electrical parts nearby, as they may hold residual power and pose a risk of electric shock.
-
-
-
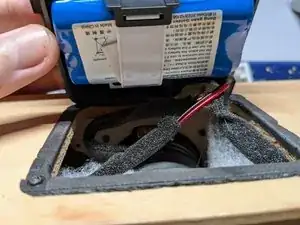
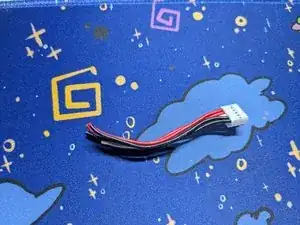
The wires pass through a hole in the battery cage, which is also glued to hold them in place. The easiest way to remove the battery wires from the hole is to just cut them. Cut them one by one to avoid shorting the battery.
-
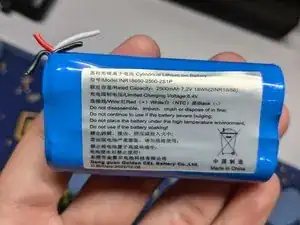
To remove the battery from the cage, unscrew the two screws holding it in place. Since the wires are glued, use a hairdryer to soften the adhesive and gently pull the cable out.
-
To reassemble your device, follow these instructions in reverse order.
One comment
Thank you for this guide. The same speaker I have just went bust, luckily it's still under warranty. Definitely will come in useful for the next change.