Introduction
Your Dualshock 4 D-pad can wear out after continuous use. This happens because the silicone rubber underneath the D-pad begins to break, causing your controller to think you're holding a direction when you are not (drift). It can also make the D-pad a lot harder to use. This guide demonstrates how to safely open a Dualshock 4 CUH-ZCT2U controller and replace the silicone conductive rubber contact pad or gasket.
Parts
-
-
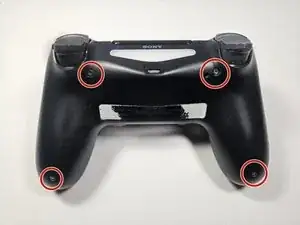
Use a Phillips #00 screwdriver to remove the four 6.0 mm-long screws on the back of the controller.
-
-
-
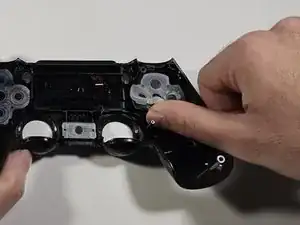
Insert the tip of an opening tool or spudger into the seam of the device and gently release the clips around the perimeter of the controller to separate the front and back sections.
-
-
-
Use your fingers to gently pull the ribbon cable straight out of its connector on the motherboard.
-
-
-
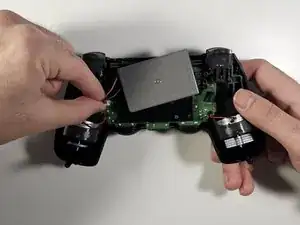
Use a pair of tweezers or your fingers to pull the battery's power connector straight up from the motherboard.
-
-
-
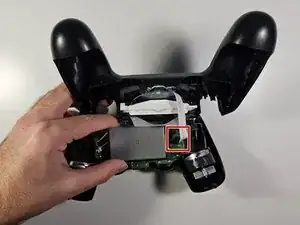
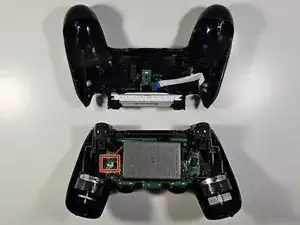
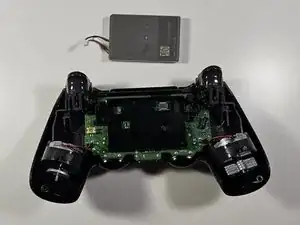
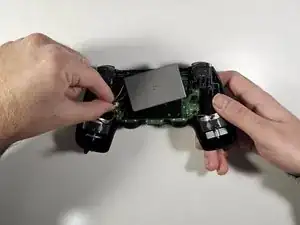
Use a spudger to disconnect the red cable from the motherboard under the black plastic the battery was lying on.
-
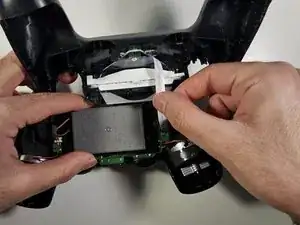
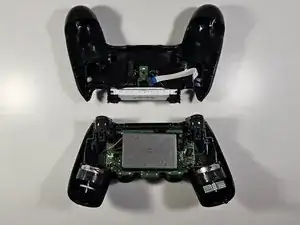
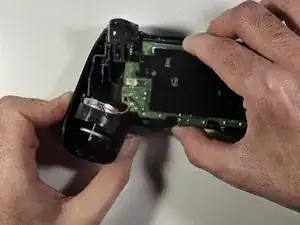
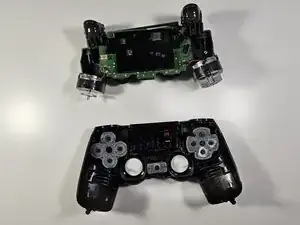
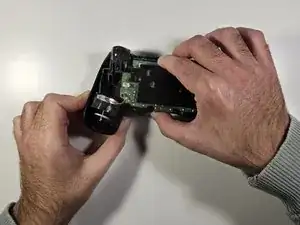
Carefully pull apart the front of the controller (the part with the silicon Dpad visible) from the back half.
-
-
-
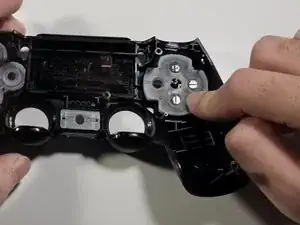
Pull off the old silicone pads.
-
Place the new silicone rubber pads on top of the four arrow keys with the flat side up.
-


To reassemble your device, follow these instructions in reverse order.