Introduction
Parts
-
-
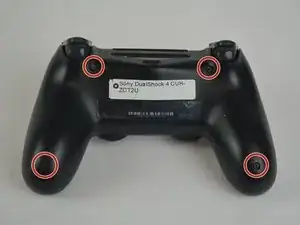
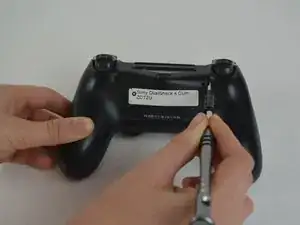
Unscrew the four 6.5mm screws, using a Phillips-Head screwdriver.
-
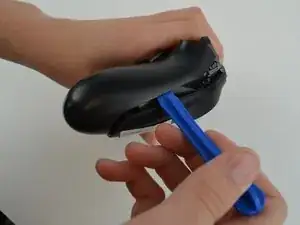
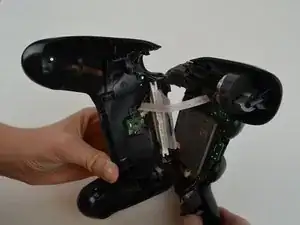
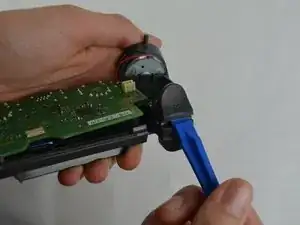
Pry the two halves of the shell apart using a plastic opening tool.
-
-
-
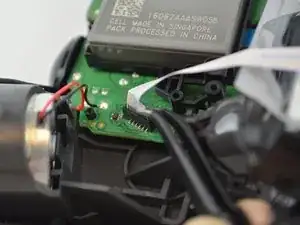
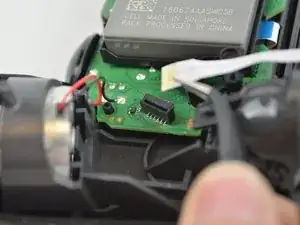
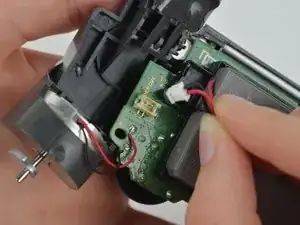
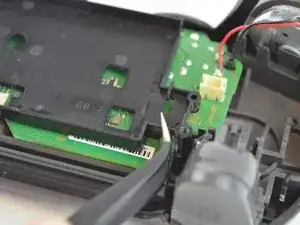
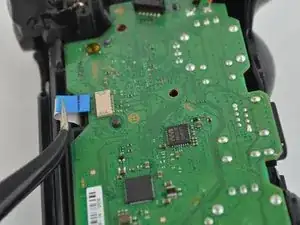
Unplug the black and red wires from the power port located on the motherboard.
-
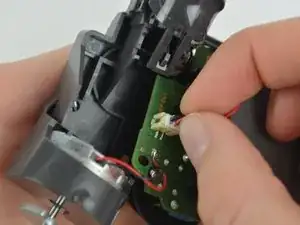
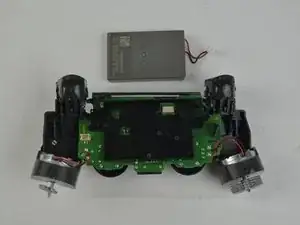
Remove the old battery from the controller.
-
-
-
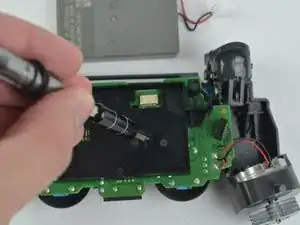
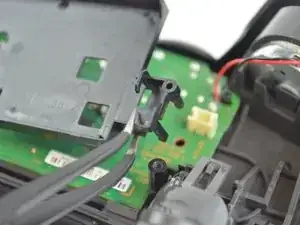
Remove the 6.43mm screw connecting the motherboard to the inner workings of the controller, using a Phillips-Head screwdriver.
-
-
-
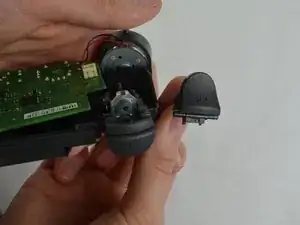
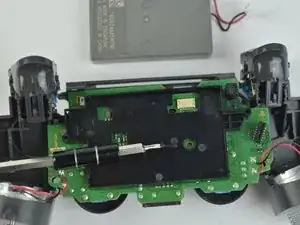
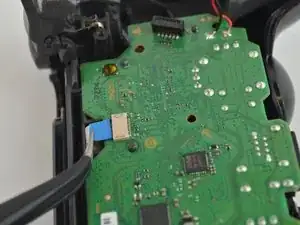
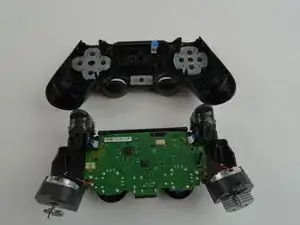
Pull out the second CPU ribbon to separate the inner workings from the top of the outer shell.
-
-
-
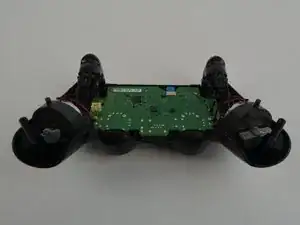
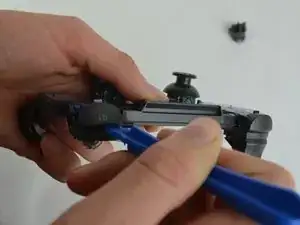
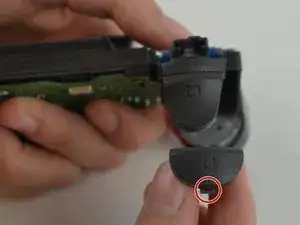
Pry the button from the controller using the plastic opening tool. Slide the tool between the buttons. There will be a tab you can push in to remove the button.
-
-
-
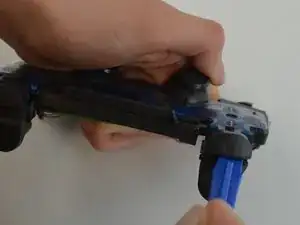
Insert the plastic opening tool into the space created when the button is pressed down. Make sure the tool is situated directly in the center of the space, before attempting to pry the button out.
-

To reassemble your device, follow these instructions in reverse order.

4 comments
Is it possible to replace the zct2u triggers with custom 1st gen triggers? It seems like the only major difference is the extra piece on the latest models to prevent losing the trigger.
Does this stops the issue I have that is when I press L2, my character sometimes goes forward, like the L2 would be creating contact with the left directional going forward option.
My controller lost the R1, so I need to buy one to replace it. After pulling apart my controller, I noticed the back of the L1 button looks different (the plastic connection pieces are completely different) than the photos in your directions. Are there different types of shoulder buttons available? Or is it that my controller is a different generation? If so, do you supply the pieces for this controller type?
Corbin -
When re-asembling, be careful to check that all buttons/triggers are moving correctly. They can get misaligned when prying the two shell halves apart.
Tale Spinner -
This part is missing vital information on how to correctly pry the case open. In the 3rd picture you can see there is actually damaged/broken clip already. In order to open the case without damage to the plastic clips inside the controller holding the plastics together you need to insert thin piece of metal between the trigger buttons on each side and push the clip outwards before trying to separate the parts, and if done correctly there is no force needed to pry open the controller. There is actually no necessary need for the clips, but if you want to keep your controller in mint condition without voiding the warranty, take care not to break these clips.
Ville Närhi -
Your advice for opening shell was so bad and harmful.
It's not correct
Kiarash Moallemi -
And two more tiny clips to the left and right of the headphone & EXT port. They’re VERY delicate, reckless prying WILL break at least ONE of these.
Strings Cat -
I've written a guide for how to find and unlatch the clips
Important Step For Opening the DualShock 4 CUH-ZCT2U
Richard -