Introduction
This guide will show you how to disassemble your DualShock 4 CHU-ZCT2U controller and access the charging port for replacement.
Parts
-
-
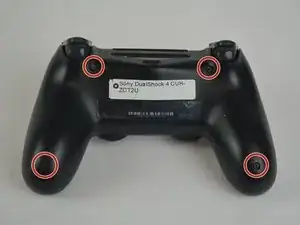
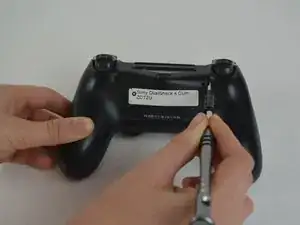
Unscrew the four 6.5mm screws, using a Phillips-Head screwdriver.
-
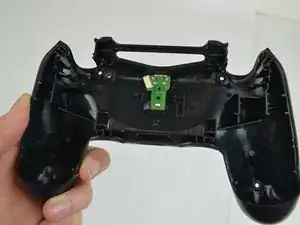
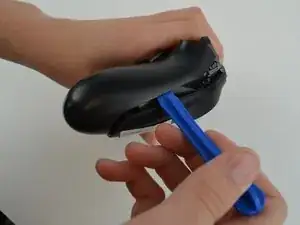
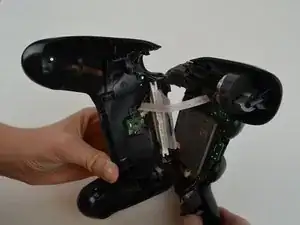
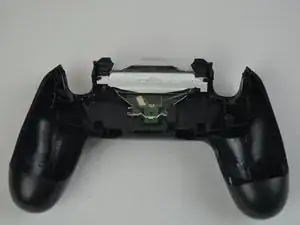
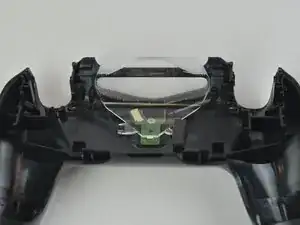
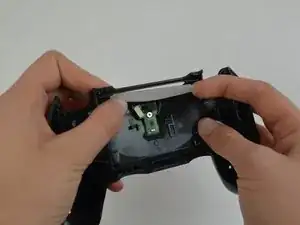
Pry the two halves of the shell apart using a plastic opening tool.
-
-
-
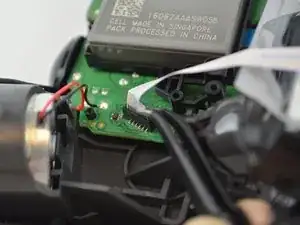
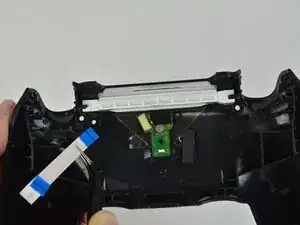
Grip the right hand corner of the opaque white piece with a pair of tweezers, and pull it upwards to remove it.
-
-
-
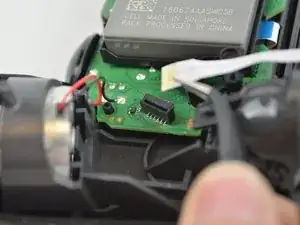
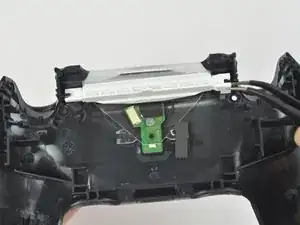
Lift the clear plastic piece up by its right hand corner.
-
Pull it to the right to remove the bottom left hand corner from the groove.
-
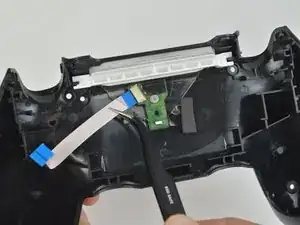
Remove the clear plastic piece. It pushes in easily.
-
-
-
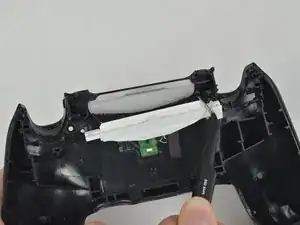
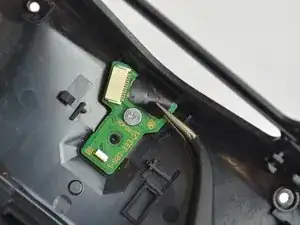
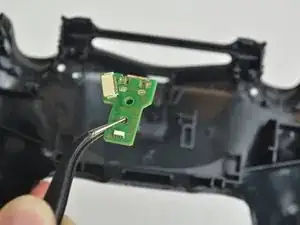
Peel off the black sticker on the charge port, using a pair of tweezers.
-
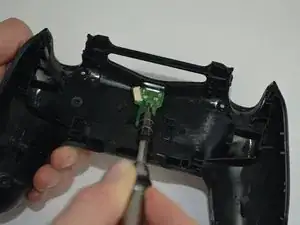
Unscrew the 4.50mm screw in the center of the port chip, using a Phillips-Head screwdriver.
-
Pull the charging port out with a pair of tweezers.
-

To reassemble your device, follow these instructions in reverse order.
9 comments
Came in handy, since it’s hard enough to fix a JDM-030. Thanks!
Just did this on my JDM-030 (3rd generation DS4) as well. I would point out that the charge port for the JDM-030 (JDS-030?) looks slightly different and has more of a T-shape than the JDS-040, but aside from that, the instructions are functionally the same.
I will lastly add that having good tweezers is a must: the tweezers my jeweler’s drivers came with were crap and I had to go to the store to buy another pair. Make sure your equipment is solid before assembly.
Can The JDS 040 work in a controller that uses the JDS 030?
RandyH -
When re-asembling, be careful to check that all buttons/triggers are moving correctly. They can get misaligned when prying the two shell halves apart.
Tale Spinner -
This part is missing vital information on how to correctly pry the case open. In the 3rd picture you can see there is actually damaged/broken clip already. In order to open the case without damage to the plastic clips inside the controller holding the plastics together you need to insert thin piece of metal between the trigger buttons on each side and push the clip outwards before trying to separate the parts, and if done correctly there is no force needed to pry open the controller. There is actually no necessary need for the clips, but if you want to keep your controller in mint condition without voiding the warranty, take care not to break these clips.
Ville Närhi -
Your advice for opening shell was so bad and harmful.
It's not correct
Kiarash Moallemi -
And two more tiny clips to the left and right of the headphone & EXT port. They’re VERY delicate, reckless prying WILL break at least ONE of these.
Strings Cat -
I've written a guide for how to find and unlatch the clips
Important Step For Opening the DualShock 4 CUH-ZCT2U
Richard -