
Introduction
The Charging Assembly tends to lose energy and stops working from overheating. This will cause the LED or USB charging port to no longer work. Use this guide to replace the Charging Assembly.
Parts
-
-
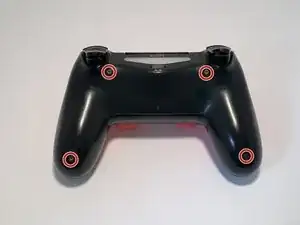
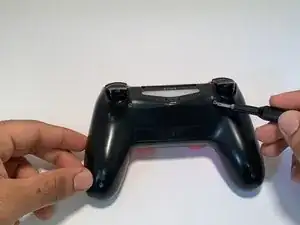
Remove the 4 screws (6.0 mm), which is on the back of the controller, using Phillips #00 screwdriver
-
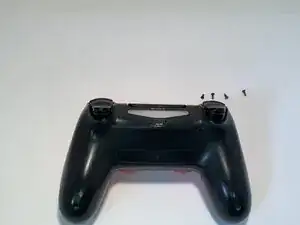
Place the removed screws to the side.
-
-
-
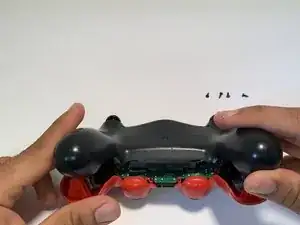
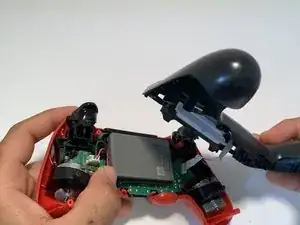
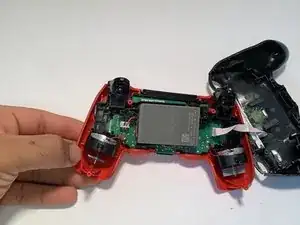
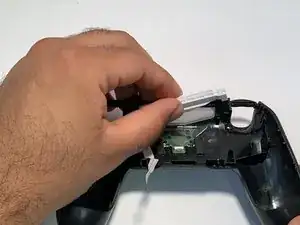
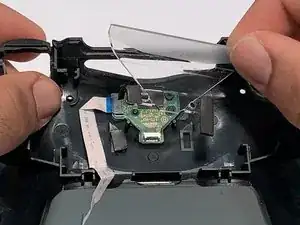
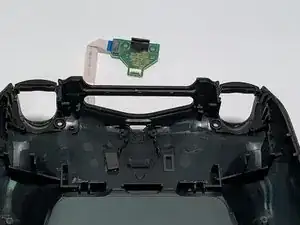
Carefully remove the white ribbon connector that is connected to both frames from the top side ( the side where the battery is).
-
-
-
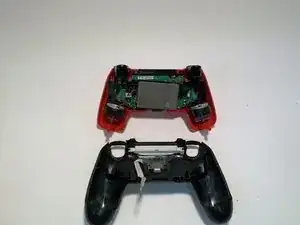
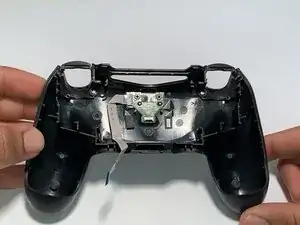
Take the bottom part (the side without the battery).
-
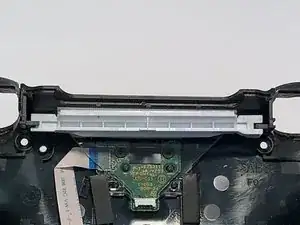
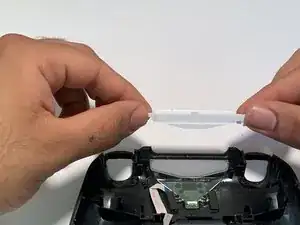
Remove the white plastic cover which is on the top of the Charging assembly.
-
-
-
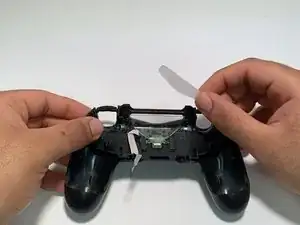
Remove the plastic cover which is in front of the Charging assembly.
-
Remove the transparent plastic cover which is on top of the Charging assembly.
-
-
-
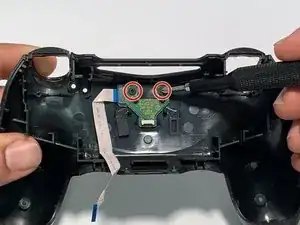
Remove the two screw (4.00 mm) using the #00 Phillips screwdriver, which is holding the Charging assembly and the frame together.
-
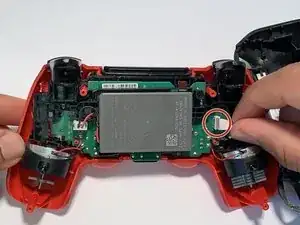
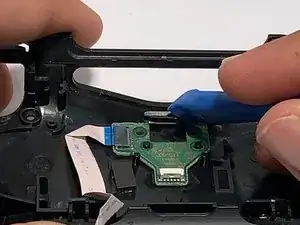
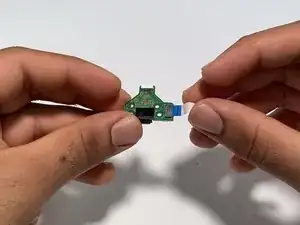
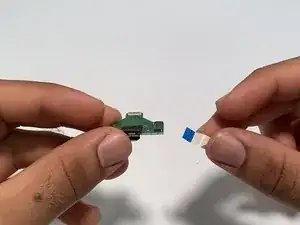
Remove the double-sided tape, with the plastic opening tool, that is keeping the chip attached to the frame.
-
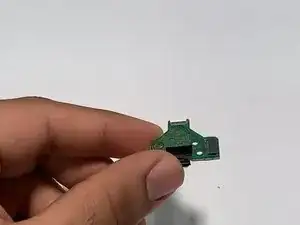
Take out the charging assembly chip.
-
If you have followed all the steps correctly, your LED Light should light up once you reassemble and plug your device to a USB cord. To reassemble your device, follow these instructions in reverse order.