Introduction

  1. Sh1lUfSYKsCUbib6
    Sh1lUfSYKsCUbib6
    FHuG6LDAjUcGYWvr
    io46keEPByRWavUB
    • Disconnect the connectors attached to the control panel.

    • Always grip cables by their connectors and not the wires themselves.

  2. P2pQDgkIGMBLIEsQ
    P2pQDgkIGMBLIEsQ
    qAENSdyEVOowrsq5
    tDL4DN2WHtaODDdu
    • Unclip any connections the control panel cable has to the chassis or other components.

  3. D3i2u4IZQbXcD5As
    • To prevent confusion, label each detergent hose and its corresponding dispenser connection.

    • You can use masking tape or mark the components themselves.

  4. gdWTROQ2DwwlCX2O
    gdWTROQ2DwwlCX2O
    eJR22ILdEysTGysd
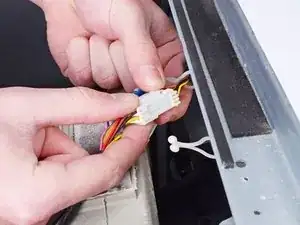
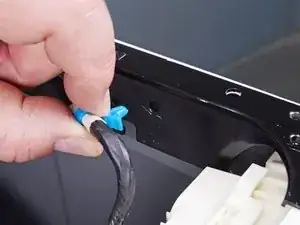
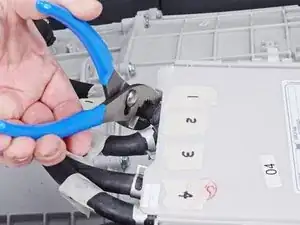
    • Use slip joint pliers to pinch the detergent dispenser hose clamp and pull it away from the assembly.

  5. fdo2dLaiBW1RnCCN
    fdo2dLaiBW1RnCCN
    KxL2GxhDJCqaD5Im
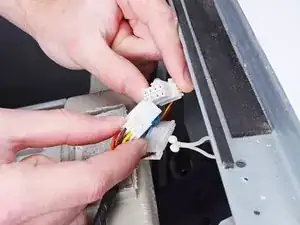
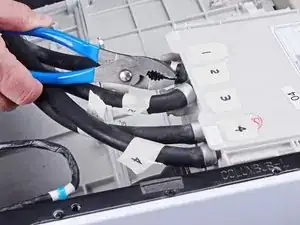
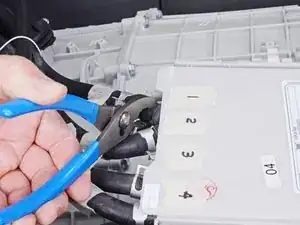
    • Use slip joint pliers to gently rotate the detergent dispenser hose back and forth around its connection and loosen it.

  6. NFketUDohaaBh5oH
    NFketUDohaaBh5oH
    crdEIEp16NRMBcSn
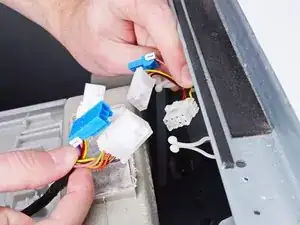
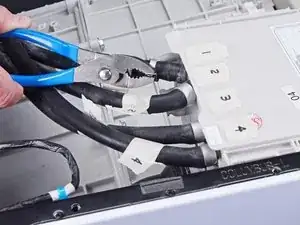
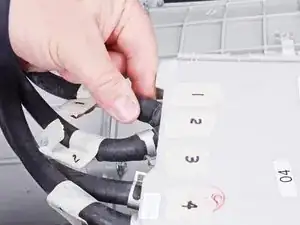
    • Pull the detergent dispenser hose straight off its connection on the assembly.

    • Repeat the loosening and removal procedure for each hose.

  7. nxbLNYd1WGw2eCky
    nxbLNYd1WGw2eCky
    romueM3OaV2hTNfQ
    kG1VCKeENvPPPXsg
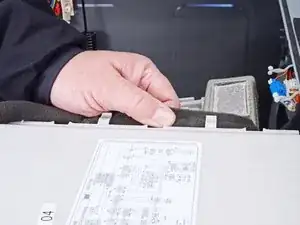
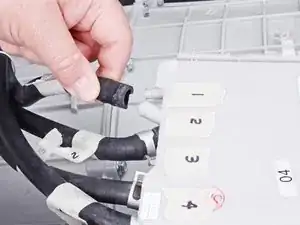
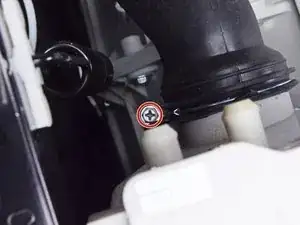
    • Loosen any fasteners securing the bellows to the detergent dispenser.

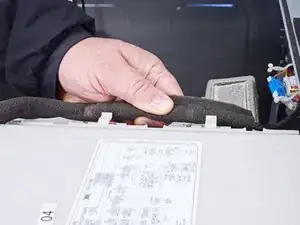
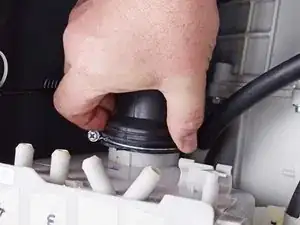
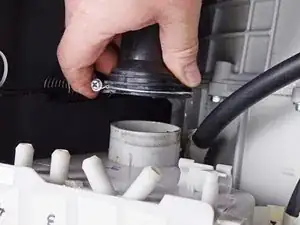
    • Pull the bellows straight off its connection on the dispenser to disconnect it.

Conclusion

To reassemble your device, follow these instructions in reverse order.

Bill Gilbert

Member since: 30/06/22

35117 Reputation

0 comments