Introduction

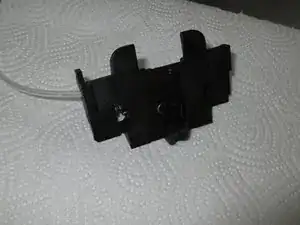
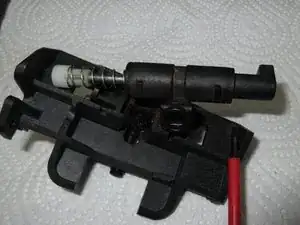
If most of the coffee runs into the bowl, the seals in the drain valve may be hardened or the white cap on the valve plunger may be cracked. Here we show you how to replace them.

  1. GqCVBN41CgljDxcP
    GqCVBN41CgljDxcP
    CnpLmgicfOkBBKJm
    dqKkBWIUga1j51pP
    • The brewing group has already been removed and disassembled. Now it's time for the drainage valve.

    • There will be many pictures

    • All you need a small flathead screwdriver.

    Where does this hose connect to? I don’t have it in my machine.

    Vas Ra -

    This is the hose that goes through the hole in the center wall to the heater.

    VauWeh -

  2. XfLW1niRMIW1VYem
    XfLW1niRMIW1VYem
    FQhoH2wwYPDRfdDA
    eQQSfdb3nFByk6hJ
    • Images front and back

  3. QImUoUXnxFkMZENZ
    QImUoUXnxFkMZENZ
    WwSwsMPh4AsMriH5
    tC1hPmYJSQVpTHJ3
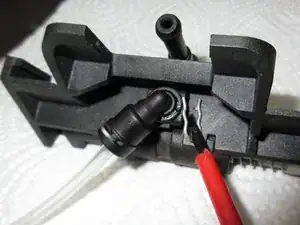
    • Pull off the clamp and pull out the inlet hose. At the end there is a seal, it often gets stuck in the drainage valve. Swap them out when reassembling.

    • The angled inlet is not installed on all models. The hose is then plugged in directly. As the installation is somewhat tedious, you can also install the part later.

  4. GWDB3kt5vfsjP6YR
    GWDB3kt5vfsjP6YR
    caTYhFpBc2srKG4f
    C3nMvPO2mNJES3Dx
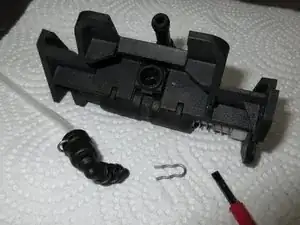
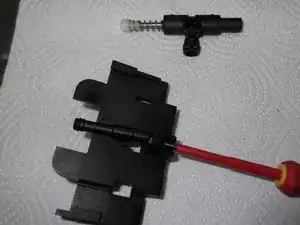
    • Pull out the clip on the docking tube

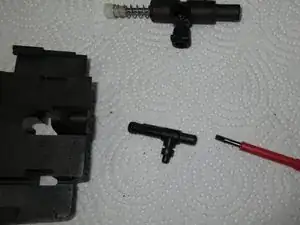
    • Pry out the valve body. Make sure the white cap slides out of its hole.

    • Detach the docking nozzle.

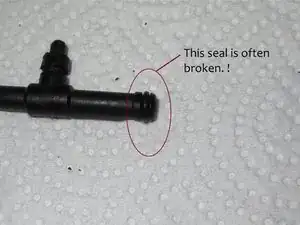
    • The seal of the docking connector is subject to heavy loads as it slides into the opening on the brewing piston with every brewing process. It is slightly thinner than all other hose seals. If you accidentally fit the wrong seal, the drain valve will no longer work.

  5. CknVWAoS1Fj66mN1
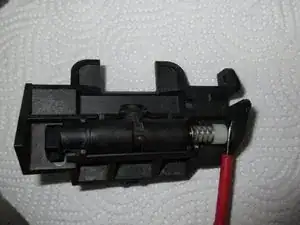
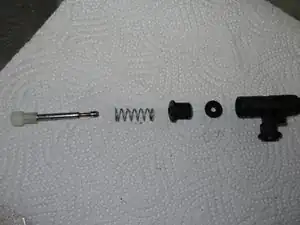
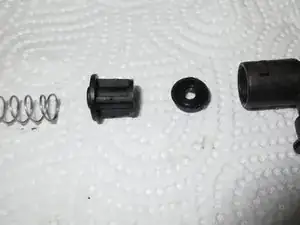
    • The white cap holds the valve tappet and pulls it out. If it is cracked, it can no longer grip it properly. It therefore remains in the position that the cap holds open for it at the moment it happens to be in. The drainage valve no longer works.

    • Check whether the cap is still firmly in place. If this is not the case, you will need to replace it with a new cap, preferably made of metal.

    • Of course, you can also get a new drainage valve.

  6. RMXLvjaYZUvYnWkg
    RMXLvjaYZUvYnWkg
    O2AslPZpPYfKElfD
    3XaNEP4rPDODDhd1
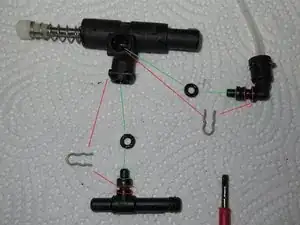
    • Detailed photos.

    • The position of the sealing rings are marked green in picture 3.

    • The sealing ring on the docking socket is marked in red in picture 2. It is especially important. It's a little thinner than the other two.

    • The brackets are marked in red.

  7. vdkTLAOMiJwqFKMS
    vdkTLAOMiJwqFKMS
    AJZnZAgCyS21CJKV
    RPYjYU3NNtDdAf5J
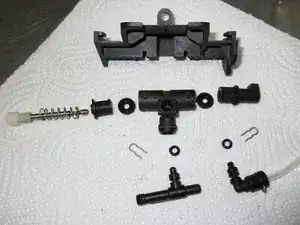
    • Here all the parts of the valve.

  8. NKdesQQB5Hike5ft
    • Here is the entire valve in one picture

  9. AguTg6CSDelEEhFN
    AguTg6CSDelEEhFN
    bia6KPgCfOkbRIo1
    ZuFZ6ppatnpxZnTZ
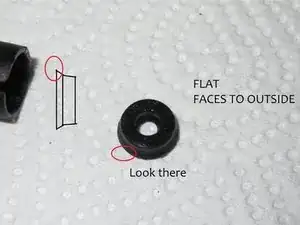
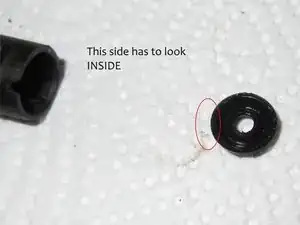
    • When assembling, make sure that the lips of the seals point to the pressure side, i.e. inward, and the flat side outward.

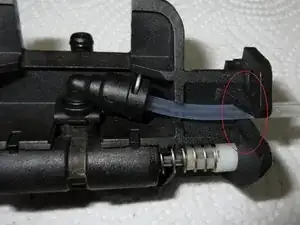
    • When installing, make sure that the pressure hose runs through the slot in the valve carrier.

    • Apply a thin layer of food-safe silicone grease to the seals before installation.

    Where does the clear hose connect to? I don’t have it on my drain valve.

    Vas Ra -

    Maybe in your machine the hose ist directly connected and you don't have this black plastic elbow.

    VauWeh -

Conclusion

Follow the steps in reverse order to reassemble your device.
Schwarzstein

Member since: 15/07/13

2901 Reputation

0 comments