Introduction

This repair guide was authored by the iFixit staff and hasn’t been endorsed by Google. Learn more about our repair guides here.

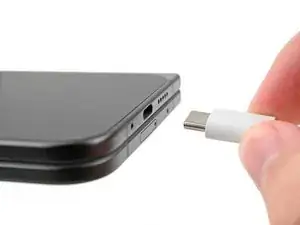
Use this guide to replace the outer screen in your Google Pixel 9 Pro Fold.

  1. oJjMp1p2qPpIDZAJ
    • Let your phone's battery drain below 25% before starting this repair. A charged lithium‑ion battery may catch fire if damaged.

    • Unplug all cables from your phone and completely power it down.

  2. wD6qdywtN5JUvePE
    wD6qdywtN5JUvePE
    jCGSY1q4ONmyTMLq
    D2Ar6N5GseCAaCCr
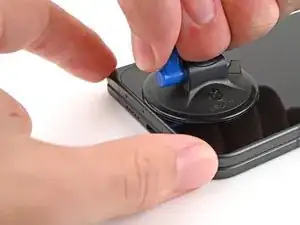
    • Apply a suction cup to the screen, as close to the center of the bottom edge as possible.

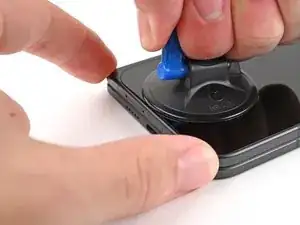
    • Pull up on the suction cup with strong, steady force to create a gap between the screen and the frame.

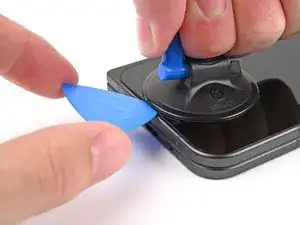
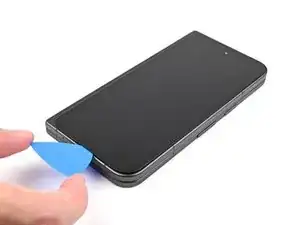
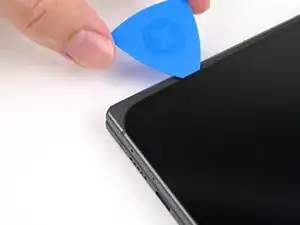
    • Insert an opening pick into the gap.

    • If your screen is badly cracked, covering it with a layer of clear packing tape may allow the suction cup to adhere. Alternatively, very strong tape may be used instead of the suction cup. If all else fails, you can superglue the suction cup to the screen.

  3. qcJHGNVPU4jHYwQ2
    qcJHGNVPU4jHYwQ2
    C2lgGv2stH2R4hgV
    xoWsosyui2L5Zanb
    • During the next four steps, don't insert your opening pick deeper than 3 mm to prevent damaging internal components.

    • Optionally, you can measure and mark your opening pick 3 mm from the tip to help you visualize the length.

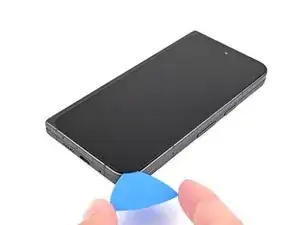
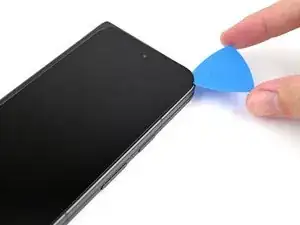
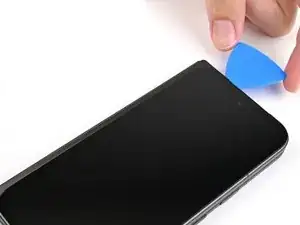
    • Slide the opening pick around the bottom right corner and up the right edge of the screen to separate the adhesive.

  4. I1OmyQyZPrQ2VIHX
    I1OmyQyZPrQ2VIHX
    HIvSlaCvEefjLskb
    egmVONEO6B2pGbuU
    • Slide the pick around the top right corner and stop before the front camera.

  5. O6ehbEWDwPuByXlk
    O6ehbEWDwPuByXlk
    ClUQQGaos3kiVBwj
    IWyiPsBG6wsYWlNA
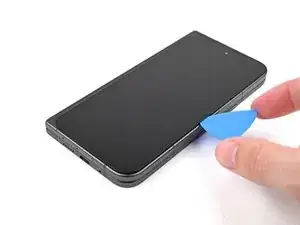
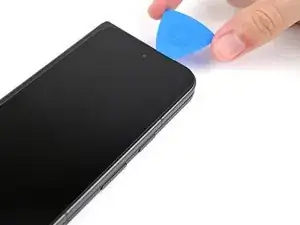
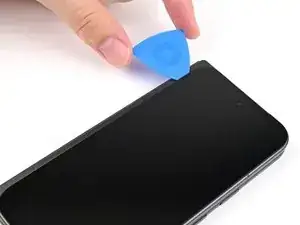
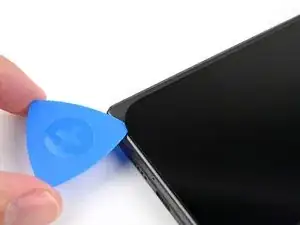
    • Pull the opening pick out so only the tip is under the screen.

    • Slide the opening pick across the top edge of the screen until you're past the front camera.

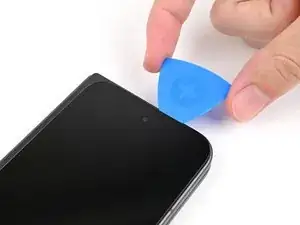
    • Push your pick to its original depth before continuing.

  6. BUJOw5abaYKKNjRk
    BUJOw5abaYKKNjRk
    Qg3N1OPNeleUqo25
    nnendEhtU1U2p3Vq
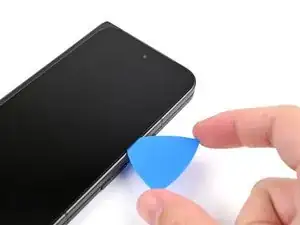
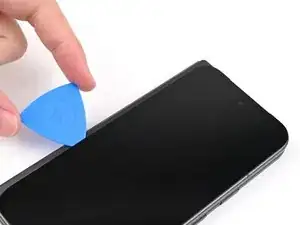
    • Slide the opening pick around the top left corner and stop about two‑thirds down the left edge of the screen.

    • Don't slide the pick any farther, or you risk damaging the display cable.

  7. xahEUVQmqFCOS5Ou
    xahEUVQmqFCOS5Ou
    JayOyHCQL5ELQQL4
    n2u4DD4vyXyC32WV
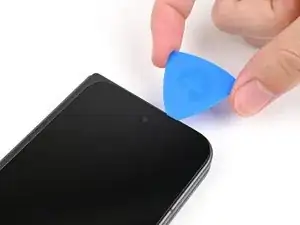
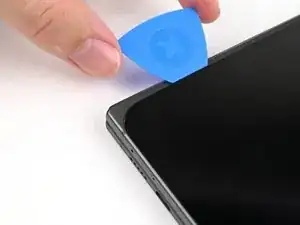
    • Pull the opening pick out to a 2 mm depth and rotate the pick around the bottom left corner to separate the remaining adhesive.

  8. MyoXSLtOK3mydK1Q
    MyoXSLtOK3mydK1Q
    LficV1cZFSUcVwoj
    BHl14ZNv4kuUwwhS
    • Don't fully remove the screen yet, as it's still connected to the phone by a cable.

    • At this point, the screen should be free from the frame. If there's still resistance around the edges, use an opening pick to separate any remaining adhesive.

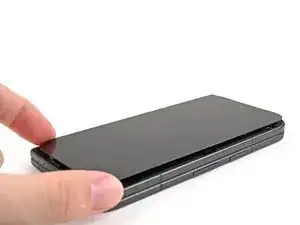
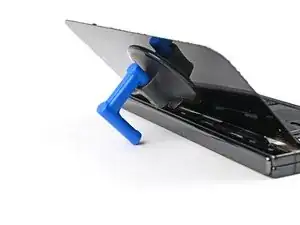
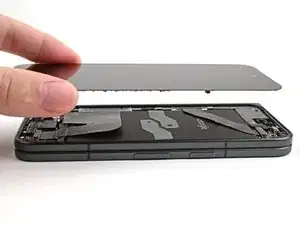
    • Lift the right edge of the screen and swing it over the left edge of the phone, like opening a book.

    • Prop up the screen with your suction handle or a clean, sturdy object.

  9. JIpmqhBsgYddGkxp
    JIpmqhBsgYddGkxp
    HVoUR6vnay4yivNZ
    • Throughout this repair, keep track of each screw and make sure it goes back exactly where it came from.

    • While the Pixel 9 Pro Fold uses Torx Plus screws, standard Torx bits also work. Use the same size or one size larger (T3 or T4 Torx bits with 3IP Torx Plus screws) and apply constant, downward force to prevent stripping.

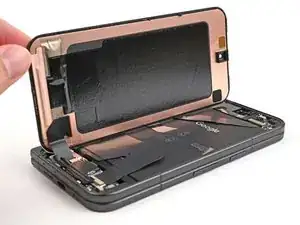
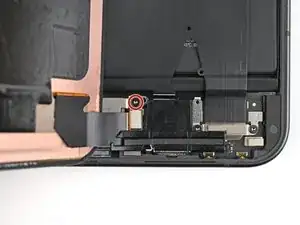
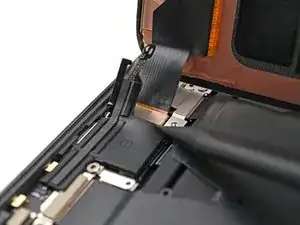
    • Use a Torx Plus 3IP driver to remove the 2.2 mm‑long screw securing the display cable bracket.

  10. m5To4l6ioZhiC1Kb
    m5To4l6ioZhiC1Kb
    TPbJcBHHSKyaFgfx
    • Conductive tape secures the display cable bracket to the frame.

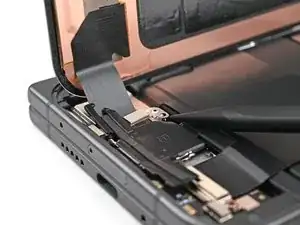
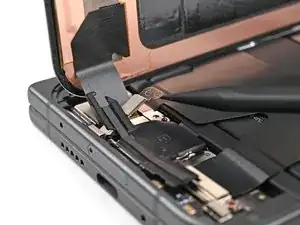
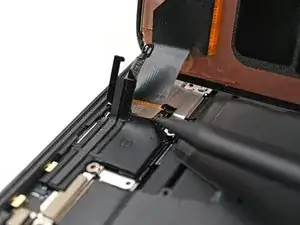
    • Use a spudger, or your fingers, to lift the display cable bracket enough to access the press connector underneath.

  11. OFxRBvCiTUgQSfBJ
    OFxRBvCiTUgQSfBJ
    BBgY4JpUYAQanlDg
    PGqjJiqkxSoaEYXu
    • Use the point of a spudger to pry up and disconnect the display cable press connector.

  12. JAsIkYCT4SWL1xIw
    • Lift the screen off the frame and remove it.

Conclusion

Take your e-waste to an R2 or e-Stewards certified recycler.

Compare your new replacement part to the original part—you may need to transfer remaining components or remove adhesive backings from the new part before you install it.

To reassemble your device, follow these instructions in reverse order.

Repair didn’t go as planned? Try some basic troubleshooting, or ask our Google Pixel 9 Pro Fold Answers Community for help.

Alex Diaz-Kokaisl

Member since: 16/01/22

151892 Reputation

0 comments