Introduction

Prerequisite only guide for disconnecting the base battery.

  1. oJjMp1p2qPpIDZAJ
    • Let your phone's battery drain below 25% before starting this repair. A charged lithium‑ion battery may catch fire if damaged.

    • Unplug all cables from your phone and completely power it down.

  2. eTmJydwESkDseema
    eTmJydwESkDseema
    aa3qhEvEDj6yHm11
    jbuhiFDgPymVlJQD
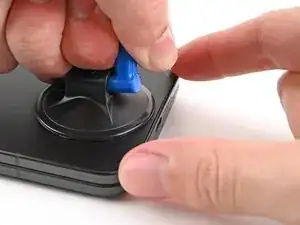
    • Apply a suction cup to the back cover, as close to the center of the bottom edge as possible.

    • While securing the phone with one hand, pull up on the suction cup with strong, steady force to create a gap between the back cover and the frame.

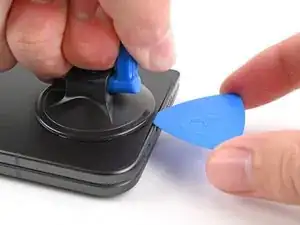
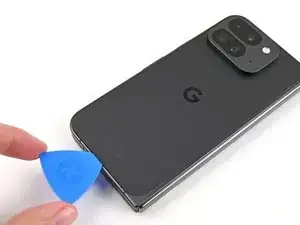
    • Insert an opening pick into the gap.

    • If your back cover is badly cracked, covering it with a layer of clear packing tape may allow the suction cup to adhere. Alternatively, very strong tape may be used instead of the suction cup. If all else fails, you can superglue the suction cup to the broken back cover.

  3. UZvmWmyDaMSKEAPs
    UZvmWmyDaMSKEAPs
    UbqfRkNWj1XfoXq1
    lMZVC6coFycrGEQo
    • During the next two steps, don't insert your opening pick deeper than 3 mm to prevent damaging the metal springs around the frame.

    • Optionally, you can measure and mark your opening pick at 3 mm to help you visualize the length.

    • Remove the suction handle from the back cover.

    • Slide the opening pick around the bottom left corner and up the left edge of the back cover to separate the adhesive.

  4. pjhoqRTyTviaemYo
    pjhoqRTyTviaemYo
    odTUHQI1bdQI1MJA
    ZgVbpDBEdSL42IGC
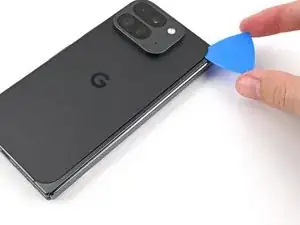
    • Continue sliding the pick around the top left corner and across the top edge of the back cover.

  5. CaasdZGU4FgOkwDI
    CaasdZGU4FgOkwDI
    rEDGbYqJxGLCJmFt
    qVZJ1RLLExOZsYga
    • The adhesive along the right edge of the back cover is thicker than the rest. You'll need to insert your opening pick at a minimum of 4 mm to separate the adhesive.

    • Slide your pick down the right edge and around the bottom right corner to separate the remaining adhesive.

  6. uBbicSFEuASALPUY
    uBbicSFEuASALPUY
    s1RRIqs6LTZnBgOU
    SgTxtNmkdWrCI1iQ
    • Don't fully remove the back cover yet, as it's still connected to the phone by a cable.

    • At this point, the back cover should be free from the frame. If there's still resistance around the edges, use an opening pick to separate any remaining adhesive.

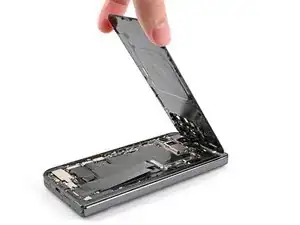
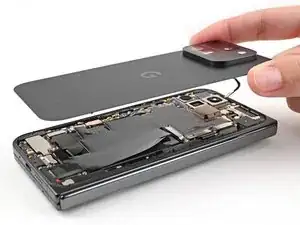
    • Lift the bottom edge of the back cover and swing it over the top edge of the phone.

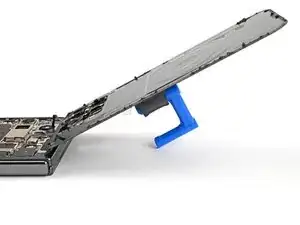
    • Prop up the back cover with your suction handle or a clean, sturdy object—making sure that the cable isn't strained.

  7. hRIxCC1MpvjnQMya
    hRIxCC1MpvjnQMya
    2bspQCbDC5Uenknh
    • Throughout this repair, keep track of each screw and make sure it goes back exactly where it came from.

    • While the Pixel 9 Pro Fold uses Torx Plus screws, standard Torx bits also work. Use the same size or one size larger (T3 or T4 Torx bits with 3IP Torx Plus screws) and apply constant, downward force to prevent stripping.

    • Use a Torx Plus 3IP driver to remove the 3.0 mm‑long screw securing the top bracket.

  8. 6KwDVuRmbIsSZ1Bk
    6KwDVuRmbIsSZ1Bk
    1YVsLTrikIxiRuc4
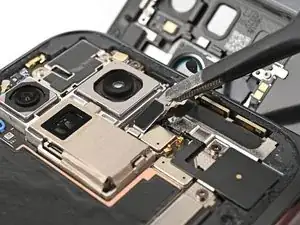
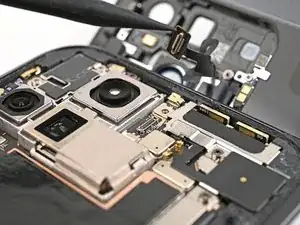
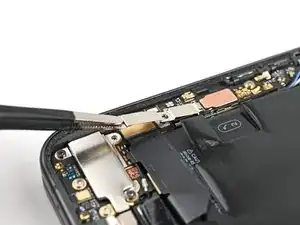
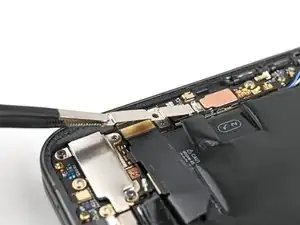
    • Use tweezers, or your fingers, to pull the top bracket towards the top of the phone to release it from its clip.

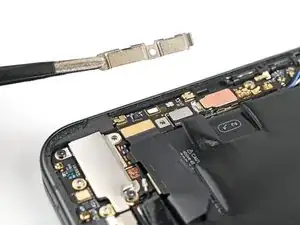
    • Remove the top bracket.

  9. IOpYw6eNxhEimWHF
    IOpYw6eNxhEimWHF
    OLcMQnPbx2RECKET
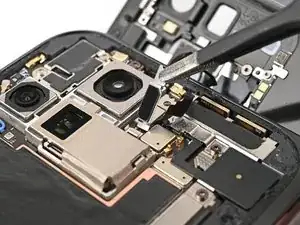
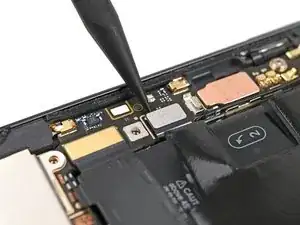
    • Insert the tip of your spudger under the bottom edge of the back cover cable press connector.

    • Don't insert your spudger anywhere else, as you risk dislodging surface‑mounted components.

    • Pry up and disconnect the back cover cable.

  10. iU6uFI1WbWBtRbLb
    • Lift the back cover off the frame and remove it.

  11. c3UDskiawmgL5G3I
    c3UDskiawmgL5G3I
    gMSM1sPyMfIDF4YQ
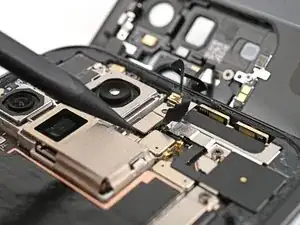
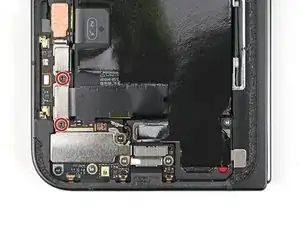
    • Use a Torx Plus 3IP driver to remove the two 3.0 mm‑long screws securing the base battery bracket.

  12. j34hdeHwldj5FF4y
    j34hdeHwldj5FF4y
    A1nO1lZiTSHCvIdF
    T4ofKxcrlWCChvvE
    • Use tweezers, or your fingers, to pull the base battery bracket toward the bottom of the phone to release it from its clip.

    • Remove the base battery bracket.

  13. tVFRWNIFULsbeLUl
    tVFRWNIFULsbeLUl
    wBcNuHnugXQbxMwK
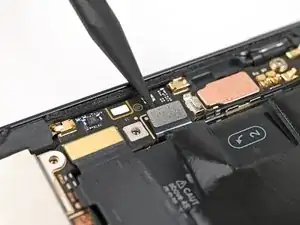
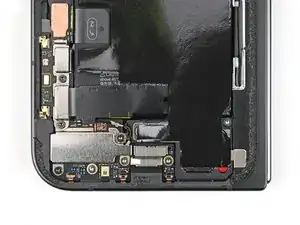
    • Insert the tip of your spudger under the bottom left corner of the base battery press connector, near the gold marker.

    • Don't insert your spudger anywhere else, as you risk dislodging surface‑mounted components.

    • Pry up and disconnect the base battery.

Conclusion

To reassemble your device, follow these instructions in reverse order.

Alex Diaz-Kokaisl

Member since: 16/01/22

151892 Reputation

0 comments