Introduction

If you need to take apart your LG420G phone, follow this disassembly guide. This guide will prove helpful in accessing internal components and investigating potential problems your phone may be having.

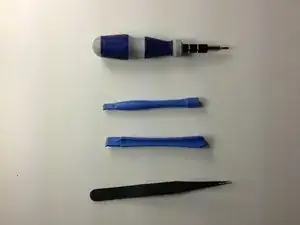
Before starting, it is important to make sure that the phone is powered down. One thing to note is that some of the components are glued down at points of the disassembly so you may want to use a iOpener to loosen the glue and make the process easier.

It is also important that during the disassembly process, all parts are kept organized and together so that the phone can be reassembled later.

  1. CoptNBwmqadubQuW
    • First, make sure you have all materials listed in the "tools" section of this guide.

  2. 1YJS4ocmlAlbMYZi
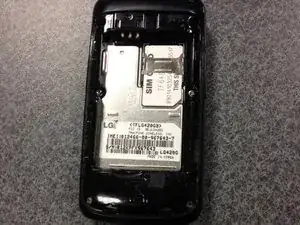
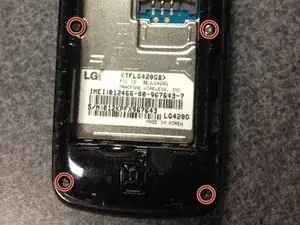
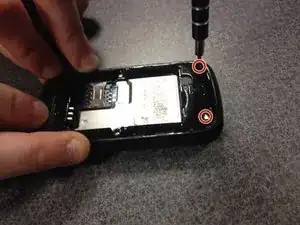
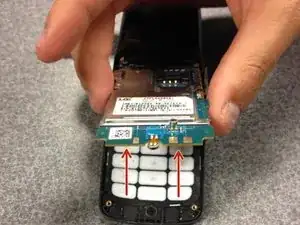
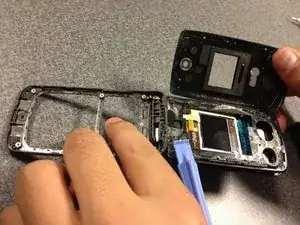
    • The next step is to flip your phone over with the screen facing down, and remove the cover and battery using Phillips-head screwdriver.

  3. 4goycd1PTP23PErZ
    4goycd1PTP23PErZ
    lEiQ1KaWQNShHRxa
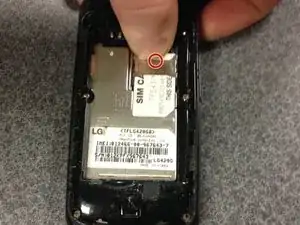
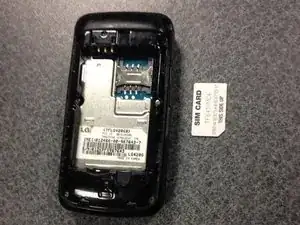
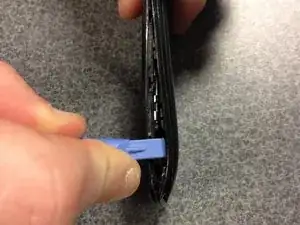
    • Apply light pressure to the area shown and pull out gently to remove sim card. Make sure you keep sim card in a place you remember when you reassemble the phone later.

  4. Djrwl1RCuHhEpswa
    • Locate the screws that hold the metal plate in place.

  5. 2HjhrlAjb5BIwLAf
    2HjhrlAjb5BIwLAf
    6ls4xaQvRPwxVkG1
    • Using Phillips-head screwdriver, gently remove all six screws

  6. hJ3xwMgMevuuSTWS
    • With your tweezers, gently pry around the sides to expose the circuitry.

  7. ESD3ikSX4Inkc4JO
    • Separate the plastic shells gently and place both now exposed pieces on the ground.

  8. NKlSGMfLDdTvtcRW
    NKlSGMfLDdTvtcRW
    ZNKnlukDcS4R1Qv2
    • Remove small parts shown in the picture gently with your fingers.

  9. IoBA2PNsHHqLewum
    • With the parts that held the keypad circuit in place now gone, gently remove the circuit.

  10. D5Tje1sNSdnlcXFs
    • Gently push the keypad out of the phone frame.

  11. q2TKLMIMolRSERiZ
    q2TKLMIMolRSERiZ
    3jeweEOS56xOWYs1
    • With a prying tool, start opening the front face of the phone as shown.

  12. AMHAWXcItg4UFbUJ
    • Gently remove the front cover, to further expose electronics inside.

  13. WUqUgQdNbf4CeCNL
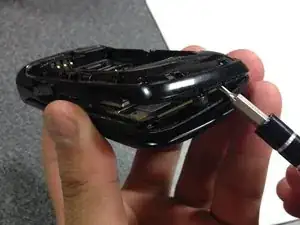
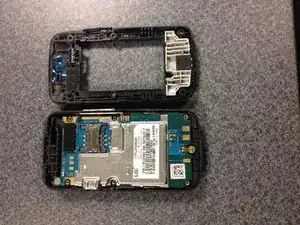
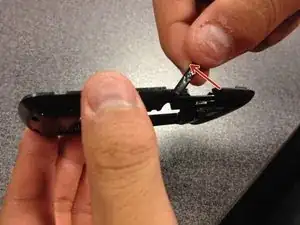
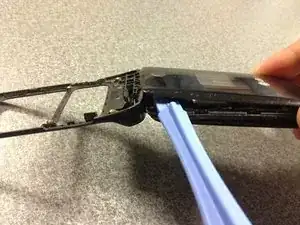
    • As shown to the side, gently pry apart glued layer. It is recommended that you use an electronic safe adhesive remover to mitigate the risk of damage.

  14. Y33hrZRGMxVqJidF
    • The completely disassembled phone should look similar to the picture shown.

Conclusion

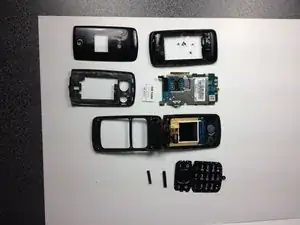
Once all problems are rectified, follow steps in reverse order to reassemble phone.

Anthony Aquino

Member since: 10/04/14

155 Reputation

0 comments