Introduction
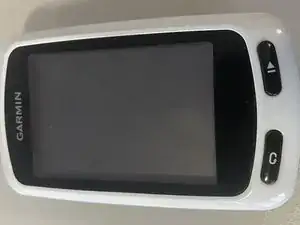
This is a Garmin GPS, with built-in features specific for bicycling. I've used it for about 10 years and it has worked well. But for the past few days, it has been difficult to turn it on. The On/Off button is on the side of the GPS. Then today, I was not able to turn it off. Time for a teardown to see what I can do
Tools
-
-
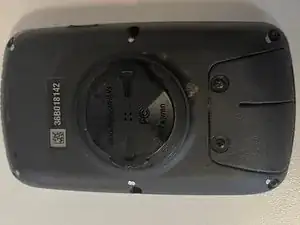
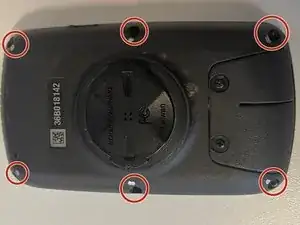
There are six Torx T05 screws on the back of the Garmin that need to be removed. After removal, the front of the unit can be lifted off.
-
(the two phillips screws in the photo only hold the plastic flaps in place. the plastic flaps cover the USB port and the microSD card slot)
-
-
-
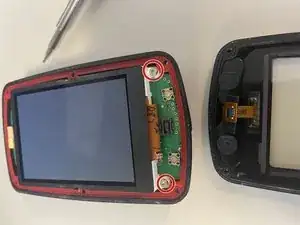
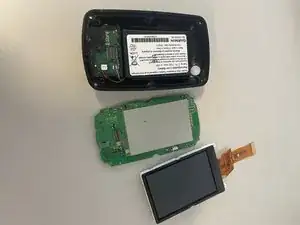
With the 6 screws removed, the top comes off easily. The photo shows the top piece on the right, and the rest of the GPS on the left. The top piece is clear, is just the touchscreen. The actual LCD display is on the left.
-
Important note: You can see the press-fit cable attached to the top touch screen, and it's receptacle on the main board of the GPS. The touch screen cable is VERY short so it is almost impossible to keep it attached when disassembling the GPS. And that also means it is difficult to re-assemble this when done.
-
Two silver Torx screws are highlighted in red, these hold the screen to the main board.
-
-
-
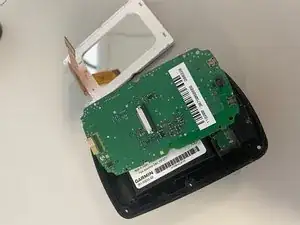
The LCD display itself is held on with 2 Torx screws. After removing those, you can lift the screen from the main board. Not much to see here. The cable connector is a friction fit, which can be loosened by pulling the small gray portion toward the bottom of the GPS.
-
The second and third pictures are the parts removed.
-
-
-
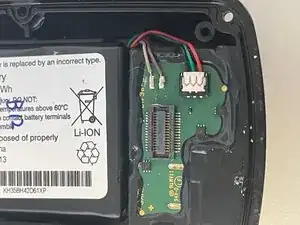
A close-up of the battery charging section. This is glued in and I did not try tearing it apart. The battery still charges well, after all these years.
-
-
-
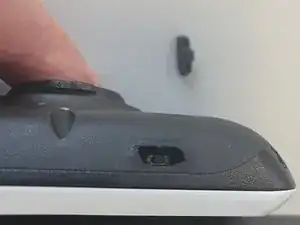
This is the reason I disassembled the GPS. After using it this long, I was suddenly not able to turn it on and off. The On/Off button is on the side of the GPS as shown. The hard rubber piece had cracked inside the unit. Because it was split, it would not press the On/Off button on the main circuit board.
-
You can see the small cracked rubber piece, setting on the table. I can reach in with a screwdriver and press the internal button. I haven't figured out a piece to put in place of the cracked rubber. Maybe I need a 3D printer.
-

As described earlier, to reassemble your device, follow these instructions in reverse order, with the note that the press-fit cable connection to the top cover must be carefully connected.
I was able to carefully hold the top piece and slide my finger in to press the cable into it's connection.