
Introduction
If you have issues with your computer overheating, generating loud noises, or crashing frequently, it may have a problem with your CPU fan.
The CPU cooling fan prevents your computer from overheating and slowing down. Replacing your PC's old fan will help prolong the lifespans of your CPU and Dell OptiPlex 9010.
Follow this guide if you need to replace the CPU fan of your Dell OptiPlex 9010.
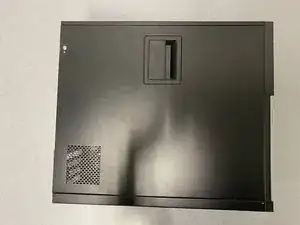
Before you begin, turn off your computer and unplug it from the outlet.
Tools
-
-
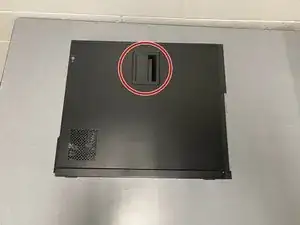
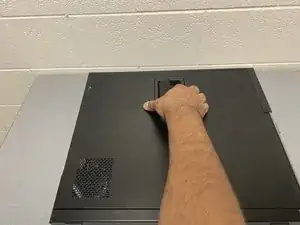
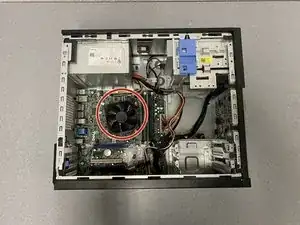
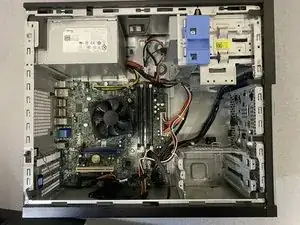
Locate the CPU fan
-
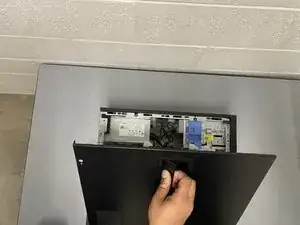
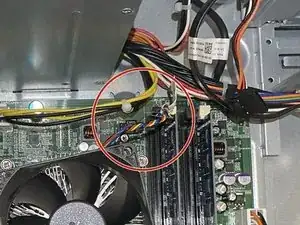
Locate the fan header (where the cords connect the fan to the motherboard)
-
-
-
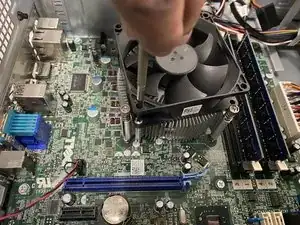
Unscrew the 1.2 mm screw using a Phillips #1 screwdriver by turning it counterclockwise (left).
-
-
-
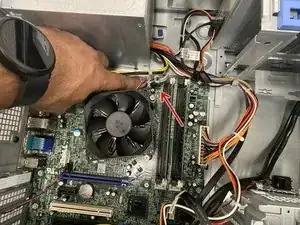
Align the new fan over the four screws you previously removed.
-
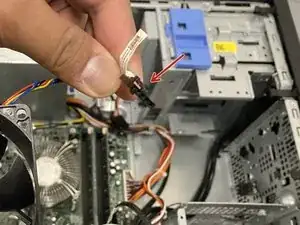
Insert the new fan header into the socket.
-
-
-
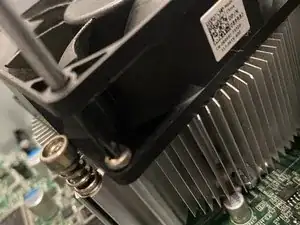
Replace and tighten screws using the Phillips #1 screwdriver by turning it clockwise (right).
-


You have successfully replaced the CPU Fan of your Dell Optiplex 9010!