
Introduction
Step by step instructions on how to locate and remove screws and parts of the device to locate the screen, remove it, replace it with a new one, and put the device back together.
-
-
Remove the battery from the device for safety. Slide the two tabs on the bottom of the computer to the unlocked position, and gently lift up the battery.
-
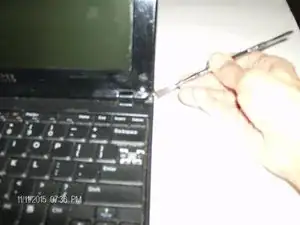
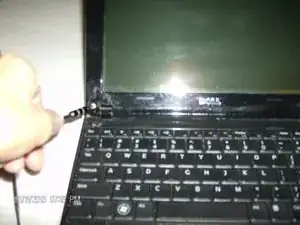
Remove the two rubber pieces at the bottom of the screen and remove the screws located behind them.
-
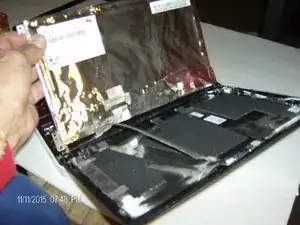
Carefully remove the plastic casing from the device.
-
-
-
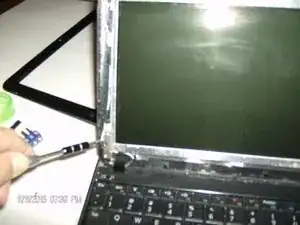
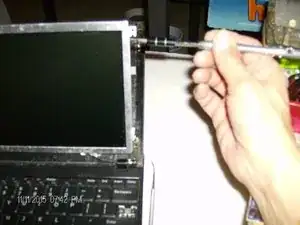
Remove the four screws on each corner of the screen. Then remove the screws located on the side of the screen.
-
Carefully unplug the ribbon on the back of the screen.
-
-
-
Place the new screen onto the device and plug the ribbon in.
-
Replace the screws on the side of the screen.
-
-
-
Snap on the plastic screen cover and replace the two screws and the rubber pieces at the bottom of the screen.
-
Turn the computer over and put the battery back in.
-


To reassemble your device, follow guide instructions.