Introduction

Using the test mode you can proof the function of the most important components.

  1. PUpdmUvV2YEnFTPB
    PUpdmUvV2YEnFTPB
    N5S41RI1TCDNXLmu
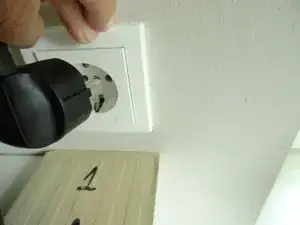
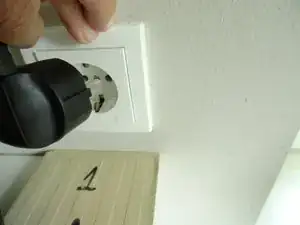
    • Pull the plug. Switch on rear side is in position "On".

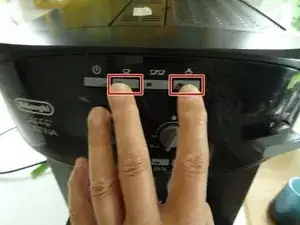
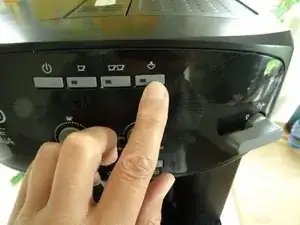
    • Press and hold both keys for "one cup" and "steam".

    • Reconnect the plug.

    • LEDs light up. When they are off again, the machine is in test mode. Release the two keys.

    • If there is no water in the reservoir or not all drawers are inserted correctly, corresponding LEDs will light up.

  2. QvwRhvWIbVxlrN3o
    QvwRhvWIbVxlrN3o
    ISNdLMoAhowZbOSB
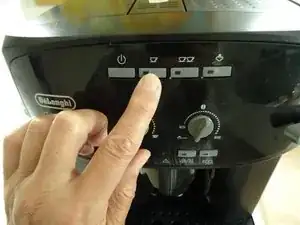
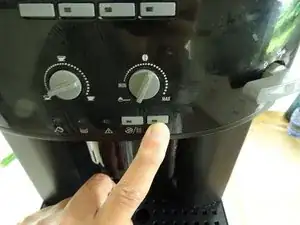
    • Press the key "one cup". The motor should drive down. If it reaches the lower end position the correspondending LED will light up.

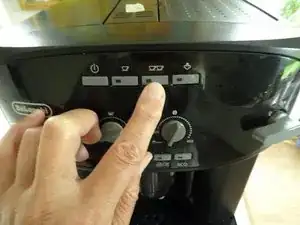
    • Press the key two cups". The motor should drive upwards. If it reaches the upper end position the correspondending LED will light up.

    • Tip: the brewing unit has to be in the right start position for correct function. It's a good idea to take a foto or mark the position.

    • If the lower four LEDs light up in sequence during later operation, the start position has not yet been set correctly. Take out the brewing unit and close the service door. Press the "one cup" and "two cups" buttons simultaneously, the motor will automatically search for the right position. Put the brewing unit back in.

  3. qSOKWBmScmmElXFV
    • Press the "steam" key. The pump should be activated. If the steam wand is opened the water should flow.

  4. XCtqe3alC2aGpFAG
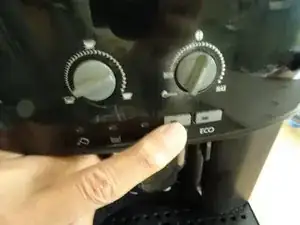
    • Press the "ECO" key. The grinder should be activated.

  5. kFeerJMUcuUoZdpG
    • Press the "Rinse" key. One LED should light up and the heater should be activated. If it reaches the end temperature, the LED goes out.

  6. 5JkMjk2jWuolTHVv
    • Pull the plug again to leave the test mode.

Conclusion

To reassemble your device, follow these instructions in reverse order.
VauWeh

Member since: 19/10/15

234462 Reputation

0 comments