Introduction
It may be that the pump no longer works properly and builds up the pressure sufficiently. Often a valve ball inside the pump is defective, you may be able to replace it. But it may also be that the solenoid coil is no longer working. Pump Ulka EP5GW is not very expensive and replacement is quite simple.
Tools
-
-
Remove all attachments such as water tank, pulp drawer, brew group.
-
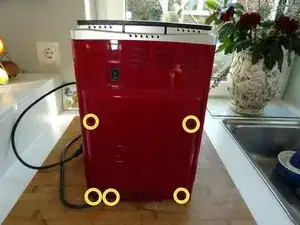
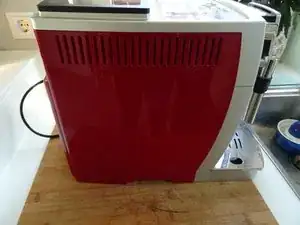
Turn the machine with the back facing you.
-
Remove five Torx T20 security screws.
-
-
-
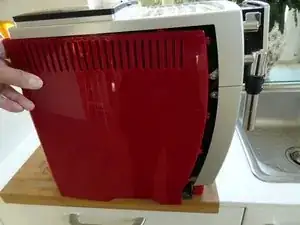
Push the side panel back about 1.5 cm.
-
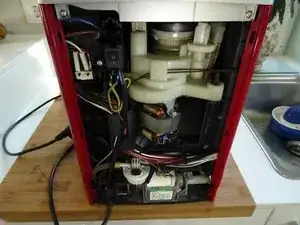
Lift off the panel.
-
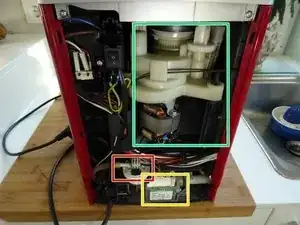
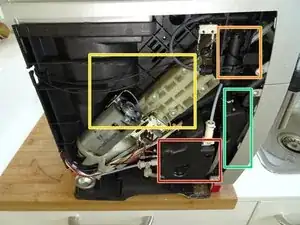
The following compononents are exposed:
-
Heater
-
Expansion chamber
-
Gear drive
-
Steam valve
-
-
-
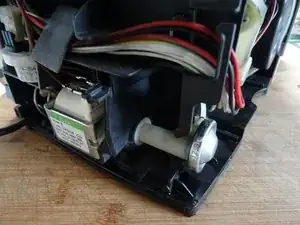
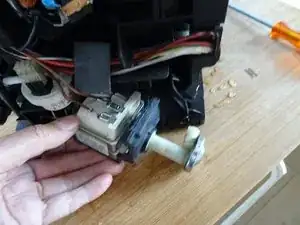
The pump is located on the back of the device. It is supported by a spring and a rubber surround.
-
-
-
Pull out the metal clip at the outlet of the mebrand damper.
-
Pull off the pressure hose. There is an O-ring at the end of the hose, which is usually stuck in the connection. Replace it during reassembly.
-
-
-
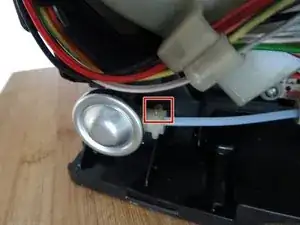
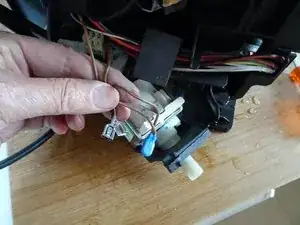
Detach the silicone hose on the left side and pull out the pump completely.
-
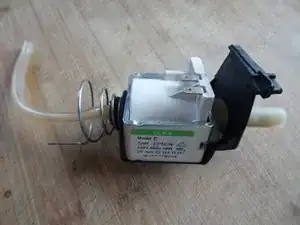
Remove the spring and the hose on the left side.
-
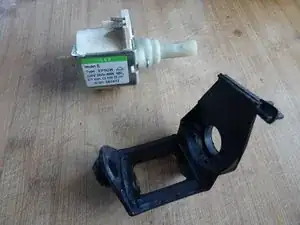
Detach the rubber holder.
-
Work through the steps in reverse order to reassemble your device.



Screwdriver must have a hole? What does that mean? Is it a standard Tx20 bit?
Kevin -
No, it is a TR20 Security Bit, which really has a hole (if you look to the star shape) . See TR10 Torx Security Screwdriver
VauWeh -
Bits from iFixit are equipped with it.
VauWeh -