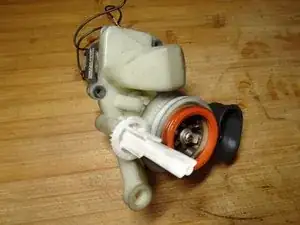
Introduction
These instructions show how to replace the grinding stones in a DeLonghi cone grinder. The grinding stones are very similar to those of Jura (and similar in construction). Unfortunately, however, the grinding ring has three flattened sides and is nowhere to be found. The grinding cone from Jura fits, though. So the instructions are only of limited use, e.g. to get spare parts from a grinder with a defective motor, or if the replacement of the grinding cone is already enough. Otherwise, the grinder must be replaced completely, it is not so much more expensive than the grinding stones (eg from Jura) itself.
Also take a look at our wiki DeLonghi grinder jams.
-
-
If the bean hopper is still attached, it must be removed.
-
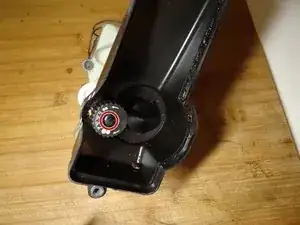
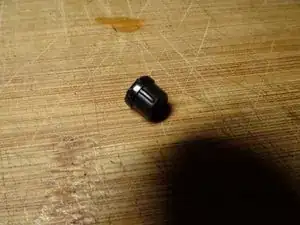
Use a pointed tool to remove the cap on the adjustment dial.
-
-
-
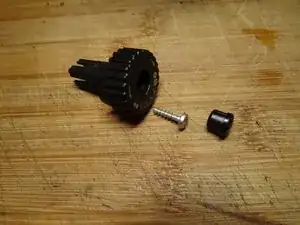
There is a Phillips screw underneath. Unscrew it.
-
Note the position and pull the dial upwards.
-
Pull the bean container upwards.
-
-
-
Mark the settings of the wheels with a pencil.
-
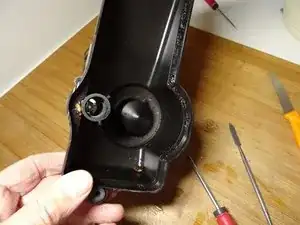
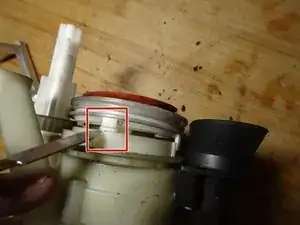
Use a spatula to loosen the two detents on the sides.
-
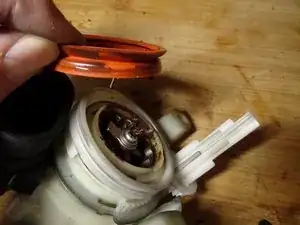
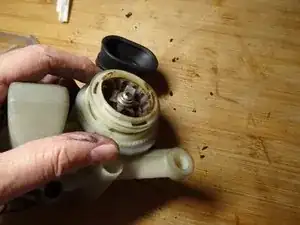
Pull off the red silicone seal.
-
-
-
Lift off the white plastic ring.
-
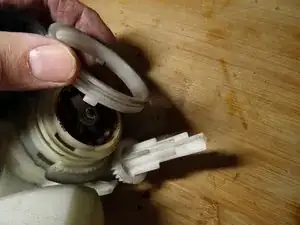
Turn the white ring with the ring gear counterclockwise as far as it will go.
-
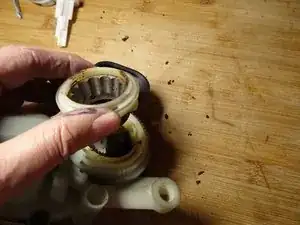
The grinding ring is free and you can lift it out upwards.
-
-
-
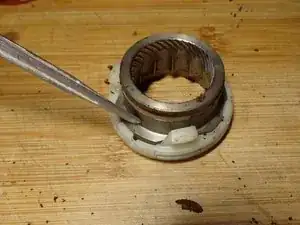
The grinding ring can be completely removed from the plastic holder. To do this, lift the three detents to the side and push the ring out.
-
-
-
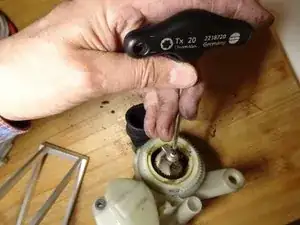
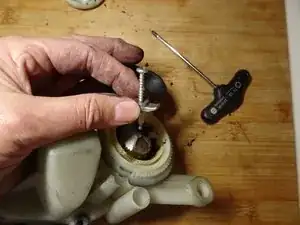
Unscrew the screw clockwise, i.e. the wrong way round.
-
When assembling, make sure that the screw with its fastening part fits exactly into the intended groove.
-
-
-
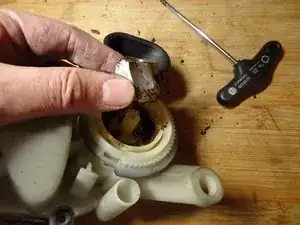
Carefully lift the grinding cone upwards.
-
Lift the driver up and out.
-
Now you can clean all parts thoroughly.
-
When reassembling, make sure that the metal balls fit into the corresponding recesses in the cone.
-


Work through the steps in reverse order to reassemble your device.