Introduction

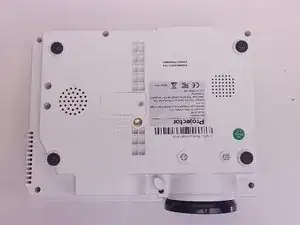
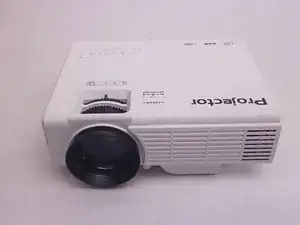
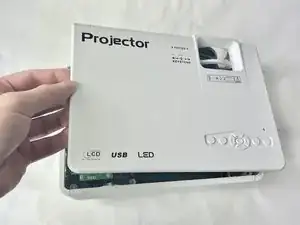
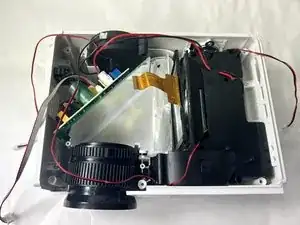
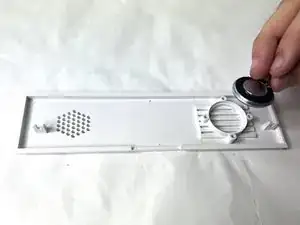
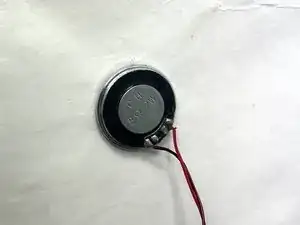
Use this tutorial to replace a faulty speaker in your HI-04 mini projector. You might notice distorted sound, or static, or the device won't produce sound at all.

A speaker is a device inside of the projector that produces the sound you hear from the device. You might get a faulty speaker due to damage over time or if the device is physically damaged.

Before using this guide, be sure to review the troubleshooting guide. Sometimes issues with the noise can be fixed by restarting the device, which wouldn't require replacing the speaker.

  1. xJnkUiWa5jDWEJYU
    xJnkUiWa5jDWEJYU
    odoBVth3LIq6GPJ5
    mKLYVfYmCtTyVFKc
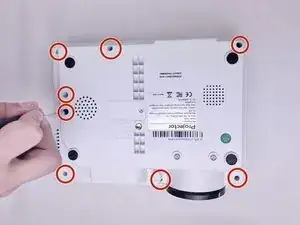
    • Flip the projector so that the bottom is facing up.

    • Remove eight 10.0 mm screws from the back case with a Phillips #0 screwdriver.

    • The screws are set deep in the holes, so be careful not to drop them.

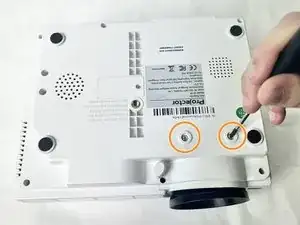
    • Remove two 20.0 mm screws with a Phillips #0 screwdriver.

  2. hPuV1YEBOaK43n5M
    hPuV1YEBOaK43n5M
    jPlOByhUxWmwytEX
    vrnwCcOBUexTRck5
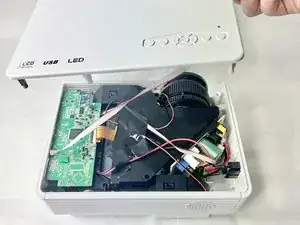
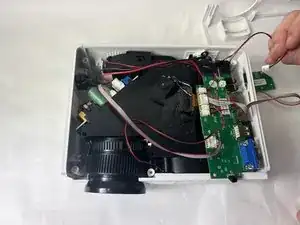
    • Flip the projector so it is upright.

    • Remove the top case of the projector.

    • The shell of the projector should lift up easily but is fragile, so be gentle while lifting.

    • The top case is connected to the motherboard by cables, so avoid yanking it off to prevent snapping the connectors or damaging components.

  3. qsY2yUddL5fZLaR5
    qsY2yUddL5fZLaR5
    rMGEaiUJCKCVQaU5
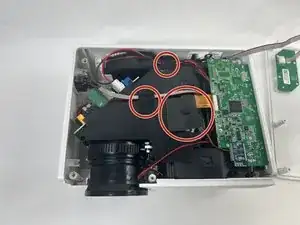
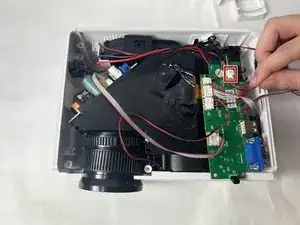
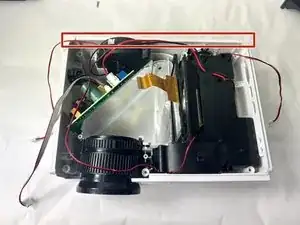
    • Remove the three pieces of tape securing cables.

    • Keep the tape for reassembly.

  4. BnSNUUSZYAKewYGR
    BnSNUUSZYAKewYGR
    JygSPdoFOmpKJ6Tu
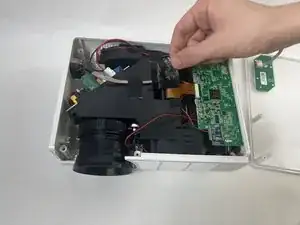
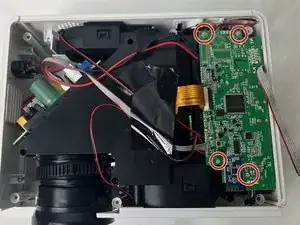
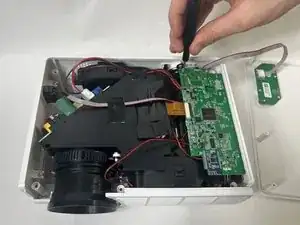
    • Use a Phillips #0 screwdriver to remove the four 15.0 mm screws from the motherboard.

    • Be sure to not drop the screws in the device as they can be difficult to recover.

  5. myV2pJDCeYodRep2
    myV2pJDCeYodRep2
    EhvYreT4AHalYrnN
    ZTxKpM1NpTqH1cWV
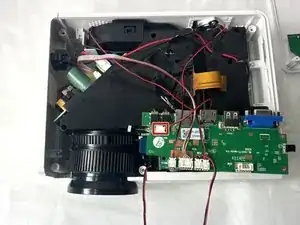
    • Squeeze the tab against the connector, and pull the connector straight from the socket to disconnect the speaker cable from the port.

    • The cable should come out easily so do not pull too hard.

  6. Lg2vbTVFBlrxucrH
    Lg2vbTVFBlrxucrH
    oFHJonCqWI6XPKFD
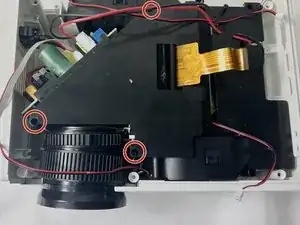
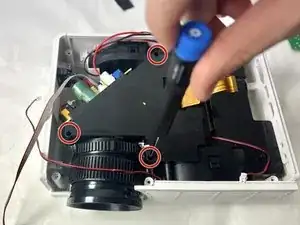
    • Use a Phillips #0 screwdriver to remove the three 15.0 mm screws from the black cover.

    • The screws are set deep in the holes, so be careful to not drop the screws, as they can be difficult to recover.

  7. YFmcBFFArmnRkqO3
    YFmcBFFArmnRkqO3
    XOIWEBqVcSgJdwUA
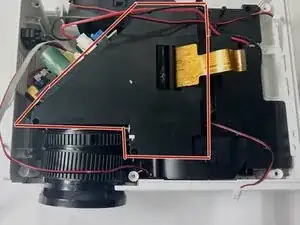
    • Gently remove the black cover.

  8. nRIVdOesJd1hSqYC
    nRIVdOesJd1hSqYC
    ZQhZypHYyCF5pHoT
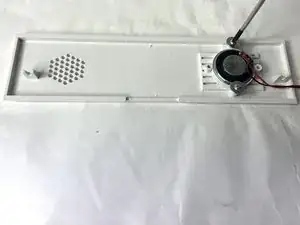
    • Slide the back panel with the speaker up from the bottom case of the project.

  9. oAJrknuWnDFbbMmR
    oAJrknuWnDFbbMmR
    Upog5MjOnHbXEokS
    DJkVCjGduj35Vadj
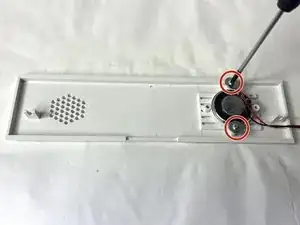
    • Use a Phillips #0 screwdriver to remove the two 10.0 mm screws that secure the speaker.

Conclusion

To reassemble your device, follow these instructions in reverse order.
Baron Dutra

Member since: 01/11/23

825 Reputation

0 comments