Introduction

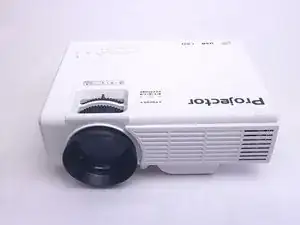
Use this guide to replace the lens in a DR.J Professional HI-04 if the device is displaying a blurry or distorted image.

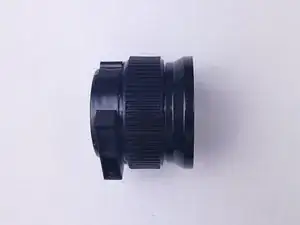
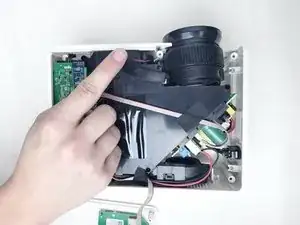
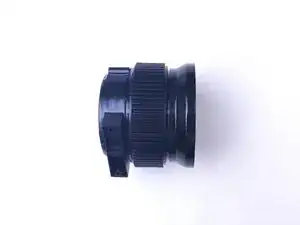
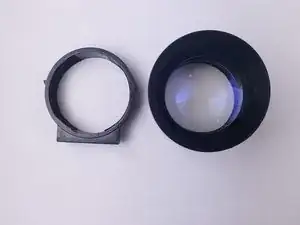
The lens is what allows the device to project an image. A faulty lens can cause the image to look distorted or blurry. This can be caused by the lens being scratched or broken.

Before using this guide, be sure to review the troubleshooting page. Sometimes the image may be blurry or distorted due to the keystone needing to be adjusted, which would not require replacing the lens.

  1. RowFXRAaMGlPA1qr
    RowFXRAaMGlPA1qr
    2dXRpELiuqnQ3FPU
    xCUlSDEDaoErQ4mr
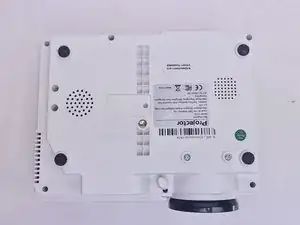
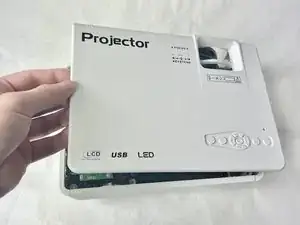
    • Flip the projector so that the bottom is facing up.

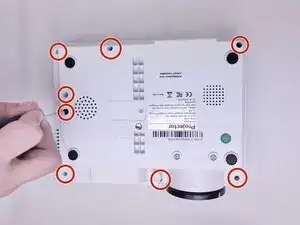
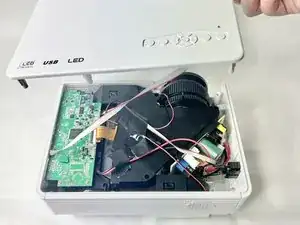
    • Remove eight 10.0 mm screws from the back case with a Phillips #0 screwdriver.

    • The screws are set deep in the holes, so be careful not to drop them.

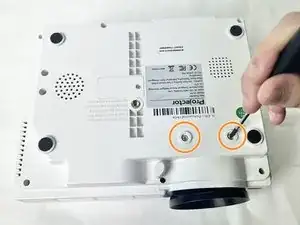
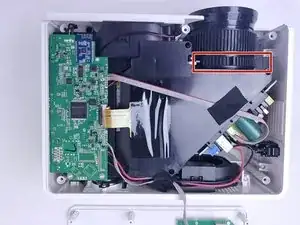
    • Remove two 20.0 mm screws with a Phillips #0 screwdriver.

  2. Zh6wpntNNgKRvDjN
    Zh6wpntNNgKRvDjN
    gI1iIMQOEhYnDleZ
    bVhROVpPOW2ArxyH
    • Flip the projector so it is upright.

    • Remove the top case of the projector.

    • The shell of the projector should lift up easily but is fragile, so be gentle while lifting.

    • The top case is connected to the motherboard by cables, so avoid yanking it off to prevent snapping the connectors or damaging components.

  3. gq2uWcfQMIMCMNIB
    gq2uWcfQMIMCMNIB
    l51EGcXTD2hqd1Rr
    • Gently lift the black flap off from the base of the lens.

  4. iGqVd5JGYkcWjW1S
    iGqVd5JGYkcWjW1S
    AmKd4P5VEM2MOfYZ
    • Remove the lens from the projector.

    • The lens is no longer secured but might still be tightly in place. Be gentle while removing it.

  5. uYCQiSQpMJxI5vTM
    uYCQiSQpMJxI5vTM
    dLWDVbKwXP4yOqOp
    • Unscrew the cover of the lens.

Conclusion

To reassemble your device, follow these instructions in reverse order.

Kory Lajoie

Member since: 01/11/23

127 Reputation

One comment

how to replace lcd

Rael Sañosa -