Introduction

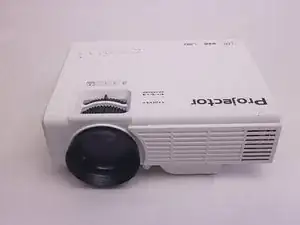
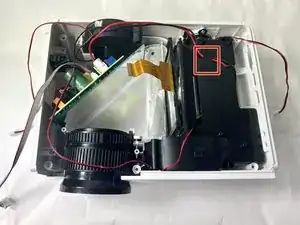
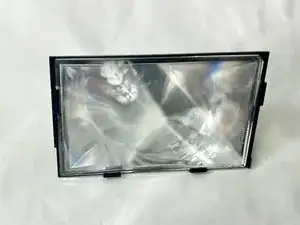
Use this guide to replace the lamp in a DR.J Professional HI-04 if the device is not displaying an image, or it's displaying a dim or flickering image.

The lamp creates light for the device. A faulty lamp can cause the image to be dim, flicker, or to not display at all. This can be caused by the lamp being past its lifespan or by it being broken.

Before using this guide, be sure to review the troubleshooting page. Sometimes issues with the image can be fixed by restarting the device, which wouldn't require replacing the lamp.

  1. MZwL2RULFgqufuZG
    MZwL2RULFgqufuZG
    2bYVD1uiuhyZEwOp
    dafOL4I1XlZ4ZCMM
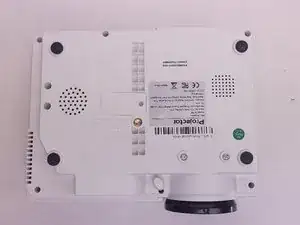
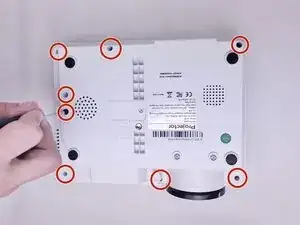
    • Flip the projector so that the bottom is facing up.

    • Remove the eight 10.0 mm screws with a Phillips #0 screwdriver.

    • The screws are set deep in the holes. Be careful not to drop the screws.

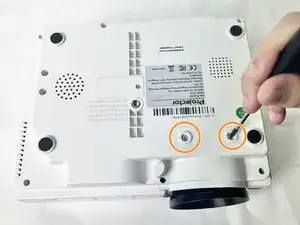
    • Remove the two 20.0 mm screws with a Phillips #0 screwdriver.

  2. XlCVBPOnfbRuVIPM
    XlCVBPOnfbRuVIPM
    URKmB5ubJLIepPAP
    pyLfaLet1q3ttSsU
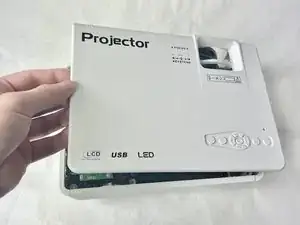
    • Flip the projector so it is upright.

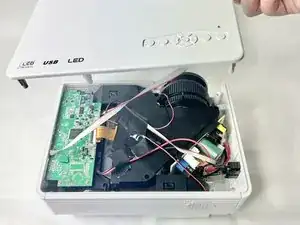
    • Remove the top case of the projector.

    • The top case should come off fairly easily but be gentle while removing it.

    • Don't yank the top case off as there are cables attached to the motherboard and the top case.

  3. CBLOakUAgIXGmTWT
    CBLOakUAgIXGmTWT
    NAIPSTRDDAcwTUwR
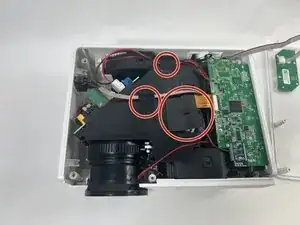
    • Remove the three pieces of tape securing cables.

    • Keep the tape for reassembly.

  4. IxA6aeeZTyvKNbCK
    IxA6aeeZTyvKNbCK
    yobrdHtUgtKDV4iQ
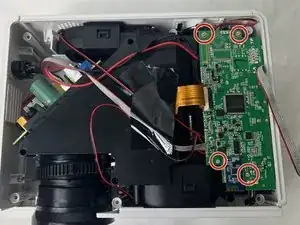
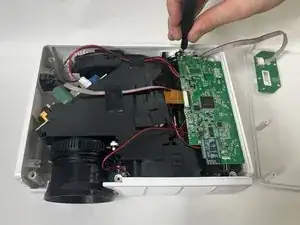
    • Use a Phillips #0 screwdriver to remove the four 15.0 mm screws from the motherboard.

    • Be sure to not drop the screws in the device as they can be difficult to recover.

  5. ybBhwQQFOBilnQMo
    ybBhwQQFOBilnQMo
    r2m1FXQZvT5AdMRa
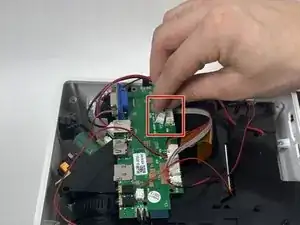
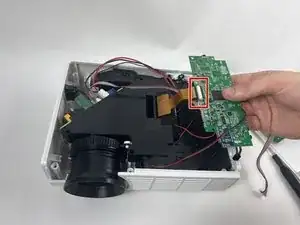
    • Squeeze the tab against the connector, and pull the connector straight out from the socket.

    • The cable will come out easily so do not pull too hard.

  6. tZaIPeCjxsuBfeg1
    tZaIPeCjxsuBfeg1
    vWQAscf55V5HimoY
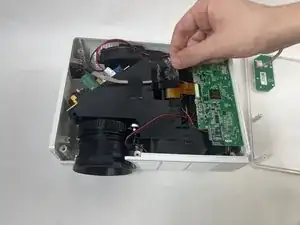
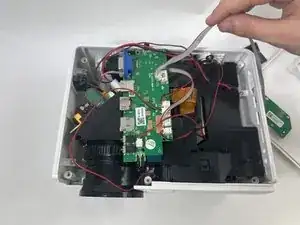
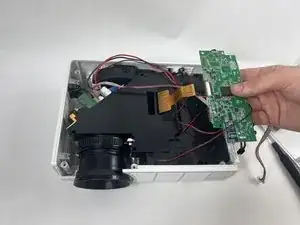
    • Lift the motherboard from the device.

    • Use the tip of a spudger or your fingernail to flip up the small locking flap of the ZIF connector.

    • Pull the cable from the connector.

  7. gNR5YCW1HmlBE6hK
    gNR5YCW1HmlBE6hK
    IBm2VYsTSKXuoTjU
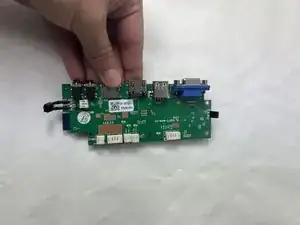
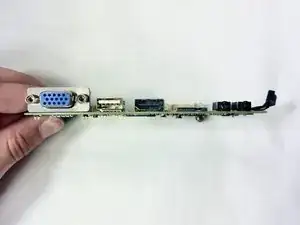
    • Set down the motherboard safely.

  8. wUBJuOQma4vbeZ2T
    wUBJuOQma4vbeZ2T
    6A5DCPnYQmRPbofG
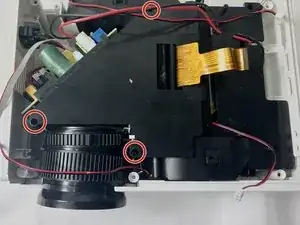
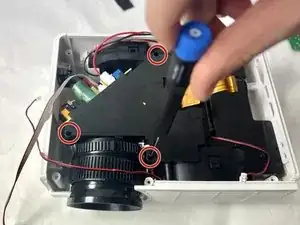
    • Use a Phillips #0 screwdriver to remove the three 15.0 mm screws from the black cover.

    • The screws are set deep in the holes, so be careful to not drop the screws, as they can be difficult to recover.

  9. XBOuaThenHOXZRi2
    XBOuaThenHOXZRi2
    2s5W2UJqhexJgXcJ
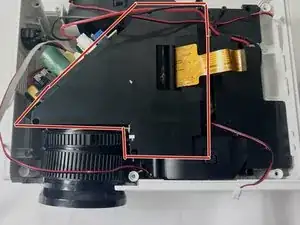
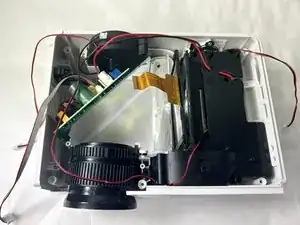
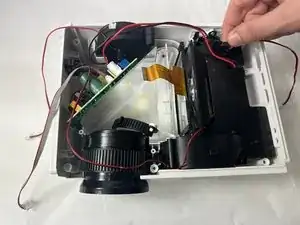
    • Gently remove the black cover.

  10. wVYrEAp2qSIEpCyk
    wVYrEAp2qSIEpCyk
    wYDM5hYEFN2WWXEV
    • Remove the single piece of black tape.

    • Save the tape for reassembly.

  11. YFfFHwbCkQABhilF
    YFfFHwbCkQABhilF
    lI2oSRxrbS3nltec
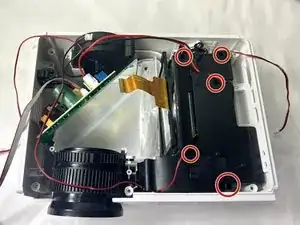
    • Use a Phillips #0 screwdriver to remove five 10.0 mm screws.

  12. bPDCdfk3gkCQc1U6
    bPDCdfk3gkCQc1U6
    H5UVNQnx6WltZpBj
    uEmeEXBPPRYdLIkn
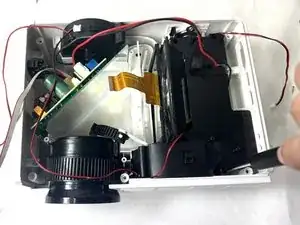
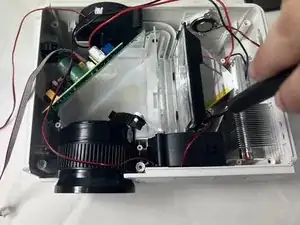
    • Gently remove the black cover.

  13. VVBRmUqgJS5BiQdH
    VVBRmUqgJS5BiQdH
    go2mO65nRKTLsgO2
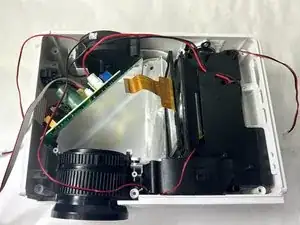
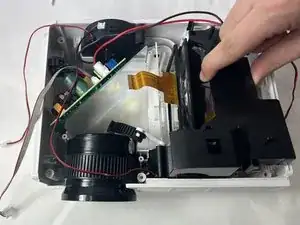
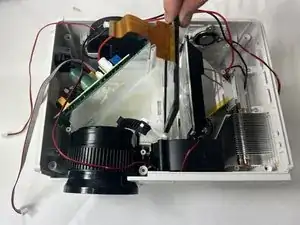
    • Remove the glass object with the orange ribbon cable connector.

    • Be careful removing object as it is fragile and can easily break.

  14. X1LZWHDU3pGcZBQM
    X1LZWHDU3pGcZBQM
    NQymDedkiepukWq2
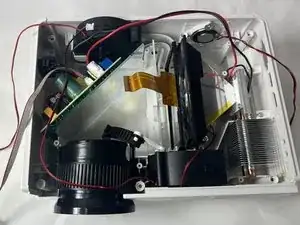
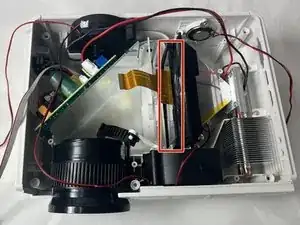
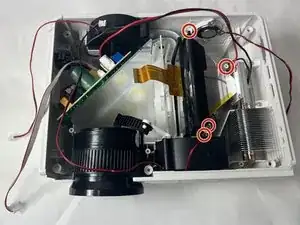
    • Use a Phillips #0 to remove four 10.0 mm screws from the lamp.

  15. yApHDuUtXYo4qVyw
    yApHDuUtXYo4qVyw
    Z641jRIA4cFYrVR6
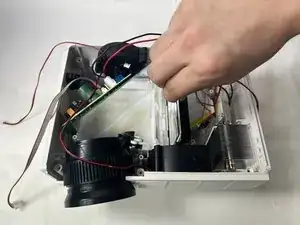
    • Gently slide the lamp out from the projector case.

Conclusion

To reassemble your device, follow these instructions in reverse order.
Baron Dutra

Member since: 01/11/23

825 Reputation

0 comments