Introduction
These are the first steps to getting into the inner workings of this machine. Not surprisingly, a donor board will have to be acquired by some means, they cannot and have never been able to be bought new.
-
-
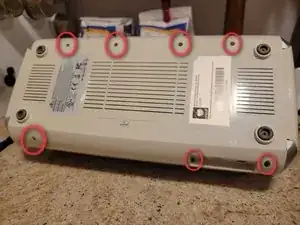
Remove the 7 screws on the bottom. Then, wiggle the bottom panel free.
-
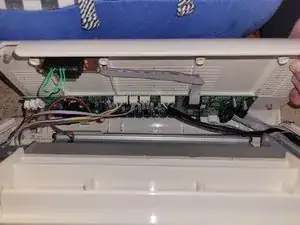
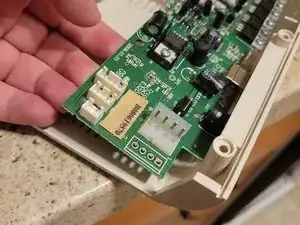
The logic board will be immediately exposed-- Take care not to mangle any of the connectors, or bump any capacitors.
-
The cartridge slot also comes out attached to the bottom panel.
-
-
-
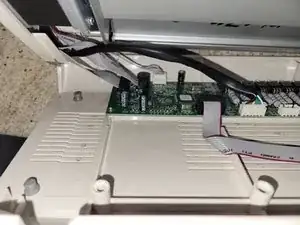
Remove all 8 connectors, plus the cartridge reader connector.
-
Refer to the images to remember where each connector plugs into.
-
-
-
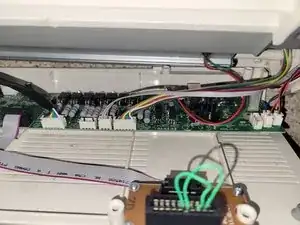
Remove the 4 screws holding in the logic board.
-
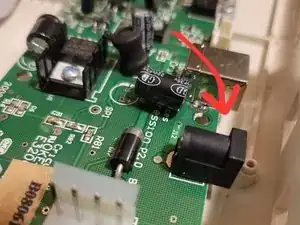
The power connector will be stuck. The power connector has a lip on it-- lift the back of the board up and out to free the lip.
-

To reassemble your device, follow these instructions in reverse order.