Introduction
Follow this guide to replace the rubber rollers in your Cricut Maker 3.
If your work material is not feeding properly, or if your projects are misaligned, you may need to replace the rubber rollers in your Cricut.
Tools
-
-
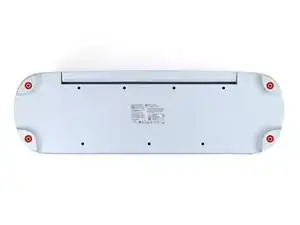
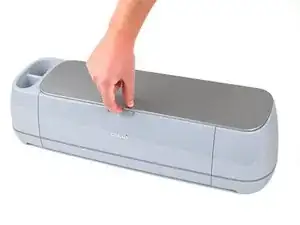
Flip the Cricut over so the bottom is facing up.
-
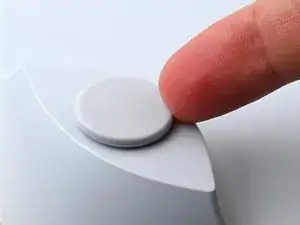
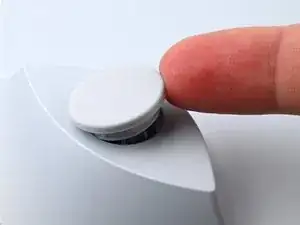
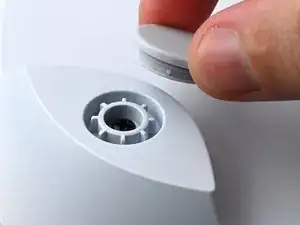
Use your finger to pry up and remove all four rubber feet from the bottom of the Cricut.
-
-
-
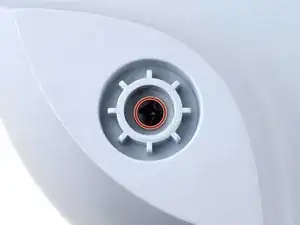
Use a Phillips screwdriver to remove the four 41 mm‑long screws securing the top cover to the base. There's one screw under each foot.
-
-
-
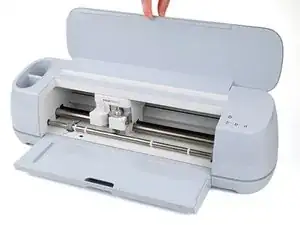
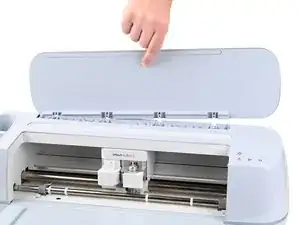
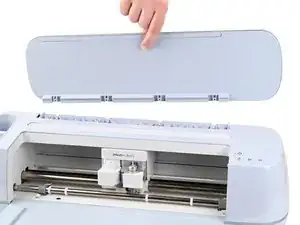
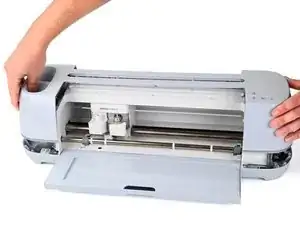
Flip the Cricut over so the silver lid is facing up.
-
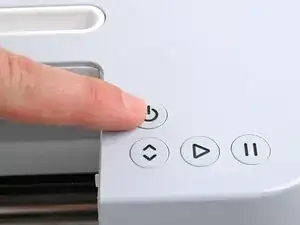
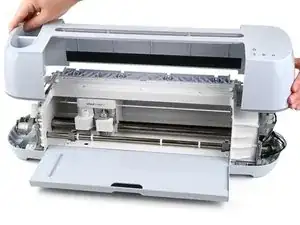
Open the Cricut by lifting the top silver lid. The front tray will also open.
-
-
-
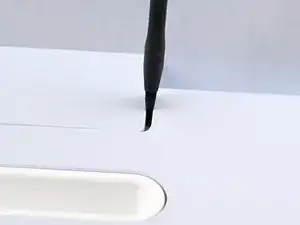
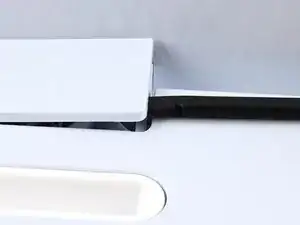
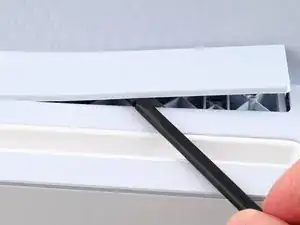
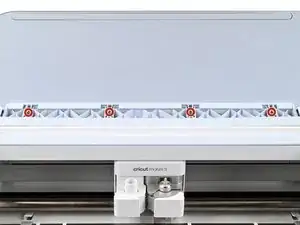
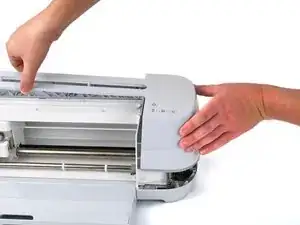
Insert the flat end of a spudger between the right side of the lid hinge cover and the top cover.
-
Use the spudger to pry up the cover.
-
-
-
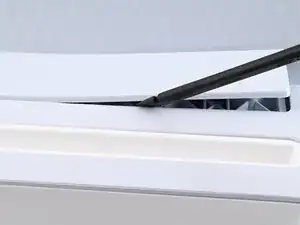
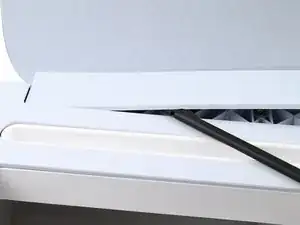
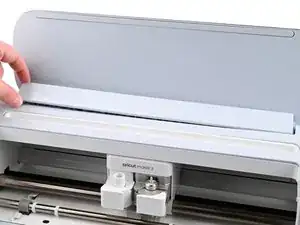
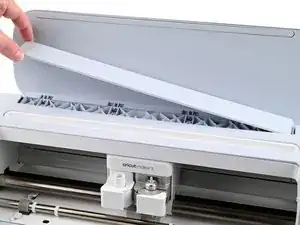
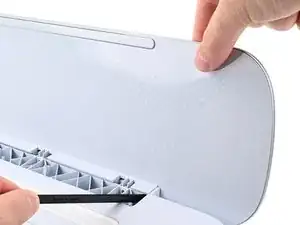
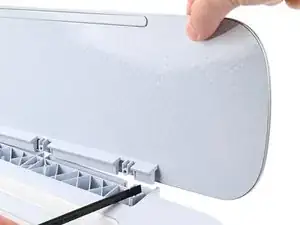
Use the flat end of a spudger to pry up along the long edge of the lid hinge cover until the cover is free.
-
-
-
Use a Torx T8 screwdriver to remove the four 10.2 mm‑long screws securing the lid to the hinge.
-
-
-
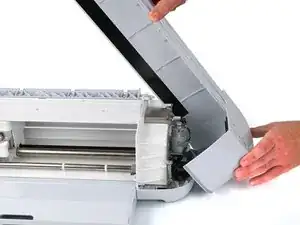
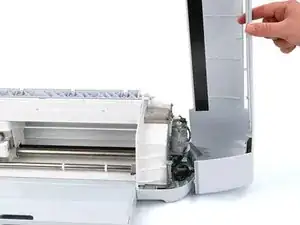
Rotate the top cover to the right and prop it up so the right side of the cover is resting on your work surface.
-
-
-
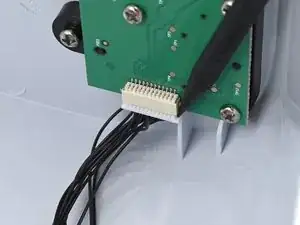
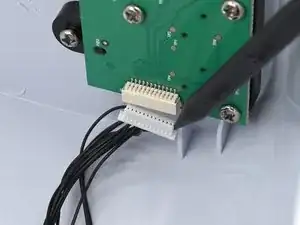
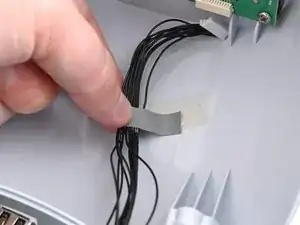
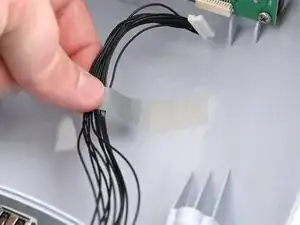
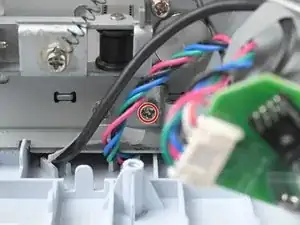
Use a spudger to disconnect the sliding connector from the button board by pushing on one side, then the other, until it's free.
-
-
-
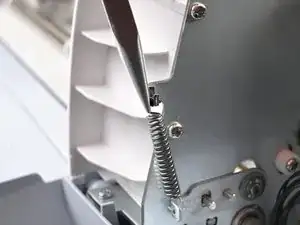
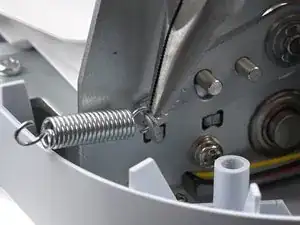
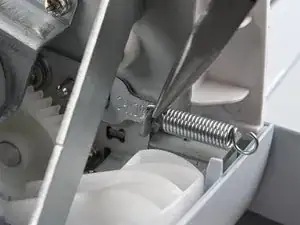
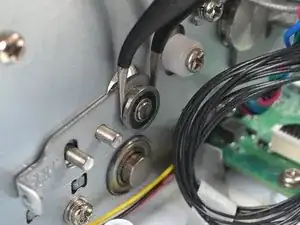
Use a pair of needle nose pliers to lift the tensioning spring on the right side of the Cricut off of its top post.
-
-
-
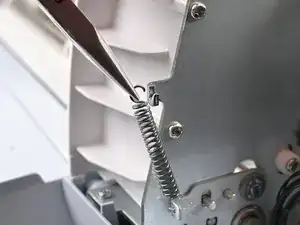
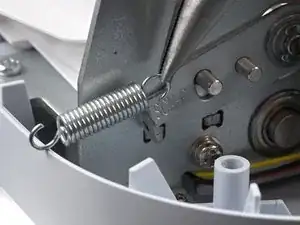
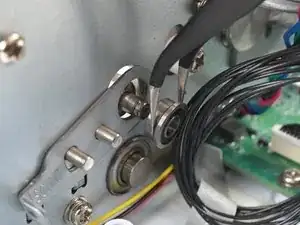
Use a pair of needle nose pliers or your fingers to lift the spring off of the roller bar bracket.
-
-
-
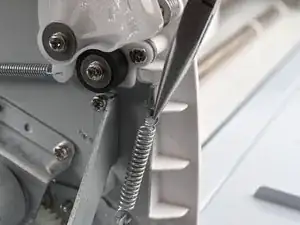
Use a pair of needle nose pliers to lift the tensioning spring on the left side of the Cricut off of its top post.
-
-
-
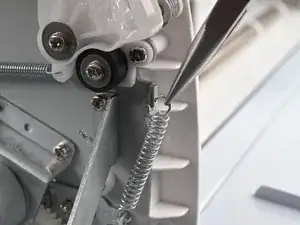
Use a pair of needle nose pliers or your fingers to lift the spring off of the roller bar bracket.
-
-
-
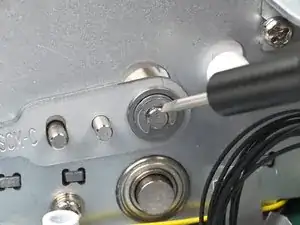
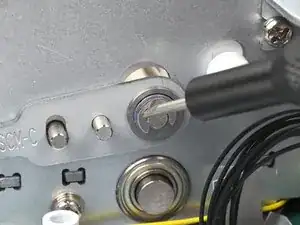
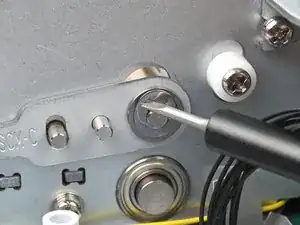
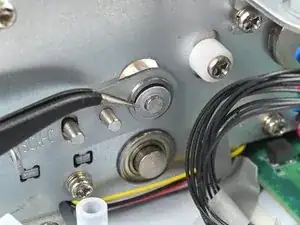
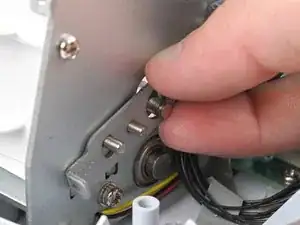
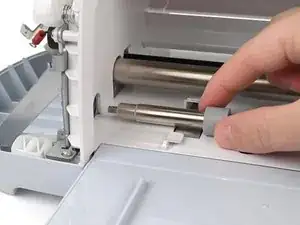
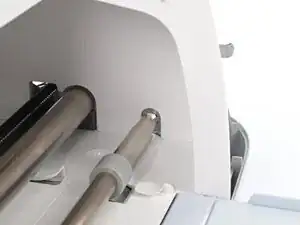
On the right end of the roller bar, insert a small flathead screwdriver or similar prying tool into one of the notches of the E‑clip that secures the roller bar.
-
Use the screwdriver or prying tool to pry the E‑clip off the roller bar.
-
-
-
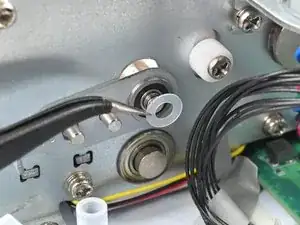
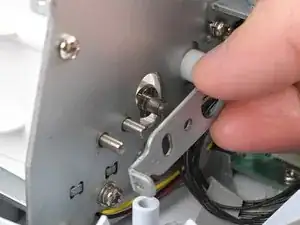
Use a pair of angled tweezers to remove the plastic washer from the right end of the roller bar.
-
-
-
Use a pair of angled tweezers or your fingers to remove the bearing from the roller bar bracket.
-
-
-
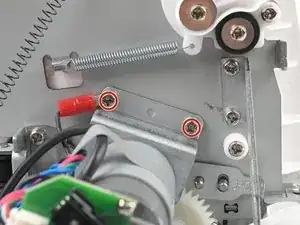
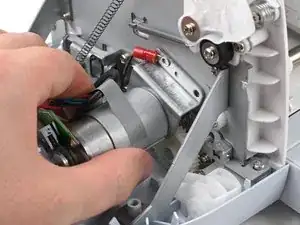
On the left side of the Cricut, use a Phillips screwdriver to remove the three 7.3 mm‑long screws securing the roller bar motor assembly.
-
Make sure each screw has a washer and locking washer, with the locking washer between the washer and the head of the screw.
-
Make sure the grounding wire is secured to the body of the Cricut with the top‑left screw.
-
-
-
Grab the roller bar motor assembly and move it out of the way.
-
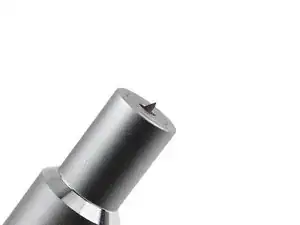
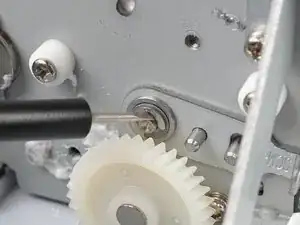
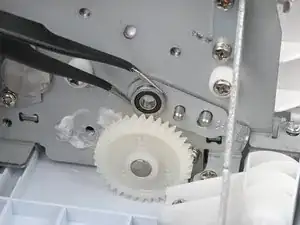
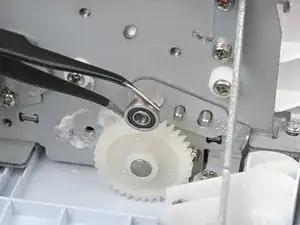
If the white grease on the pin came off during disassembly, apply a small amount of new grease to the pin before putting the motor assembly back in place.
-
Use paper towels and isopropyl alcohol to clean up any stray grease.
-
Make sure the pin in the motor assembly goes through the gear and into the hole in the frame.
-
-
-
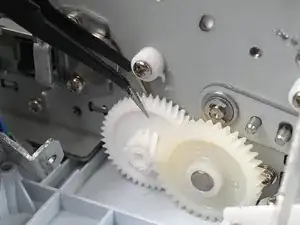
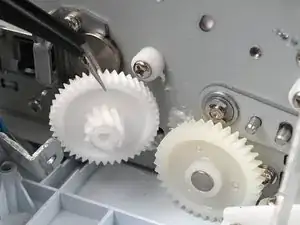
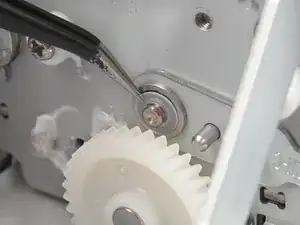
Use a pair of angled tweezers to remove the gear that was secured behind the roller bar motor assembly.
-
-
-
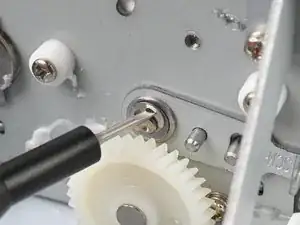
Insert a small flathead screwdriver or similar prying tool into one of the notches of the E‑clip that secures the roller bar.
-
Use the screwdriver or prying tool to pry the E‑clip off the roller bar.
-
-
-
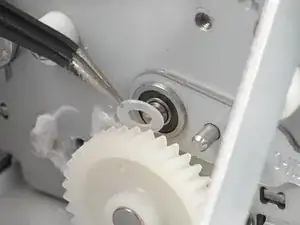
Use a pair of angled tweezers or your fingers to remove the bearing from the roller bar bracket.
-
-
-
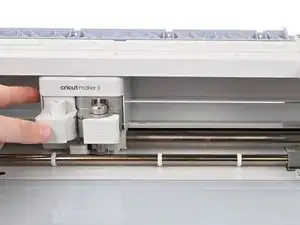
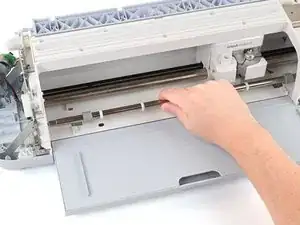
Slide the roller bar to the right, making sure it goes through the opening in the right side.
-
-
-
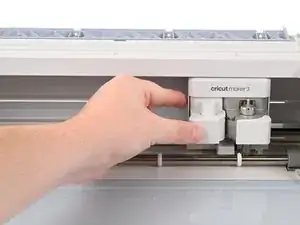
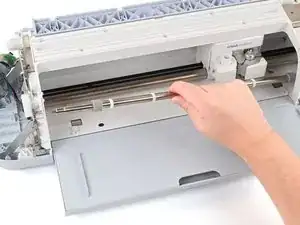
Lift the left end of the roller bar up and towards you so it lifts clear of both the side of the Cricut and the tool holder.
-
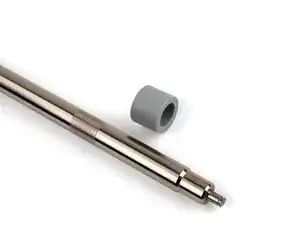
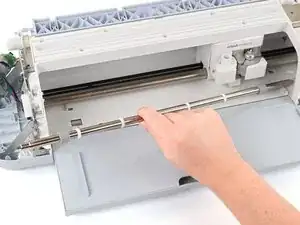
Slide the roller bar to the left to remove it.
-
-
-
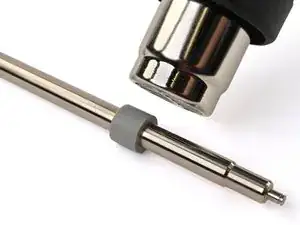
Use a heat gun or hair dryer to heat the rubber roller until it's hot to the touch.
-
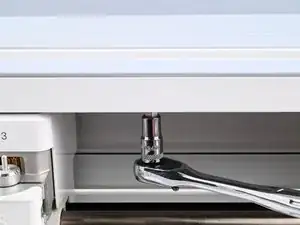
Prop the roller bar up against a sturdy surface or have someone hold it.
-
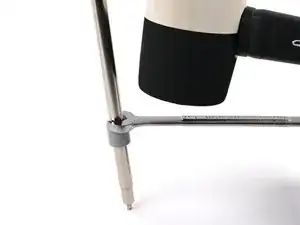
Place the open end of a wrench around the roller bar, above the rubber roller, so it rests on the roller. The wrench needs to be big enough to fit around the roller bar while still resting on the rubber roller.
-
While holding the wrench with one hand, use a rubber mallet to hit the wrench and push on the rubber roller until it slides off of the bar.
-


To reassemble your device, follow these instructions in reverse order.
Repair didn’t go as planned? Try some basic troubleshooting, or ask our Answers community for help.