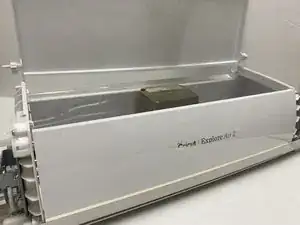
Introduction
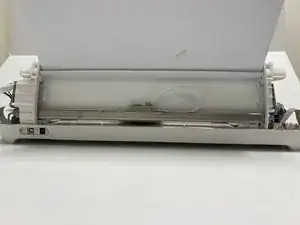
If you need to replace the roller bar, use this guide to access and remove it. If the roller bar becomes excessively scratched or damaged, consistently gets stuck, or does not roll properly, it may need to be replaced.
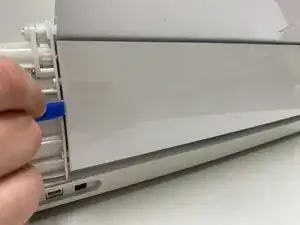
Use the Front Door Replacement Guide as a prerequisite to access the interior parts of the Cricut. None of these steps are extremely difficult, but the maneuvering of the Cricut shell to access the roller bar requires careful attention, as it would be easy to break something.
-
-
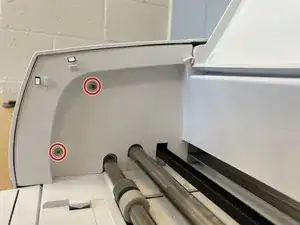
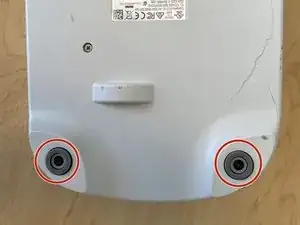
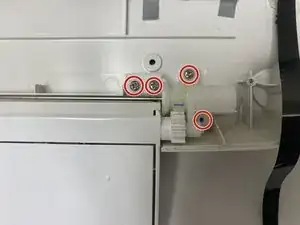
On both the left and right sides of the Cricut, locate the two internal screws.
-
Use a Phillips #1 screwdriver bit to unscrew the top 10.8 mm screw and the lower 9.1 mm screw on each side, four screws in total.
-
-
-
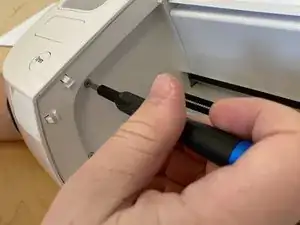
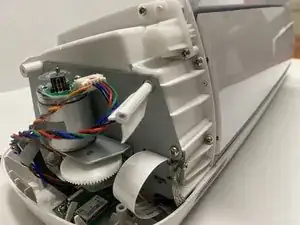
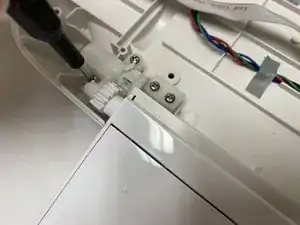
Locate the four screws, two on the left and two on the right, with pads attached.
-
Using a Phillips #2 screwdriver, remove all four of the screws and their pads.
-
-
-
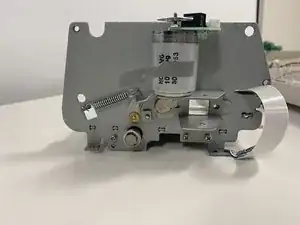
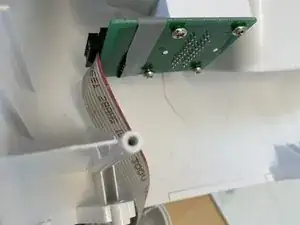
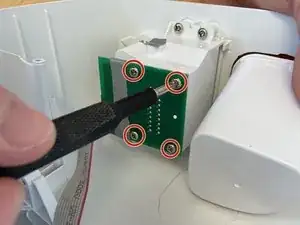
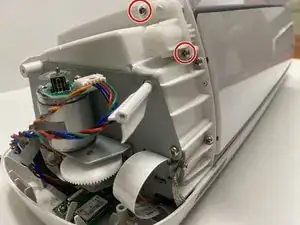
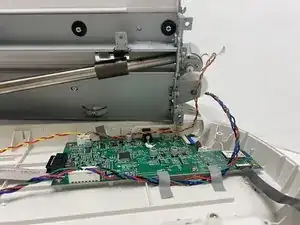
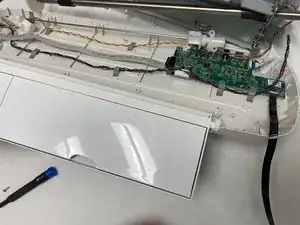
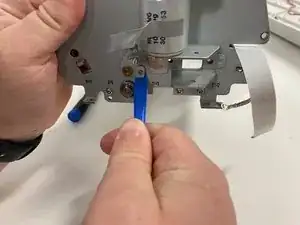
On the right side of the Cricut, locate the circuit board screwed in to the cover just removed.
-
Locate the four screws securing the circuit board to the shell.
-
Use a Phillips #1 screwdriver to unscrew each of the four 10 mm screws.
-
-
-
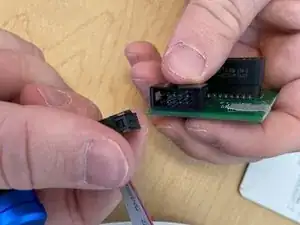
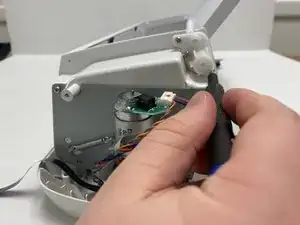
Gently unplug the connector from the circuit board, freeing the right side of the plastic shell completely.
-
-
-
On both the left and right sides of the back plastic panel.
-
Using a Phillips #2 screwdriver, unscrew each of the four 5mm screws.
-
-
-
Wedge a plastic pryer tool next to the left side of the back panel.
-
Gently pry the left side of the back door from the rest of the machine.
-
Repeat with the right side of the back door to completely remove the back panel.
-
-
-
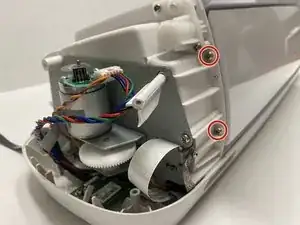
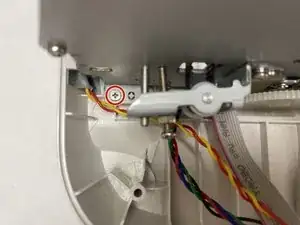
On both the left and right sides, locate the screws securing the top door's hinge.
-
Use a Phillips #1 screwdriver to remove the two 6.5 mm screws on each side, four in total.
-
-
-
Locate the screws on the corners of the metal interior plate on both the left and right sides.
-
Unscrew the two the 8 mm screws on each side, four in total.
-
-
-
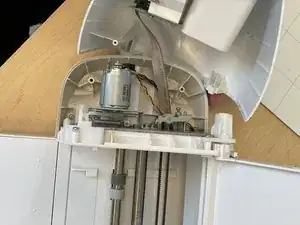
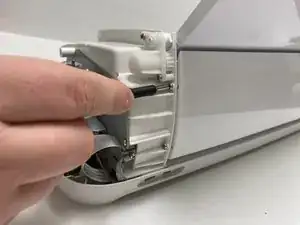
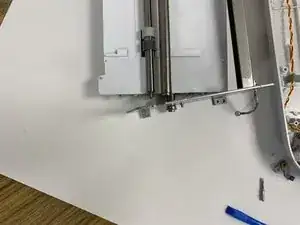
Gently lean the metal interior and all that comes with it backwards, exposing the bottom plastic shell of the Cricut.
-
-
-
Locate the screws securing the front door hinge to the bottom plate of the Cricut.
-
Unscrew each of the four 5 mm screws on each side, 8 in total.
-
-
-
Locate the spring on the left side of the Cricut's metal interior frame.
-
Gently remove the spring by disconnecting the hooks on either side.
-
Repeat on the right side.
-
-
-
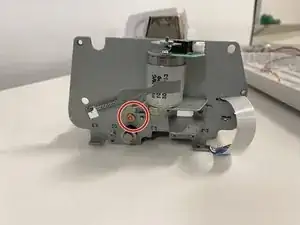
Identify the metal piece holding the roller bar in place.
-
Wedge a prying tool underneath the metal to free the interior from this piece of the frame.
-
Repeat on the right side.
-
-
-
Gently push the metal frame, skewing it to free the roller bar.
-
Repeat on the right side to fully free the roller bar.
-

To reassemble your device, follow these instructions in reverse order.