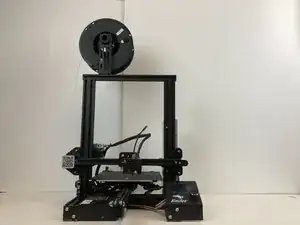
Introduction

The hot end of a 3D printer is the most common cause for failed prints and general problems with a printer. This is due to the nature of the hotend, as it is the most used and strained part of a printer. Replacing the hotend is, fortunately, not too difficult. This guide details how to replace the hotend of an Ender 3 3D printer. As a warning, this process may involve working with a heated element that is around 240 degrees Celsius or 464 degrees Fahrenheit, extreme caution is advised.

  1. Mmr2tpX2f5THLXil
    Mmr2tpX2f5THLXil
    BetoU5jHuoH6CsBO
    OhHPZUCtFlD2UsUh
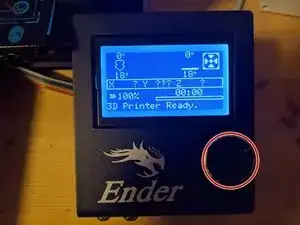
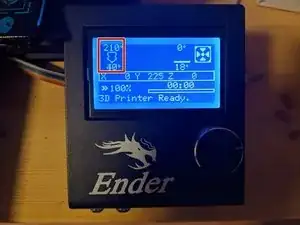
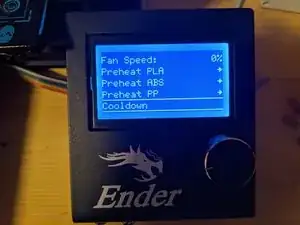
    • Press the knob to enter the marlin LCD menu and turn it to navigate between the options.

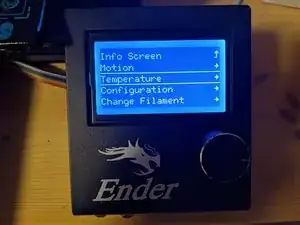
    • Navigate to Temperature > Nozzle.

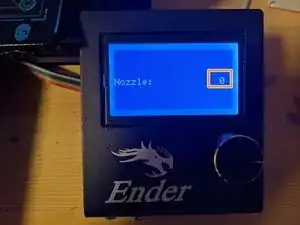
    • Adjust the nozzle temperature by turning the knob and confirm by pressing it.

    • Use whatever temperature you would be printing with, minus about 10°C. For both PLA and PETG 210°C usually works fine.

  2. l1nPEZoyAbWW2uvV
    • Wait until the current temperature (bottom) matches the target temperature (top).

  3. wZSadicwvuHaMTeX
    • Press down on the extruder lever arm and pull out the loaded filament.

    • Fully pressing down the lever arm might lead to the filament snagging when you try to pull it out. Just pressing it a bit will usually suffice.

  4. myiIIECwqwEg2Nlr
    • Navigate to Temperature and press Cooldown.

    • If you do not have the Cooldown-option available, you can just repeat step one and set the temperature to 0°C instead.

  5. DcWEUx1ZiSXJKIDH
    DcWEUx1ZiSXJKIDH
    XgIjR1F2IiDXiCKA
    gmDO4sk2hRMixQAo
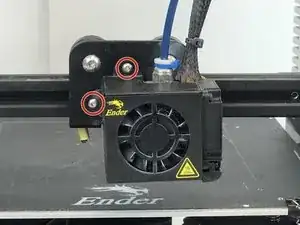
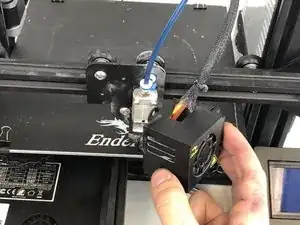
    • Remove the two screws from the fan housing using the 2 mm hex key.

    • Pull the housing away from the hotend assembly and set the screws aside.

  6. CFFBNIpEtuDHSpoJ
    • Remove the silicone sock from the hotend.

    • Now is a good time to clean the sock; old filament and debris can build up on the inside.

  7. xrMR2fnLadLcJyZm
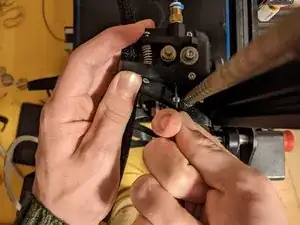
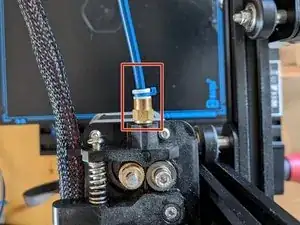
    • Remove the Bowden tube from the hotend or the extruder assembly.

    • Remove the blue plastic clip from the push fitting.

    • Push down on the grey part of the push fitting and simultaneously pull on the bowden tube.

    • You can also do this with the bigger fitting on the hotend, if you want to reuse your tubing, but I wouldn't recommend it since most hotends come with tubing anyways and the old tubing will most likely have degraded from the heating cycles.

  8. t1nNHD6fMUST5GyO
    t1nNHD6fMUST5GyO
    QhvQukLcVQYHcG5O
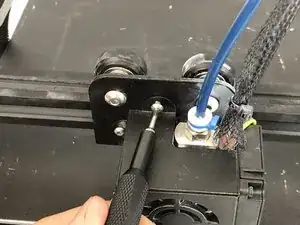
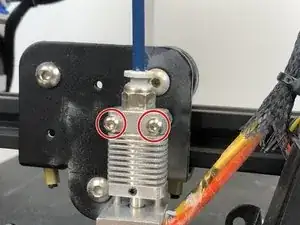
    • Remove the two large screws from the heatsink of the hotend using the 2mm hex key.

    • Pull the hotend away from the gantry.

  9. yWT3xm3DJGGTx6Ds
    yWT3xm3DJGGTx6Ds
    OdD2FfEjKLcYwBbZ
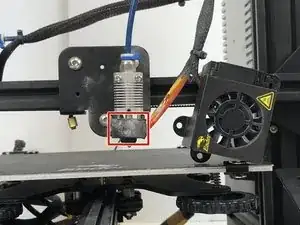
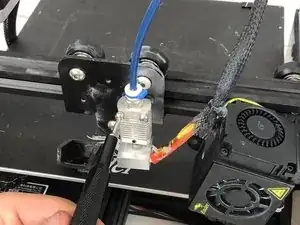
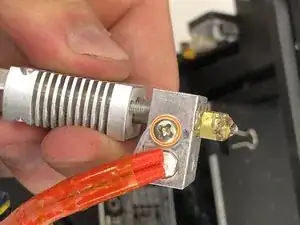
    • Remove the grub screw from the base of the hotend with the 1.5mm hex key.

    • Set the grub screw aside.

    • The grub screw is very small. Be careful not to lose it.

  10. I5bIsWsVtyhUGmsv
    I5bIsWsVtyhUGmsv
    Iccf6X6DOGBDkpoO
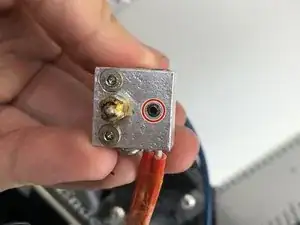
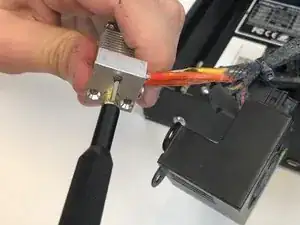
    • Lightly push against the heater cartridge using a hex key to remove it from the hotend.

    • The new hotend has its own thermistor and cartridge, but it is easier to use the old ones as long as they are functional.

    • If the heater cartridge cannot be removed with light force, heat the block to 240 degrees celsius. From this point on, grab the block with pliers.

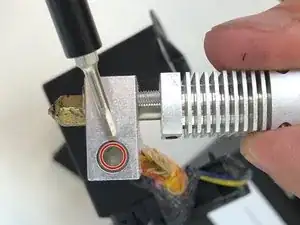
    • Remove the Phillips head screw to remove the thermistor, being very careful not to sever the thermistor wire.

    • You may be working with hot parts in this step. Do not touch any pieces with your bare hands.

    • The thermistor wires are fragile, and cannot be re-soldered. Handle with extreme caution.

Conclusion

To reassemble your device, follow these instructions in reverse order. Make sure that if you kept the original tubing, that the tubing inserted into the hotend is pushed all the way down.

Nicholas Barrick

Member since: 08/09/21

215 Reputation

One comment

I needed the wiring diagram. My replacement comes with the preassembled hotend.

Auda -