Introduction

Older laptops, like the Compaq Evo N1000v, run hot because of a broken or less efficient heat spreader. The heat spreader is indispensable for dissipating heat from the processor and other components with a temperature above the normal limit, where thermal throttling or even permanent hardware damage can occur. This will, in turn, make sure that a replacement of the heat spreader will go a long way in ensuring your laptop runs efficiently and reliably, enhance heat distribution, and avoid overheating. In this guide, the procedure for replacing the heat spreader in your Compaq Evo N1000v will be demonstrated to maintain high system performance.

  1. IVp4JMGehWTGhukw
    • Flip the laptop over with the rear panel facing forward.

  2. 26AHyZ1XSHKnZYXF
    • Using a TR8 Torx screwdriver, remove the two T8 Torx screws that secure the LED cover to the base enclosure.

  3. UXcadkOxJwyrQcPb
    • Flip the laptop back over with the front facing forward. Open the screen.

    This step could likely be removed.

    H. Nye -

  4. YTd2GKBUeVY3eFqc
    • Locate the F1 and F2 keys near the top left corner of the keyboard.

    This could be where to tell users to flip the computer over and open it if that is deemed necessary.

    H. Nye -

  5. ikVXSlZLmHrBqjhT
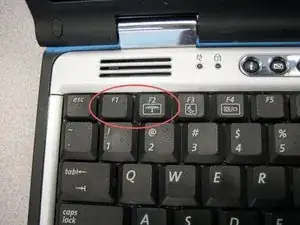
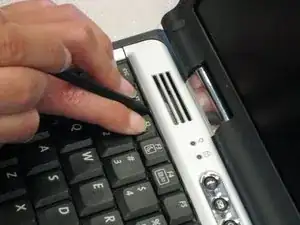
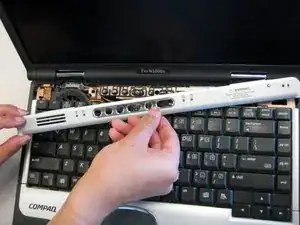
    • While holding the F1 and F2 keys, insert a spudger between the keys into the notch in the LED cover. Lift up.

  6. QOjYJBvPVIjoO3RJ
    • Locate the Scroll and Pause keys near the top right corner of the keyboard.

  7. e1JGuqmvftoRZdBG
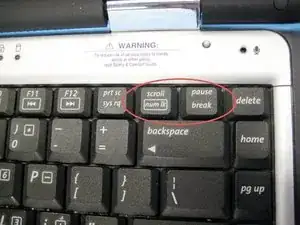
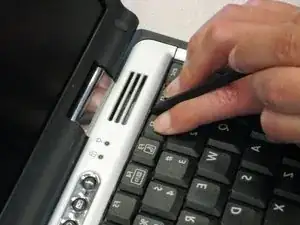
    • While holding the Scroll and Pause keys, insert a spudger between the keys into the notch in the LED cover. Lift up.

  8. imX4T24lhWwLlnSM
    imX4T24lhWwLlnSM
    3P1QWubE5kGIHTcC
    • Insert a spudger between the F7 and F8 keys. Lift up to remove the LED cover.

  9. 1FM6LFQ5cZehHxCE
    • Lift the back edge of the keyboard and pull towards the screen.

  10. ZxNSGAtyuYFKaXEf
    • Pull the cable and lift up to release.

  11. XAn6bZu5VxKJSFcn
    • Remove the keyboard.

  12. ySYCjtFTjO2s2UXn
    • Disconnect the cable connecting the fan to the system board.

  13. OLgSLcT1SuJvEgWT
    • Remove the four screws from the heat sink.

  14. ow1IEixJxdMiNOVA
    • Pull the the heat sink up and out of the computer.

Conclusion

To reassemble your device, follow these instructions in reverse order.

kim

Member since: 14/04/10

77 Reputation

0 comments