Introduction
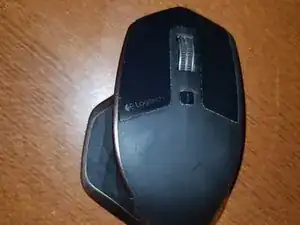
I've had my MX Master for more than 3 years, which is plenty of time to accumulate dust and dog fur. There was enough dust inside the mouse to create friction on the scroll wheel, slowing it down, so I decided to clean it. I also wanted to know if I could upgrade the micro USB port to USB-C. (spoiler alert: no)
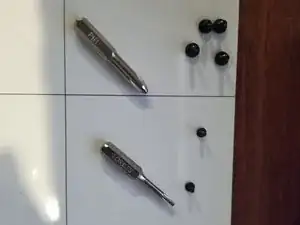
Tools
-
-
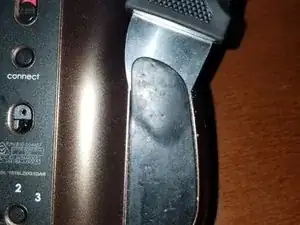
The mouse has four feet on the bottom, but only the two long ones need to be removed. I used the Jimmy from the Pro Tech Toolkit.
-
I didn't have new feet on hand, so I had to reuse the original ones. This is why there's no step for cleaning the adhesive off and putting new feet on.
-
-
-
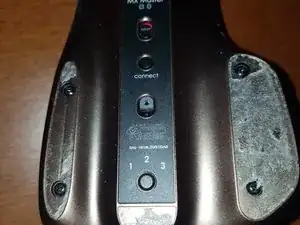
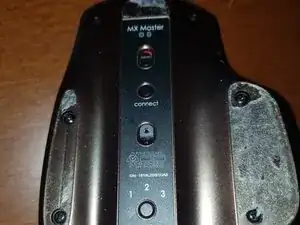
Rev up those screwdrivers! The first wave consists of four PH1 and two T5 screws on the bottom.
-
Once those are taken care of, the mouse should be easy to pop open.
-
-
-
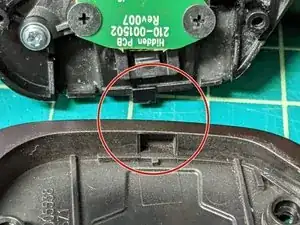
When opening the mouse take into account the position of the clamps so you won't pop more than you want.
-
-
-
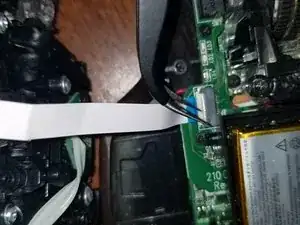
Pop the connector open with whatever tool you find works best, unless you're like me and accidentally pulled the cable out of the connector in the previous step.
-
-
-
This is the part where I realize I need better lighting.
-
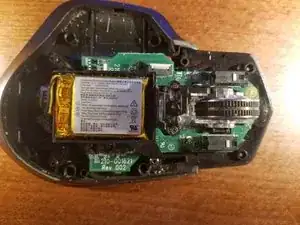
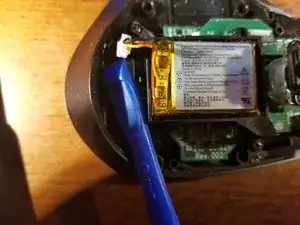
Set the top half aside for now. Removal of the battery consists of three PH1 screws and one connector that really doesn't want to come loose.
-
-
-
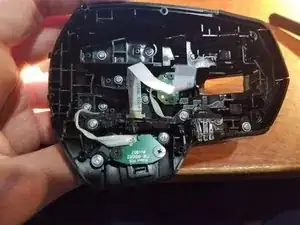
Time for a bit change! The PCB housing the switches for left and right clicks comes off with four P0 screws and another ZIF connector.
-
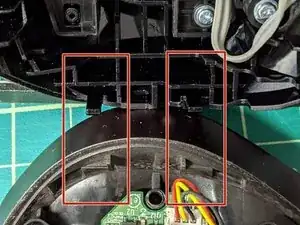
The scroll wheel assembly is held in with two P0 screws at the front. There's also a connector for the motor hiding under the ribbon cable for the PCB you just removed.
-
These screws aren't visible in this step, but can be seen in the previous one. I'm terrible at taking pictures.
-
You can see some of the debris causing my scrolling issues in the last photo.
-
-
-
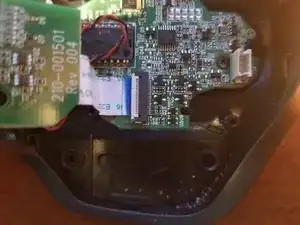
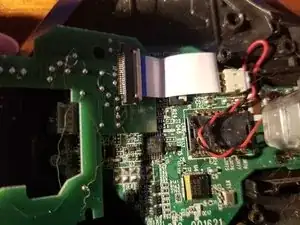
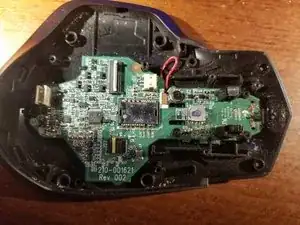
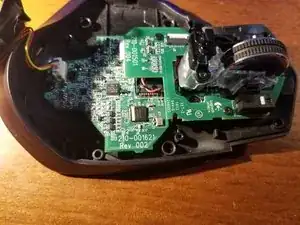
Three more P0 screws hold this one in place.
-
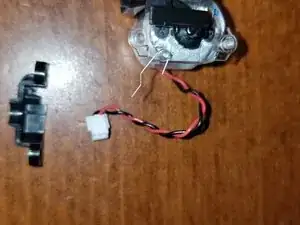
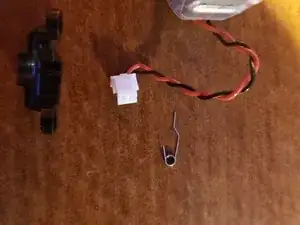
Be careful to put the little doohickey on the red wire back in place (I can't remember the name)
-
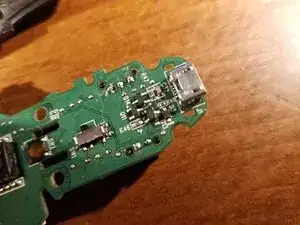
We can see the micro USB connector on the underside. Unfortunately, I can't upgrade it to USB-C with the equipment I have.
-
I have the equipment to clean it though! A can of compressed air was all I needed.
-
-
-
I couldn't get the wheel out of the assembly, but I was able to spin it with some compressed air. I didn't get it on video, but a big chunk of dust came flying out.
-
I apologize in advance for filming in portrait mode. Also, I failed to get a shot of the debris inside the wheel.
-
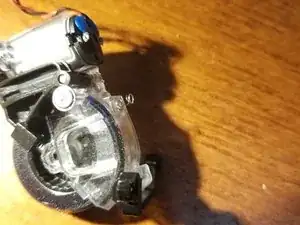
That spring on the bottom in the first picture will probably fall off. Make sure to keep track of it.
-
I took the assembly apart in an effort to get the wheel out - no dice. I don't know where this oddly shaped spring goes, possibly on this peg, but I left it out and it doesn't seem to be important.
-
-
-
You can follow steps 5-8 in reverse in order to put the bottom back together.
-
The top just needs a bit of compressed air, no disassembly required.
-
You can press the buttons down to gain easier access to the debris.
-
-
-
After following steps 1-4 in reverse, your mouse is clean again! And probably cleaner than mine.
-


Insert conclusion here?

15 comments
I followed your guide and I found a problem when I put everything together again. Now I turn on the mouse and it’s broken. The battery leds just blink and it doesn’t respond to pressing the channel selection or connect buttons, it just doesn’t work or sincronizes with the dongle, just shows the battery leds blinking. Anyone has any suggestion? Many thanks.
I have the same problem (all three LED’s blink green and no response to pressing channel selection or connect buttons) that Juan Suarez describes.
I would also be happy for any suggestions on how to fix the issue.
Max -
And? Did you find a way to fix it?
Unfortunately I did not.
Max -
Have you tried reseating the ribbon cables?
Skylar -
I have just now.
Is it not just the one ribbon cable (see step 5)?
Max -
Reseating the ribbon cables fixed that for me. There is a blue line on the cables. That has to align perfectly to the edge of the cable lock when down and fixed.
mark -
I would recommend applying heat to the feet before removing them. I damaged one. Used heat and the second one came off and went back on perfectly.
charlie -
This is something I recommend as well since I now do not have the feet back. I removed them with a scalpel and the adhesive is now missing. I think it makes sense to apply heat (hair heater) and just remove them and put back on.
Stjepan -
My scroll wheel stopped responding to input. After cleaning out all the lint from the scroll wheel I still has issues. I cleaned off the boards and wiped down the mouse wheel sensor and ir emitter. Tested it out and it’s working again.