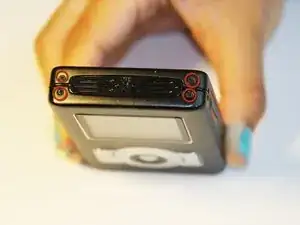
Introduction
-
-
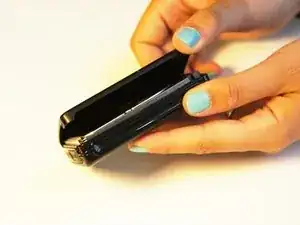
Use a Phillips #00 screwdriver to unscrew the four 1.1mm long screws on each corner located at the top of the cover.
-
-
-
Similar to the last step, flip the cover over and use a Phillips #00 screwdriver to unscrew the four 1.1mm long screws on each corner located at the bottom of the cover.
-
-
-
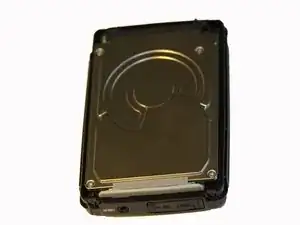
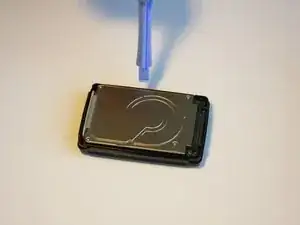
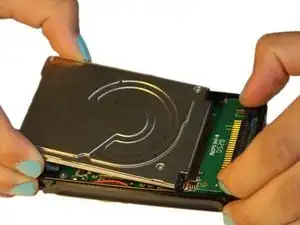
Using the plastic opening tool, wedge the tool underneath the bottom left edge of the hard drive.
-
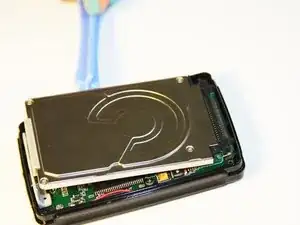
Raise the bottom edge of the hard drive 15 degrees up from the device.
-
-
-
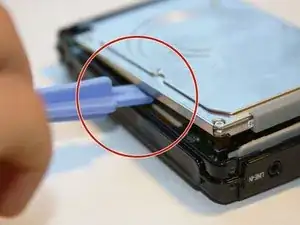
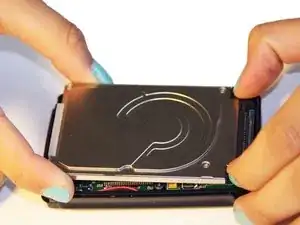
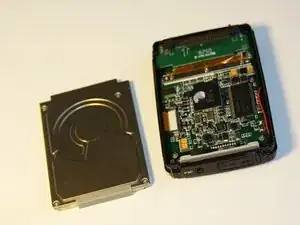
Place fingers on the IDE connectors gently picking up and sliding the hard drive out from the IDE module.
-
-
-
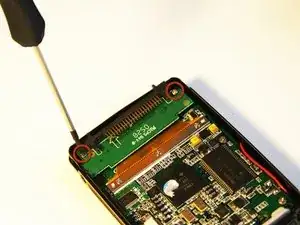
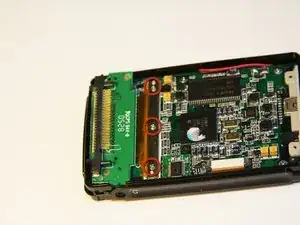
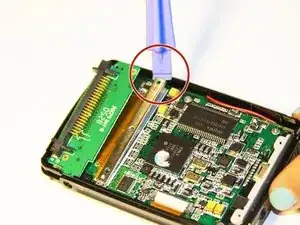
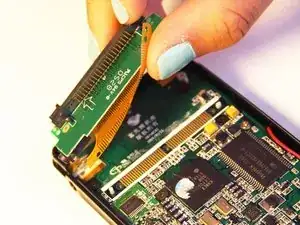
Using the Phillips #00 screwdriver, unscrew the two 1.5mm long screws holding the IDE connector to the motherboard located at the top.
-
-
-
Using the Phillips #00 screwdriver, unscrew the three 1.5mm long screws on the metal bracket.
-
-
-
Using the plastic opening tool, completely lift the metal bracket off of the motherboard.
-
Using the plastic opening tool, completely lift the rubber insulator off of the motherboard.
-
-
-
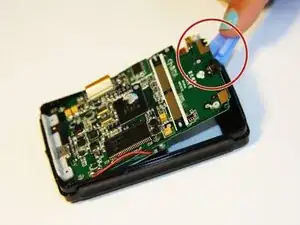
The audio jack is attached to the IDE connector. Pull at a 45 degree angle from the audio jack.
-
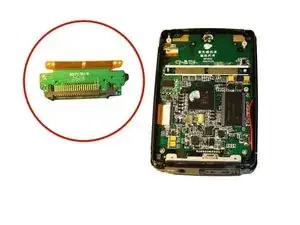
Completely remove the IDE connector from the device.
-
-
-
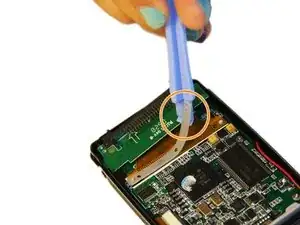
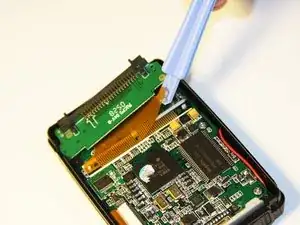
Using the plastic opening tool, wedge the tool underneath the top edge of the motherboard.
-
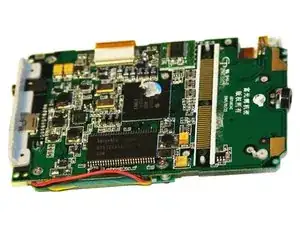
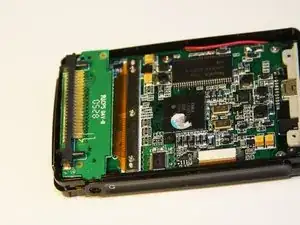
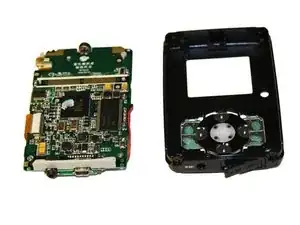
Completely remove the motherboard.
-


To reassemble your device, follow these instructions in reverse order.