Introduction
Had an issue with this lens where it would retract after zooming and there was a rattling from inside the lens so I decided to take it apart.
If possible, try to work in an environment with minimal dust. The goal is to try to avoid dust from getting inside of the lens as much as possible.
-
-
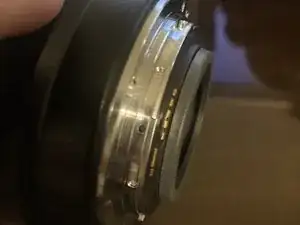
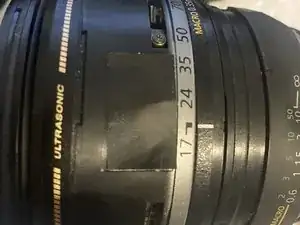
As with all canon EF style lenses, the first step is to remove the two screws holding the terminals to the lens.
-
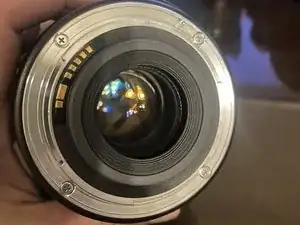
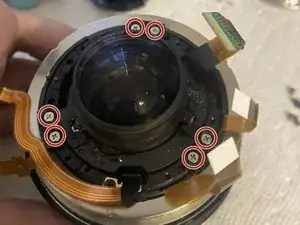
Remove the four screws holding the lens mount to the lens.
-
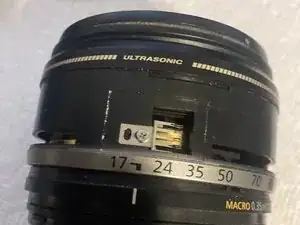
Gently remove the inner plastic ring from the outer metal lens mount to free the terminals.
-
-
-
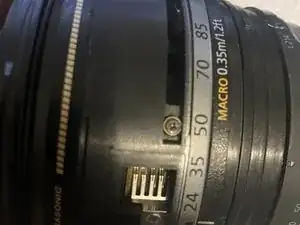
Pull up on the plastic outer barrel that covers the back of the lens (there are no screws holding this part on).
-
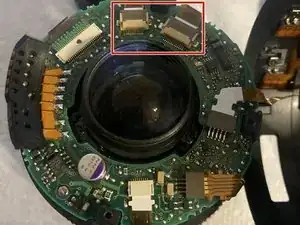
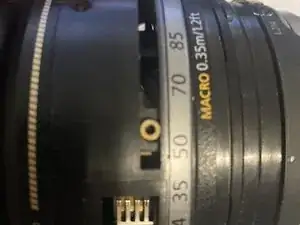
The 2 ribbon cables plugged into the brown and beige connector are locked in. You must gently lift the locking flap up before you can remove the cables.
-
Gently unplug the remaining four ribbon cables from the main PCB board.
-
Remove the one screw holding the PCB board to the lens and set it to the side.
-
-
-
Unscrew the six screws from the top ring.
-
Using caution not to damage any of the ribbon cables, gently pull of the top ring.
-
-
-
Remove the rubber zoom grip from the lens.
-
Peel off the dust shield.
-
Unscrew the one screw underneath the dust shield and remove the zoom brush (the piece of metal the screw holds in place).
-
-
-
There are three screws located in the slots around the zoom ring. For each one:
-
Remove the screw.
-
Pull out the metal spacer using a pair of tweezers.
-
-
-
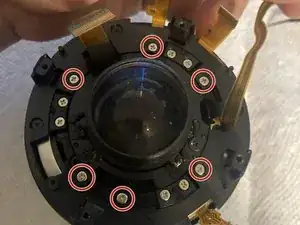
Back to the rear of the lens, remove these six screws.
-
Lift the rear housing off of the lens.
-
-
-
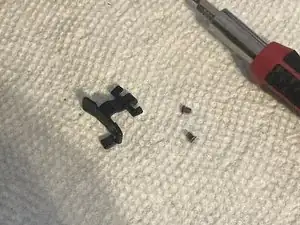
During my disassembly these 2 tiny screws appeared along with this metal bar. Turns put this was the cause of my issues. I found where it belongs and screwed it back in.
-
Assembly is these steps but backwards. Be sure when reassembling the lens housing make sure to line up the black rod with the 2 prong silver fork or your zoom will no longer work.
-
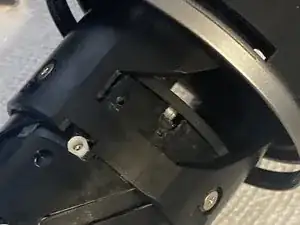
To reassemble your device, follow these instructions in reverse order. Be sure to line up the black rod with the 2 prong silver fork when putting the lens back with the housing.